How to Organize Kitchen Pantry in 5 Easy Steps
A cluttered pantry can make meal prep stressful and cause you to buy items you already have. You’re not alone—many people struggle to keep shelves tidy and food easy to find. These simple pantry organization tips can help you create a cleaner, more functional space.
Organize your kitchen pantry in five easy steps. First, empty the shelves, wipe them clean, and discard expired, damaged, or stale food. Next, group items by category, such as grains, canned goods, snacks, and baking supplies.
Keep everyday essentials at eye and waist level, with heavier items below. Transfer staples into clear, airtight containers and label them.
Finally, spend 10 minutes each week returning items, checking dates, and wiping shelves. Keep going for practical tips to make the system last.
Key Takeaways
- Empty the pantry, clean every shelf, and discard expired, damaged, moldy, or pest-contaminated food.
- Group items by category, such as grains, canned goods, baking supplies, snacks, breakfast foods, and spices.
- Place frequently used items at eye or waist level, while storing heavier and less-used items on lower shelves.
- Transfer staples into clear, airtight, stackable containers and label them for easy identification.
- Perform a weekly 10-minute reset by returning items, rotating older products forward, wiping shelves, and checking dates.
Empty Your Pantry and Remove Unwanted Food
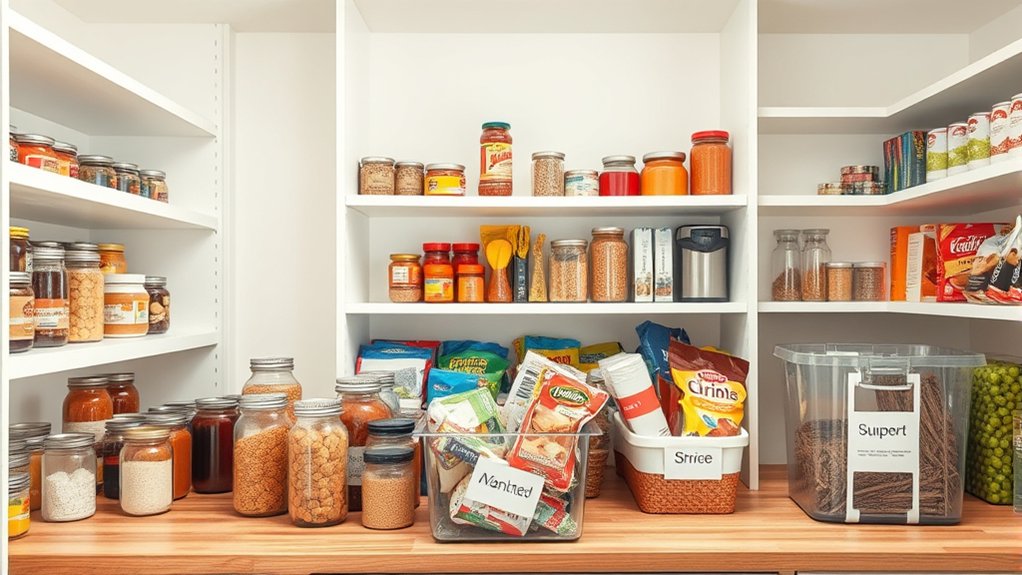
Start by taking everything out of the pantry so you can see what you have and clean each shelf. Place every item on a cleared counter or table, then wipe away crumbs, spills, and dust.
Check cans, boxes, jars, and bags for expiration dates, damaged packaging, mold, pests, or unusual odors. Discard anything unsafe, stale, or clearly past its prime.
If an item remains good but you won’t use it, set it aside for donation, following local food-safety guidelines. Keep only foods you genuinely enjoy and can use soon.
Review duplicates and oversized quantities before deciding what stays, since this step can prevent unnecessary grocery shopping. As you inspect each product, consider how it fits your meal planning habits and note foods you regularly forget.
Write down essentials that need replacing, but don’t shop yet. Finish by washing reusable containers and drying the shelves completely before returning anything.
Sort Your Kitchen Pantry by Category
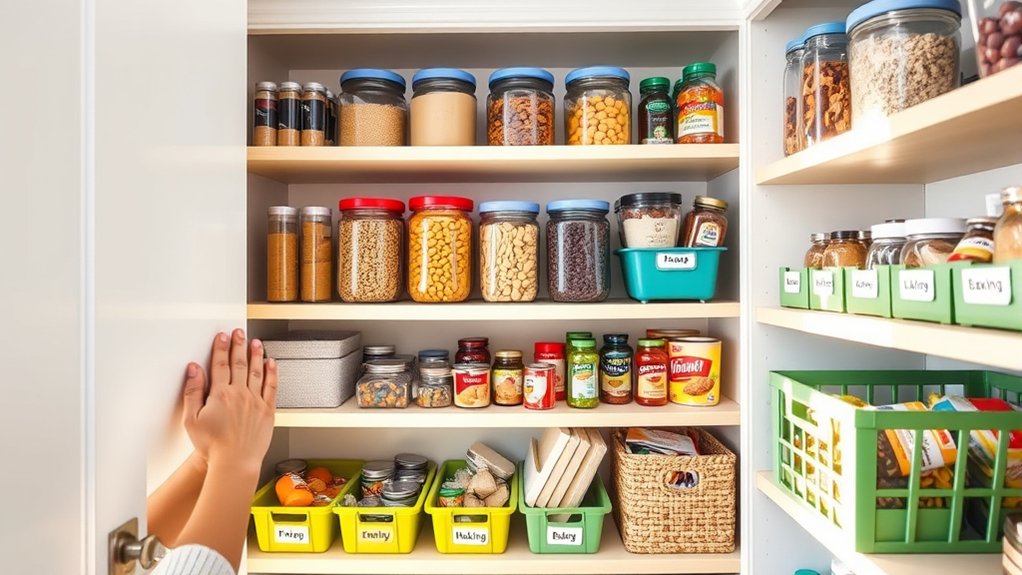
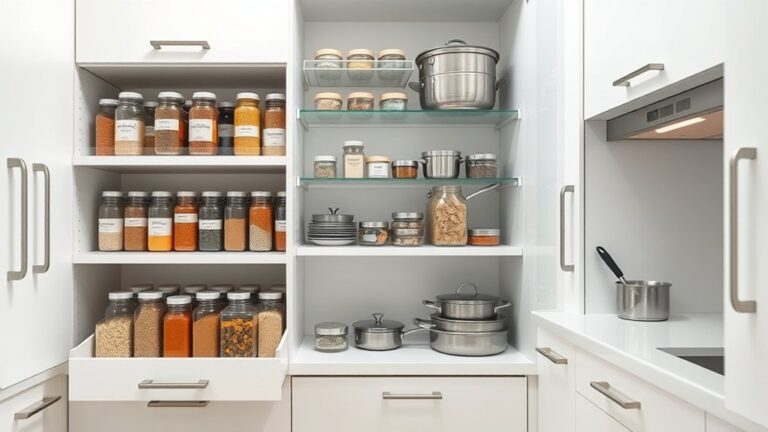
Once your pantry is clean and you’ve removed unwanted food, group the remaining items by category, such as grains, canned goods, baking supplies, snacks, breakfast foods, and spices. Keep similar products together so you can quickly identify what belongs in each section.
Use labeled bins, baskets, or clear containers to separate loose packages and prevent categories from blending. Consider your shelf arrangement before returning anything: place sturdy, heavier items on lower shelves, and reserve upper shelves for lightweight categories.
Group cans by type, line up baking ingredients together, and store spices in one designated area. Check expiration dates as you sort, placing older products at the front of their category without deciding daily-use placement.
Good pantry lighting will help you read labels, spot duplicates, and notice spills. Choose containers that fit each shelf’s height and depth, leaving enough room to remove items without disturbing neighboring categories.
A consistent system makes restocking and inventory checks easier.
Keep Everyday Foods Within Easy Reach
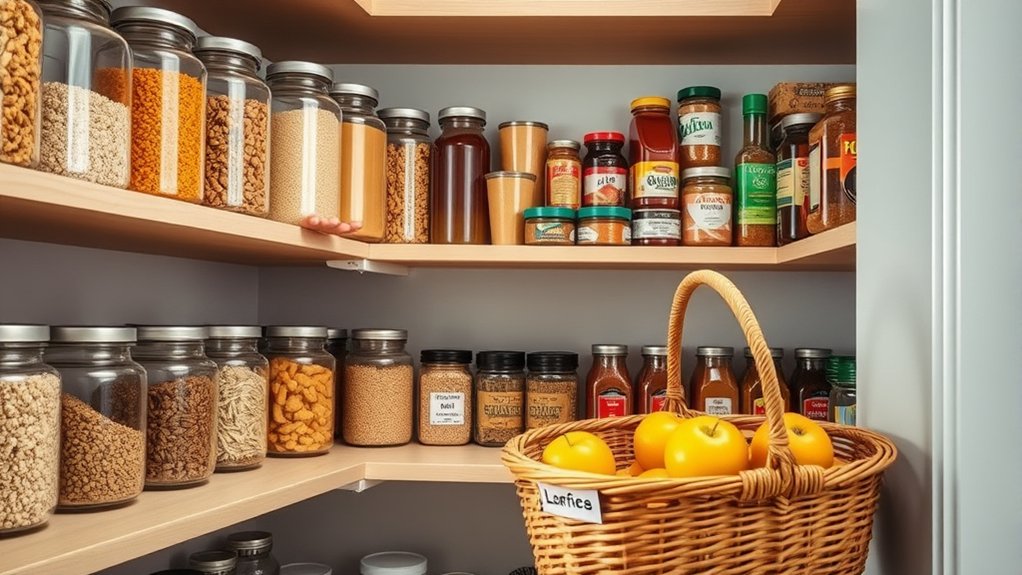
With pantry categories in place, keep the foods you reach for most often on shelves that are easy to access. Place breakfast staples, cooking grains, pasta, canned tomatoes, and favorite spices between waist and eye level, so you won’t need to bend, stretch, or move other items aside.
Reserve higher shelves for occasional ingredients and lower shelves for heavier goods you use less frequently.
Think about your daily rhythm as you arrange the space. Keep coffee, tea, and cereal near the front if mornings feel rushed.
Position baking basics together if you often make treats, and group quick ingredients where you can grab them during meal prep. Create a convenient area for snack storage by keeping frequently chosen crackers, nuts, or dried fruit visible and reachable.
Return items to their usual spots after shopping or cooking. This simple habit keeps your pantry predictable, speeds up meal decisions, and helps you notice what needs replenishing before it runs out.
Add Containers and Labels That Save Space
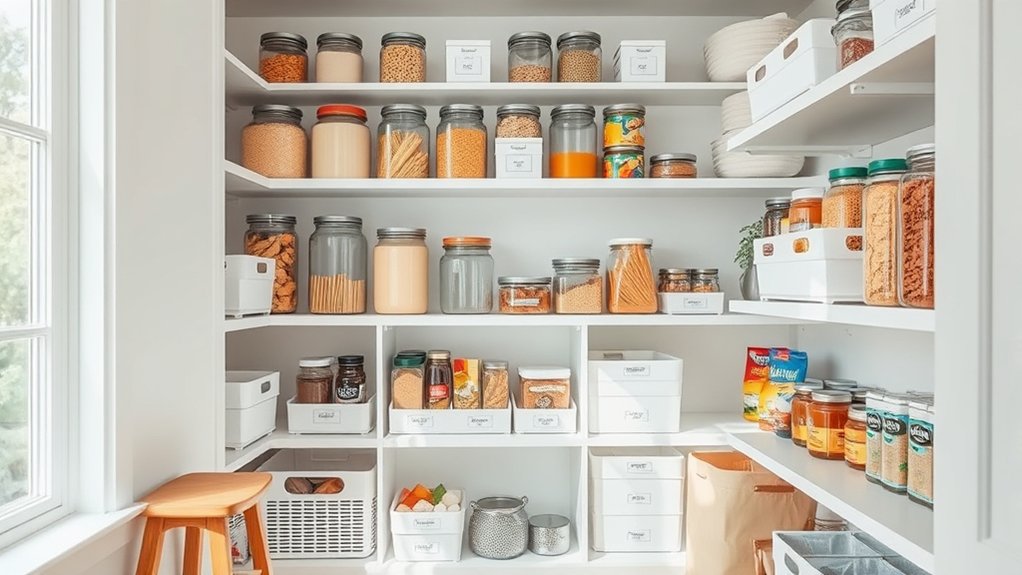
Choose clear, stackable containers for loose staples such as rice, flour, pasta, and cereal to use shelf space efficiently. Match each container’s size to its contents, leaving minimal empty space while allowing easy scooping.
Use airtight jars for flour, sugar, and grains to protect freshness, and choose slim bins for snack packets, baking supplies, or seasoning envelopes.
Investigate Container types such as square canisters, pullout baskets, divided boxes, and narrow risers to fit corners and maximize vertical storage.
Keep heavier containers on lower shelves, and place lightweight items above them for safer access.
Add labels to every container so you won’t confuse similar ingredients. Choose Label styles that suit your pantry, including simple printed stickers, chalkboard tags, or clip-on cards.
Write each food’s name in large, readable lettering, and include cooking instructions when useful. Position labels facing outward, then group matching containers together to create a neat, space-saving arrangement.
Maintain Your Organized Pantry Each Week
Keep your labeled containers and space-saving setup working by giving your pantry a quick weekly reset. Set a timer for ten minutes, then return misplaced items, wipe crumbs, and check expiration dates.
Group opened packages in front so you’ll use them first. Review shelf placement after shopping; move everyday staples between waist and eye level, while reserving higher shelves for occasional supplies.
Small adjustments protect your pantry aesthetics and keep every item easy to find.
| Weekly check | Quick action |
|---|---|
| Containers | Tighten lids and refill |
| Spills | Wipe shelves immediately |
| Dates | Move older foods forward |
| Stock | Add low items to your list |
Finish by sweeping the floor and closing each container securely. Don’t overfill bins, because crowded shelves quickly undo your system.
If a category grows, remove duplicates or assign it a larger container. Take a quick photo when the pantry looks right; you’ll have a useful reset guide next week.
A consistent routine prevents clutter from returning and makes meal preparation smoother, faster, and less stressful. Keep it simple, and your organized pantry will stay that way.
Frequently Asked Questions
How Often Should You Completely Deep-Clean Your Kitchen Pantry?
You should completely deep-clean your kitchen pantry every three to six months. Schedule an extra cleaning after spills, pest sightings, or noticeable odors.
Remove everything, check expiration dates, vacuum shelves, and wipe surfaces with warm, soapy water. Wash storage containers before refilling them, and use clear labeling techniques to mark contents and dates.
Between deep cleans, quickly inspect shelves monthly, rotate older foods forward, and immediately clean any messes or leaks.
What Pantry Shelving Materials Best Withstand Humidity and Temperature Changes?
Stainless steel shelving stands firm as pantry humidity rises and temperatures swing, resisting rust, warping, and stains. Powder-coated metal also offers excellent shelf durability, while sealed solid wood performs well if you prevent moisture from reaching its edges.
Avoid unfinished particleboard, which can swell like a sponge. For material maintenance, wipe metal with a damp cloth, dry it promptly, and inspect wood seals annually.
Adjustable wire shelves improve airflow and reduce condensation around stored foods.
How Can You Prevent Pantry Pests Without Using Harmful Chemicals?
Prevent pantry pests by storing grains, flour, cereal, and pet food in airtight, pest proof containers. Inspect packages before bringing them home, and discard anything showing insects, webbing, or damage.
Clean spills promptly, vacuum corners and shelf cracks, and rotate older foods forward. Use natural deterrents such as bay leaves, cedar blocks, or dried peppermint sachets, though cleanliness and sealed storage work best.
Freeze suspicious dry goods for several days to kill hidden eggs.
Should Refrigerated or Frozen Foods Ever Be Stored in the Pantry?
No—your pantry shouldn’t become a waiting room for refrigerated or frozen foods. Keep milk, meat, eggs, leftovers, and other perishables chilled, while frozen items belong in the freezer; otherwise, bacteria can multiply like uninvited guests.
Good Food storage depends on consistent Temperature control. You may briefly place these foods in the pantry during transport or meal preparation, but return them promptly—generally within two hours, or one hour in hot weather—to protect freshness and safety.
What Lighting Options Make Pantry Items Easier to See?
Choose bright, even LED lighting so you can quickly spot labels, expiration dates, and spills. Install under-shelf strips or slim ceiling fixtures to eliminate shadows, especially in deep corners.
Motion sensors add convenience by turning lights on whenever you enter and off after you leave, helping conserve energy. Select cool or neutral white bulbs for accurate colors, and use enclosed fixtures to protect bulbs from dust, crumbs, and accidental splashes while keeping maintenance simple.
Conclusion
With these five simple steps, you’ll turn your pantry from a cluttered maze into a calm, well-lit roadmap for meals. Toss expired food, group similar items, place favorites within reach, and add labeled containers to make every shelf work harder.
Spend a few minutes each week resetting the space, and order will become second nature. Soon, you’ll open the door with confidence, find what you need quickly, and enjoy an organized kitchen pantry that works like a well-tuned kitchen helper.