How to Clean Kitchen Appliances in 10 Easy Steps
Kitchen appliances can quickly become greasy, stained, and full of lingering odors, making cleaning feel like a never-ending chore. You’re not alone—many people struggle to keep every appliance fresh and hygienic.
This guide to how to clean kitchen appliances in 10 easy steps makes the process simple, safe, and manageable.
To clean kitchen appliances in 10 easy steps, gather mild soap, warm water, microfiber cloths, and a soft brush.
Unplug each appliance and let it cool.
Wipe exteriors, steam-clean the microwave, and wash refrigerator shelves.
Degrease oven and stovetop surfaces, then descale your coffee maker and kettle.
Clean small-appliance parts, remove odors with baking soda, and scrub seals and crevices.
Dry everything completely, reassemble carefully, and maintain appliances regularly.
The detailed steps below make the process simple and safe.
Key Takeaways
- Unplug appliances, let hot surfaces cool, and review manufacturer instructions before cleaning.
- Remove detachable parts, then wash them separately with warm, soapy water and dry completely.
- Wipe exteriors, controls, handles, vents, and crevices with a damp microfiber cloth. Avoid direct spraying.
- Degrease ovens and stovetops with dish soap or baking-soda paste, using nonabrasive tools.
- Descale kettles and coffee makers, eliminate odors with baking soda, and reassemble only after everything is fully dry.
Gather Supplies and Unplug Appliances
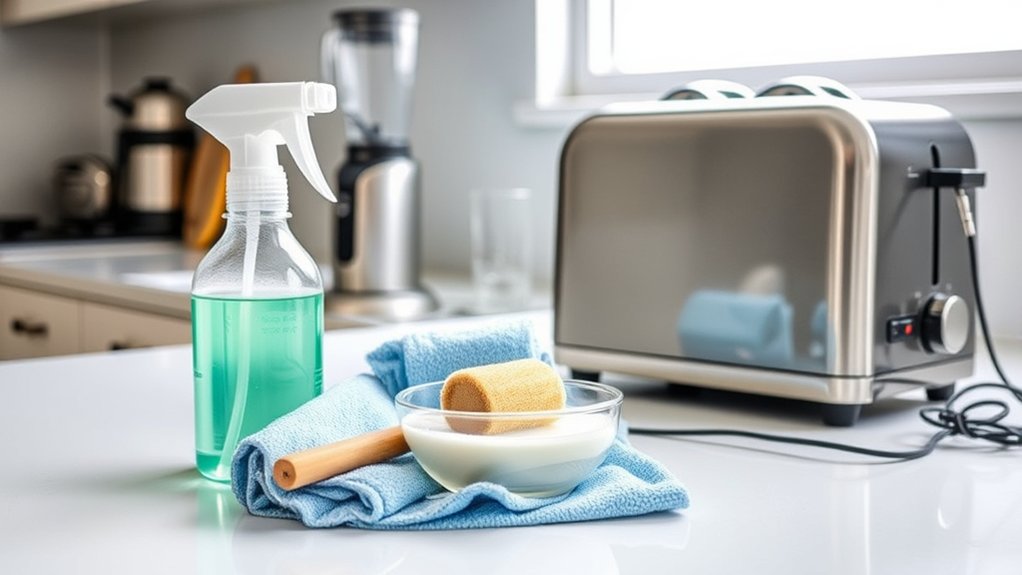
Before you begin, gather microfiber cloths, warm water, mild dish soap, a soft brush, and disinfectant. Keep these supplies nearby so you won’t need to leave appliances unattended while preparing to clean them. Add disposable gloves if your skin reacts to cleaning products, and choose a stable, dry work area for everything.
Gather cleaning supplies, gloves if needed, and a stable, dry workspace before beginning to keep appliances safely attended.
Next, review each appliance’s manual for cleaning warnings, removable parts, and power requirements. Appliance safety starts with switching off controls and unplugging the cord before you touch the exterior, controls, or attachments.
Pull the plug from the outlet, gripping the plug itself rather than the cord. Never yank, twist, or handle a plug with wet hands.
Watch for electrical hazards, including frayed cords, cracked plugs, loose outlets, and moisture near connections. Don’t use damaged equipment; label it for repair instead.
For hardwired appliances, turn off the appropriate circuit breaker and confirm that power is disconnected. Let hot appliances cool completely before handling them.
Clean Kitchen Appliances Safely
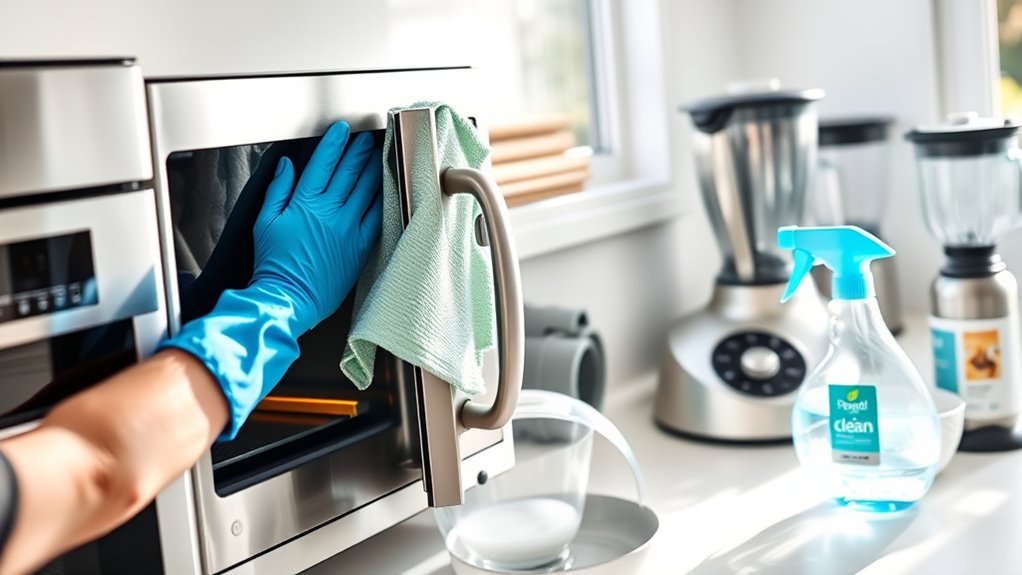
Once appliances are cool and unplugged, wipe their exteriors with a microfiber cloth dampened with warm, soapy water. Don’t spray liquid directly onto controls, vents, plugs, or seams. Instead, apply cleaner to the cloth, then wipe gently.
Follow the manufacturer’s instructions, especially for stainless steel, glass, and nonstick surfaces, because harsh chemicals or abrasive pads can cause damage.
Practice Proper handling when you clean. Keep cords and plugs dry, and never immerse an electrical appliance unless its instructions specifically allow it.
Use a soft brush or cotton swab to remove crumbs from buttons, hinges, and crevices. Don’t force stuck parts, dismantle sealed components, or use metal tools that could scratch surfaces or expose wiring.
For appliance safety, inspect cords for fraying before reconnecting anything. Let every surface dry completely, replace removable parts correctly, and keep appliances away from water.
Once you’ve finished, plug each unit into a suitable outlet and stop using it if you notice sparks, burning smells, or unusual heat.
Steam-Clean the Microwave Interior
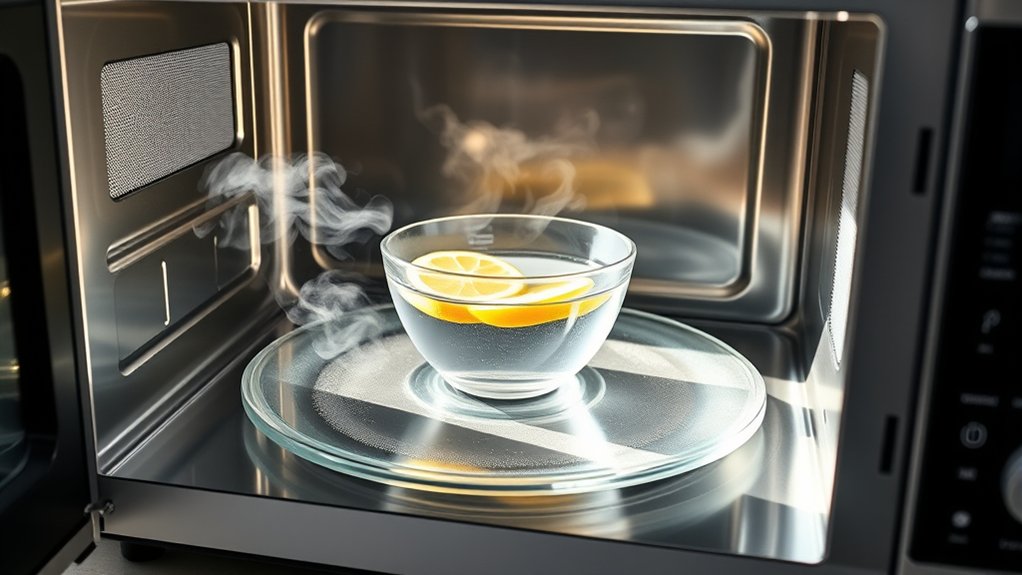
With the microwave unplugged and cool, loosen dried-on food by placing a microwave-safe bowl of water inside and heating it until the water steams, usually for several minutes. Keep the door closed for five minutes so the vapor softens splatters.
Open it carefully, since the bowl and steam may be hot. Remove the bowl with oven mitts, then wipe the ceiling, walls, floor, and door with a damp microfiber cloth.
For stubborn spots, use a soft sponge and a small drop of dish soap. Don’t spray cleaner directly into vents, controls, or the door latch.
Wipe the turntable and roller ring separately in warm, soapy water, rinse them, and dry them before replacing them.
Steam cleaning helps freshen the microwave interior, but it won’t remove burned residue immediately. Repeat the process or gently scrub with baking soda paste.
Leave the door open briefly so the interior dries completely, then plug the appliance back in.
Wash and Sanitize the Refrigerator
Empty the refrigerator and unplug it before you start cleaning.
Remove the shelves and drawers, then wash them with warm, soapy water. Wipe the interior with a food-safe sanitizer, and let every surface dry completely before plugging the appliance back in.
Empty and Unplug
Before washing and sanitizing the refrigerator, unplug it and remove all food, shelves, drawers, and loose items. This empty and unplug step protects you from electrical hazards and gives you clear access for later work.
Follow basic safety precautions: dry your hands before touching the plug, grip the plug itself rather than pulling the cord, and keep water away from the outlet. If your refrigerator connects to an ice maker or water dispenser, shut off its water supply and disconnect the line only if you can do so safely.
Place perishable food in a cooler with ice, and discard anything questionable. Ask someone to help you lift heavy shelves or drawers, and set every removable part on a stable surface.
Keep doors open briefly to prevent trapped odors while you prepare.
Clean and Sanitize
Once the refrigerator is empty and unplugged, wash its interior from top to bottom. Remove shelves, drawers, and door bins, then clean them separately with warm water and dish soap.
Wipe walls, the ceiling, corners, and door seals with a soft cloth or sponge. Use a toothbrush to loosen crumbs around seams and handles.
For effective cleaning techniques, mix equal parts water and white vinegar to cut odors and grime, but don’t use abrasive cleaners that can damage surfaces.
Rinse every area with a clean, damp cloth, then dry thoroughly to prevent mildew. Apply safe sanitation methods by wiping high-touch handles and seals with an appliance-safe disinfectant.
Follow the product’s label instructions and never mix cleaners. Leave the door open until the interior is completely dry before reconnecting the refrigerator.
Degrease the Oven and Stovetop
How do you tackle stubborn kitchen grease? Start with a cool oven and stovetop, then remove racks, grates, and burner caps. Open a window, wear gloves, and keep cleaners away from heating elements.
- Mix warm water with dish soap. Apply it to oven grime and stovetop residue using a sponge, avoiding electrical controls and gas openings.
- Let the solution sit for 10 minutes so grease softens. For baked-on spots, spread a paste of baking soda and water, but don’t use it on delicate surfaces without checking the manufacturer’s guidance.
- Scrub gently with a nonabrasive pad. Wipe repeatedly with a clean, damp cloth until no cleaner remains. Wash racks and grates separately in soapy water.
- Dry every surface thoroughly before replacing parts. Turn on the oven briefly afterward to evaporate moisture, and never mix cleaners, especially bleach and ammonia.
Clean spills promptly after cooking to prevent fresh grease from hardening. Your appliances will look brighter and smell fresher.
Clean the Dishwasher Filter and Seals
Keep your dishwasher fresh by removing and rinsing the filter regularly. Also, scrub the door seals to remove trapped food and grime. These simple steps help prevent odors and improve cleaning performance.
Remove and Rinse Filter
Start by removing the dishwasher’s filter according to the manufacturer’s instructions, then rinse it under warm running water to flush away trapped food and grease. Handle the filter gently so you don’t damage its mesh or housing.
Use these simple steps:
- Inspect it: Check for cracks, clogs, or hardened debris that could reduce cleaning performance.
- Rinse thoroughly: Apply rinse techniques by turning the filter while water flows through every opening.
- Clear stubborn particles: Use a soft brush and mild dish soap, avoiding abrasive pads that can tear the screen.
- Replace it correctly: Reinstall the filter securely, aligning its markings and locking mechanism.
Regular filter maintenance helps prevent odors, improves water circulation, and keeps dishes cleaner. Don’t run the dishwasher without the filter installed, since food particles may enter the pump and cause damage.
Rinse the filter whenever buildup appears or according to your appliance’s manual.
Scrub Door Seals
After reinstalling the filter, clean the dishwasher’s door seals, where grease and food residue often collect. Open the door fully and inspect the door gasket, especially the lower corners and folds.
Wipe loose debris away with a damp microfiber cloth.
Mix warm water with a few drops of dish soap. Dip an old, soft toothbrush into the solution, then gently scrub the rubber seal without pulling or stretching it.
Use a cotton swab to reach narrow grooves and remove trapped particles. For stubborn grime, let the soapy solution sit for several minutes before scrubbing again.
Wipe the entire seal with a clean, damp cloth to remove soap residue. Dry it thoroughly with a towel.
Check for cracks, tears, or flattening. Replace a damaged seal to prevent leaks and odors.
Descale the Coffee Maker and Kettle
Mineral deposits can affect your coffee maker’s flavor and your kettle’s performance, so descale both appliances regularly. Follow these simple steps to refresh each appliance safely and effectively:
Regular descaling keeps coffee tasting fresh and kettles working efficiently, while simple maintenance steps protect both appliances.
- Prepare the solution: Mix equal parts white vinegar and water, or use a manufacturer-approved descaler. Check your appliance manual first, especially if it warns against vinegar.
- Clean the coffee maker: Pour the solution into the reservoir, place the carafe underneath, and run half a brewing cycle. Pause for 30 minutes, then finish the cycle. Discard the liquid.
- Rinse thoroughly: Run two or three cycles with fresh water to remove residue and lingering taste. This step supports reliable Coffee maker maintenance.
- Descale the kettle: Fill it with the solution, let it sit for 30 minutes, then boil briefly if the manual allows. Empty and rinse several times. These Kettle descaling techniques help restore efficient heating.
Repeat every one to three months, depending on water hardness and appliance use. Unplug appliances before handling them, and never immerse electrical bases in water.
Wipe Grease From Small Appliances
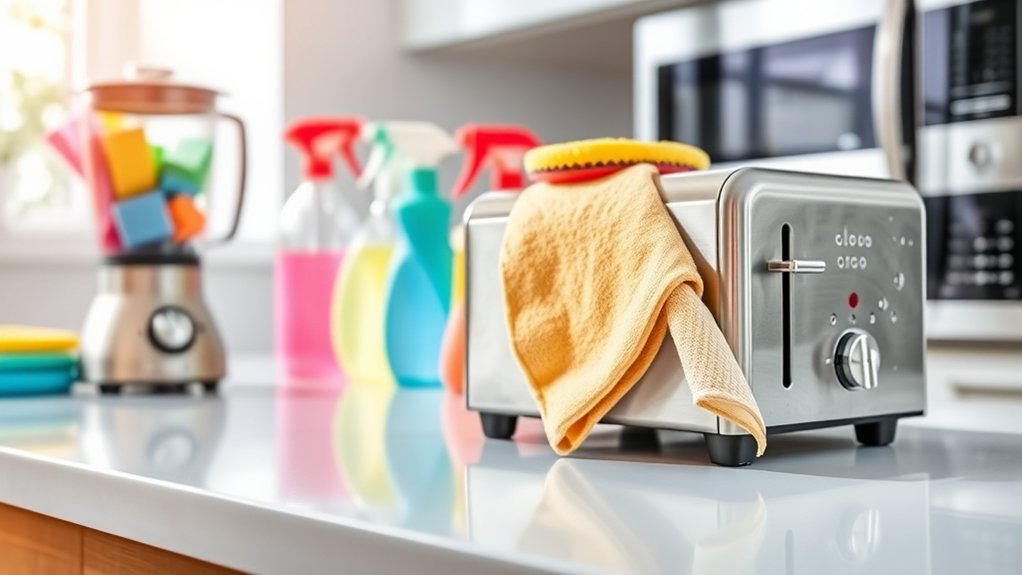
Grease can build up on toaster ovens, air fryers, blenders, and other small appliances, so wipe them regularly to prevent sticky residue and odors. Unplug each appliance and let it cool completely before cleaning. Remove detachable parts, such as trays, lids, and blades, and wash them according to the manufacturer’s instructions.
For grease removal, dampen a microfiber cloth with warm water and add a drop of dish soap. Wring out the cloth thoroughly, then wipe the exterior, control panel, handle, and cord carefully.
Use a soft toothbrush to loosen grease around buttons, seams, and vents, but don’t push moisture inside. Avoid spraying cleaner directly onto the appliance.
For stubborn spots, place the soapy cloth over the area briefly, then wipe again. Rinse with a clean, barely damp cloth and dry every surface.
Finish with gentle appliance polishing using a dry microfiber cloth. Reassemble the parts only after they’re fully dry, and check your appliance’s care guide before using stronger cleaners.
Remove Appliance Odors Naturally
Find the source of the odor, whether it’s a spill, crumbs, or trapped food. Then use natural deodorizers, such as baking soda, lemon, or vinegar, and clean your appliances regularly to keep them fresh.
Identify Odor Sources
Where an odor starts often tells you how to remove it. Before choosing an odor elimination method, inspect your appliance carefully. Don’t rely on scent masking, which may hide the problem without removing its source.
- Check spills: Look beneath racks, turntables, trays, and removable seals for dried food or grease.
- Inspect filters: Range hoods, dishwashers, and refrigerators can trap particles that create lingering smells.
- Examine drains: Food debris in dishwasher drains, garbage disposals, or drip pans often causes sour odors.
- Search hidden areas: Check door gaskets, crumb trays, vents, and corners where moisture and residue collect.
Unplug the appliance before inspecting hard-to-reach parts, and wear gloves when handling buildup. Note whether the smell seems greasy, sour, burnt, or musty. Its character can help you trace the residue, leak, or trapped debris responsible.
Use Natural Deodorizers
Once you’ve located the odor source, use natural deodorizers to neutralize lingering smells without harsh chemicals. Place an open bowl of baking soda inside a clean refrigerator, microwave, or oven after the appliance cools.
Let it absorb stubborn odors for several hours, then remove and discard it. For a fresh scent, simmer water with Citrus peels in a microwave-safe bowl, allowing the steam to loosen odor-causing residue.
Wipe the interior afterward with a damp cloth. You can also use Herbal infusions, such as rosemary, mint, or lavender, in a small heatproof dish.
Let the aroma circulate briefly, and avoid placing liquids near electrical components. Activated charcoal offers another fragrance-free option; position it in a ventilated area to trap smells.
Always unplug appliances before cleaning hard-to-reach spaces.
Maintain Freshness Daily
Maintain freshness daily by wiping spills as soon as they happen, removing food scraps, and leaving appliance doors slightly open after cleaning when safe. These habits prevent odors from settling and support tidy kitchen organization.
- Refrigerator: Store leftovers in sealed containers, check produce daily, and place an open bowl of baking soda inside to absorb smells.
- Microwave: Wipe splatters immediately, then heat water with lemon for one minute to loosen residue and freshen the cavity.
- Dishwasher: Remove trapped debris from the filter, rinse the door gasket, and run an occasional vinegar-free cleaning cycle recommended by the manufacturer.
- Trash and filters: Empty bins frequently and replace range-hood or refrigerator filters on schedule.
If a smell persists, inspect hidden leaks or spoiled food before appliance troubleshooting. Ventilate naturally, and avoid mixing cleaning products, especially bleach and ammonia.
Dry, Reassemble, and Maintain Appliances
After cleaning, dry every appliance part completely with a soft towel or let it air-dry before reassembling it. Check seals, blades, filters, and cords for trapped moisture or damage.
Follow the manufacturer’s instructions, then fit each piece securely without forcing it. Plug in the appliance only after every surface is dry.
Use this quick guide to support safe appliance organization and appliance troubleshooting:
| Task | Benefit |
|---|---|
| Dry removable parts | Prevents mold and odors |
| Inspect seals and cords | Catches problems early |
Return attachments to labeled shelves or drawers, and keep manuals nearby for easy reference. Wipe the appliance exterior after each use, especially around buttons and handles.
Schedule deeper cleaning based on how often you use each appliance. Replace cracked seals, dull blades, or clogged filters promptly.
If an appliance makes unusual noises, smells hot, or performs poorly, unplug it and consult the manual before attempting repairs. Never immerse powered bases, motors, or electrical cords in water.
Consistent drying, careful reassembly, and simple maintenance help your appliances work efficiently and last longer.
Frequently Asked Questions
How Often Should Kitchen Appliances Be Professionally Serviced?
You should schedule professional servicing for most kitchen appliances once a year, even when they seem to work properly. Arrange appliance maintenance sooner if you notice unusual noises, poor performance, leaks, electrical issues, or repeated breakdowns.
Refrigerators, ovens, dishwashers, and range hoods may need different intervals, so check each manufacturer’s recommendations. Regular professional servicing helps detect hazards, preserve efficiency, extend equipment life, and protect your warranty.
Keep records of every inspection and repair.
Which Cleaning Products Are Unsafe for Stainless Steel Appliances?
Which products can damage your stainless steel appliance? Avoid chlorine bleach, oven cleaners, ammonia, abrasive powders, steel wool, and scouring pads because they can scratch, discolor, or corrode the finish.
Harsh chemical cleaners may also leave toxic residue or dull protective coatings. Choose stainless steel cleaners labeled safe for your appliance, and test any product in a hidden spot first.
Don’t mix cleaners. Use a soft microfiber cloth and follow the manufacturer’s care instructions carefully.
Can Damaged Appliance Cords Create Fire or Electrical Hazards?
Yes, damaged appliance cords can create fire and electrical hazards. For electrical safety, unplug any appliance with frayed, cracked, melted, or exposed wiring, and don’t use tape as a permanent repair.
Cord damage can cause shocks, short circuits, overheating, or fires, especially near water or heat. Replace the cord or have a qualified technician repair it.
Never pull a plug by its cord, and keep cords away from sharp edges and hot surfaces.
When Should an Appliance Be Replaced Instead of Cleaned?
When safety comes first, replace an appliance if it shows exposed wiring, repeated electrical faults, smoke, burning smells, severe rust, leaks, or structural damage. Don’t rely on cleaning to fix these replacement indicators.
Consider its Appliance lifespan, too. Frequent breakdowns, unavailable parts, rising repair costs, or poor energy efficiency can make replacement smarter than repair.
Unplug unsafe equipment immediately, and have a qualified technician assess uncertain damage before you use it again.
Are Appliance Warranties Affected by Using Homemade Cleaning Solutions?
Yes, homemade cleaning solutions can affect your appliance warranty if they damage surfaces, seals, electronics, or finishes. Before using DIY cleaning, check your warranty terms and the manufacturer’s care instructions.
Avoid harsh acids, abrasives, bleach mixtures, and unapproved solvents. Keep product labels and document your cleaning method.
If damage occurs, the warranty impact may depend on whether improper maintenance caused it. When uncertain, contact the manufacturer before applying any homemade solution to your appliance.
Conclusion
With a few supplies, a little patience, and the right safety habits, you can make every kitchen appliance shine. Steam away microwave splatters, sanitize the refrigerator, dissolve oven grease, descale coffee equipment, and freshen small appliances naturally.
Dry everything thoroughly, reassemble it carefully, and maintain it regularly so grime doesn’t return. Like a modern-day Hercules tackling household labors, these simple steps make learning how to clean kitchen appliances a manageable routine you can confidently repeat.