How to Sharpen Kitchen Shears in 3 Simple Steps
Dull kitchen shears can turn simple prep tasks into a frustrating chore, especially when they snag, crush, or fail to cut cleanly. You’re not alone—many people struggle to keep their shears sharp, but the right tool can make routine maintenance much easier.
To sharpen kitchen shears in three simple steps, first wash away grease and debris with mild soap, a small brush, and water, then dry the blades and joint thoroughly.
Next, hold each blade securely and run a sharpening tool along its bevel at about 20 degrees, moving smoothly from pivot to tip with light pressure.
Finally, wipe away filings and test the shears on paper or fabric, checking for smooth, even cuts. You’ll find additional care tips below.
Key Takeaways
- Clean and dry the shears, then inspect the blades for damage, corrosion, loose screws, or misalignment.
- Wear cut-resistant gloves and secure one blade firmly on a stable surface.
- Hold the sharpener at approximately a 20-degree angle against the blade’s bevel.
- Push the sharpener smoothly from the pivot toward the tip, using light, consistent strokes.
- Repeat on the other blade, remove filings, test on paper, and lightly oil the hinge.
Prepare Your Kitchen Shears and Tools
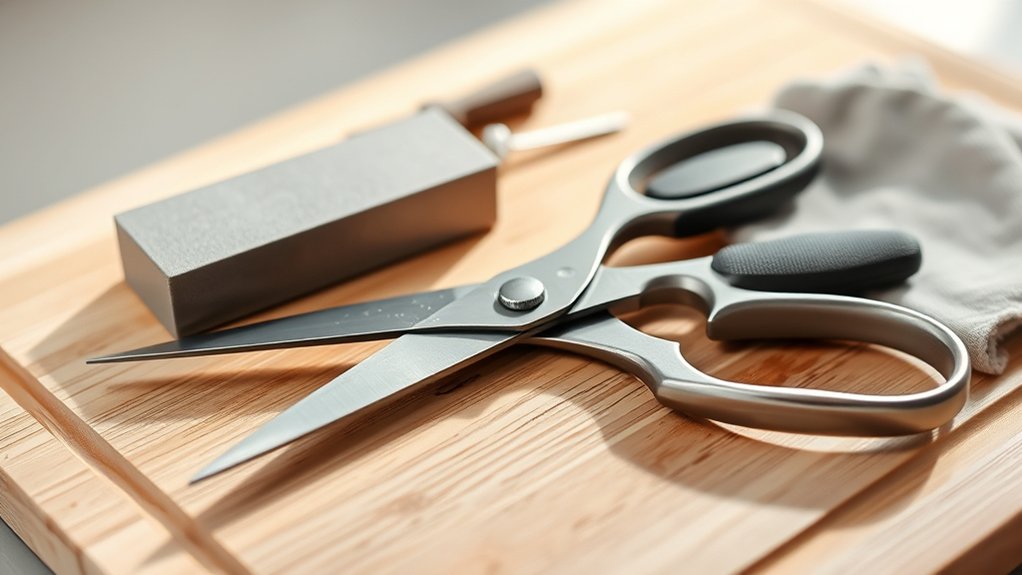
Before sharpening, gather a clean cloth, mild dish soap, a small brush, and a sharpening tool designed for kitchen shears. Choose a stable, well-lit workspace where you can inspect each component safely. Keep a towel nearby to protect your counter and catch residue.
Wash the shears with diluted soap, then remove stuck food or grease with the small brush. Rinse them thoroughly and dry every surface, especially the joint, before you continue. Moisture can encourage rust and make inspection less reliable.
Clean shears thoroughly, brush away residue, rinse well, and dry the joint completely before inspecting or sharpening.
Check the blades for nicks, corrosion, or loose screws. Examine Blade alignment by closing the shears slowly and watching whether the edges meet evenly.
Don’t force misaligned blades; set them aside for professional adjustment. Test the pivot’s movement and note any stiffness or grinding.
Include Handle maintenance in your preparation by cleaning the grips and checking for cracks, looseness, or slippery buildup. Confirm that your sharpening tool fits kitchen shears and sits within easy reach.
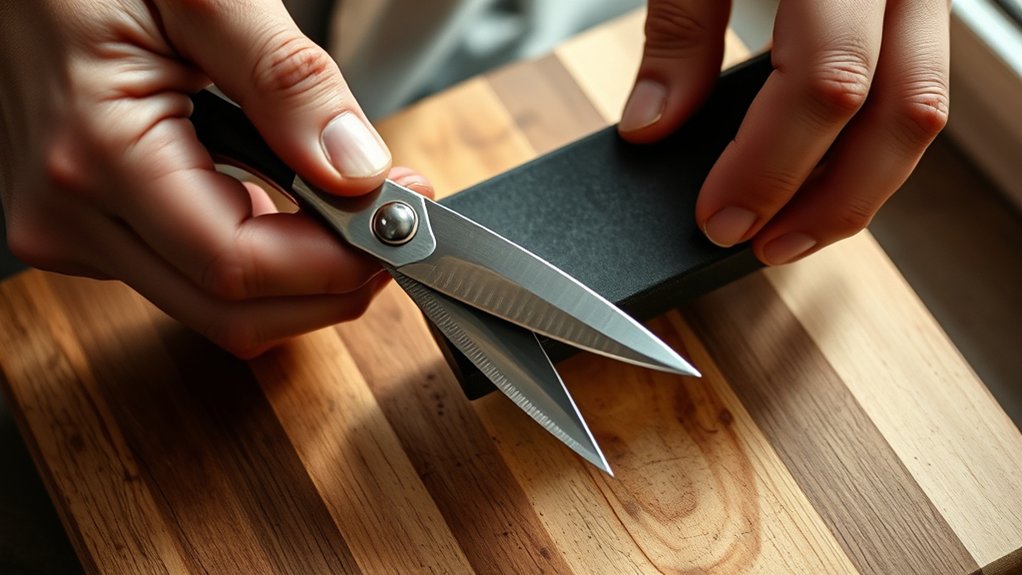
Once the shears are clean, dry, aligned, and free of damage, you can sharpen them in three controlled steps. Put on cut-resistant gloves and follow basic safety precautions before opening the blades fully.
- Secure one blade. Hold the handle firmly, keeping your fingers behind the edge. Rest the blade against a stable surface or grip it with a clamp.
- Match the bevel. Place a sharpening stone or diamond file against the factory bevel, usually about 20 degrees. Push the tool from the pivot toward the tip in smooth, even strokes.
- Refine the edge. Repeat the same number of strokes on each blade, using light pressure. Wipe away metal filings with a dry cloth, then inspect the edge under bright light.
Keep your motion consistent rather than forcing the tool. This approach supports reliable blade maintenance and preserves the shears’ original shape.
Work slowly, maintain a clear workspace, and stop if the blades shift or the tool feels unstable.
Test the Cut and Care for Your Shears
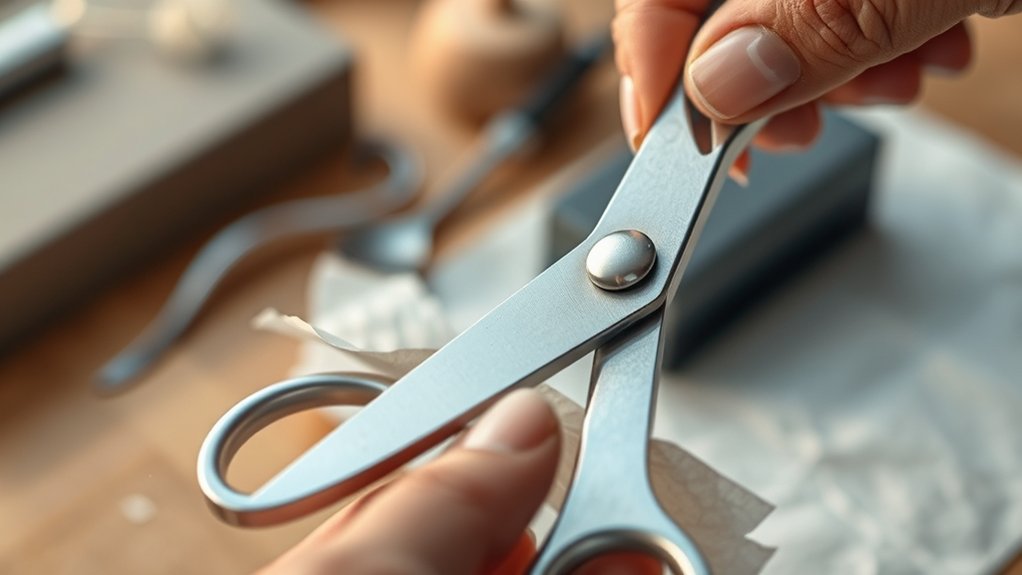
Test the shears on a clean piece of paper or fabric, keeping your fingers clear of the blades. Make a smooth cut from the hinge to the tips.
If the shears snag, crush material, or leave uneven edges, inspect the blades for nicks and repeat sharpening with light, even strokes. Don’t force the handles, because excessive pressure can damage the edge or loosen the hinge.
Once the cut looks clean, wipe both blades with a dry cloth to remove metal filings and debris. Apply a tiny drop of food-safe mineral oil to the hinge, then open and close the handles several times to distribute it.
Wipe away excess oil before using the shears near food.
Good blade maintenance keeps the edges working longer. For shear safety, store your tool closed in a dry drawer or protective sleeve, with the points facing away from you.
Never leave sharpened shears loose in a utensil container. Schedule occasional cleaning, tightening, and sharpening to preserve smooth, safe performance.
Frequently Asked Questions
Can Kitchen Shears Be Sharpened if They Have Rust?
Yes, you can sharpen kitchen shears with rust, but you’ll need to remove the corrosion first. Start by wiping the blades, then scrub affected areas with fine steel wool, sandpaper, or a rust-removal product.
Dry them thoroughly to prevent new rust. After rust removal, sharpen each blade carefully and apply a drop of food-safe oil to the pivot.
This blade restoration process can revive cutting performance, though severely pitted blades may need replacement.
How Often Should Kitchen Shears Be Professionally Sharpened?
Your shears’ edge is their heartbeat: you should have them professionally sharpened once or twice yearly with regular home use. Heavy use may require service every three to six months, while occasional use may need it only every 18–24 months.
Watch for tearing, crushing, or increased effort; these signs outweigh any calendar. Between appointments, practice blade maintenance, clean and dry the blades, and use sharpening tools designed specifically for kitchen shears.
Are Ceramic Kitchen Shears Sharpened Differently From Steel Ones?
Yes, you sharpen ceramic kitchen shears differently from steel ones. For ceramic sharpening, use a diamond-coated sharpener designed specifically for ceramic and apply light, controlled pressure.
Don’t use a standard steel file, which can damage the brittle blade. Steel blade maintenance usually involves a sharpening stone, honing tool, or professional service.
You can sharpen steel more frequently, while ceramic blades often require specialized equipment or manufacturer servicing to prevent chips and cracks.
Can Sharpening Damage Kitchen Shears With Serrated Blades?
Yes, sharpening can damage serrated kitchen shears if you use a flat sharpener, excessive pressure, or the wrong angle. For safe serrated blade maintenance, use a tapered sharpening rod that fits each tooth, and sharpen only the beveled side.
Follow the existing angle with gentle, controlled strokes. Essential damage prevention tips include avoiding over-sharpening, preserving the grooves, and checking alignment afterward. If you’re unsure, choose professional sharpening instead.
When Should Kitchen Shears Be Replaced Instead of Sharpened?
Replace kitchen shears when sharpening no longer restores clean, even cuts, or when the blades remain loose, bent, cracked, deeply pitted, or badly misaligned.
You should also replace them if the handles split, the pivot won’t tighten, or rust has penetrated the joint.
Consider blade material: inexpensive steel may cost less to replace than repair, while premium stainless steel often merits professional service.
Follow Maintenance tips by drying, oiling, and storing shears properly to extend their life.
Conclusion
With these three simple steps, you can restore your kitchen shears’ sharp, clean cut. Wipe away metal filings, test the blades on paper or herbs, and make a few careful adjustments if needed.
Why replace a useful tool when a crisp snip is within reach? Dry the shears thoroughly, add a drop of oil to the pivot, and store them closed in a safe place.
Regular care will keep every future cut smooth, precise, and effortless. With these simple tips on how to sharpen kitchen shears, your tool can stay ready for every kitchen task.