How to Remove a Kitchen Sink in 7 Simple Steps
Removing a kitchen sink can feel like a messy, complicated job, especially when stubborn plumbing connections or layers of caulk get in the way. You’re not alone—many homeowners struggle with knowing where to start, but the right steps and tools can make the process much easier.
To remove a kitchen sink in seven steps, gather your tools and identify the sink type. Shut off the water, release pressure, and disconnect the supply lines. Place a bucket underneath, then disconnect the drain, P-trap, dishwasher hose, and disposal if present.
Remove the mounting clips, cut through the caulk, and support the sink as you lift it out. Clean the opening, inspect for damage, and repair problems before installing a replacement. The steps below explain each part safely.
Key Takeaways
- Gather tools, photograph existing connections, and inspect the countertop, cabinet, and sink supports for damage before removal.
- Shut off hot and cold water, release pressure, and disconnect supply lines using a bucket to catch residual water.
- Disconnect the drain, P-trap, and garbage disposal, supporting the disposal while removing its mounting ring.
- Loosen sink clips, cut through the caulk seal, and have someone support the sink as you lift it straight out.
- Clean and dry the countertop opening, inspect for damage, and repair structural or moisture problems before installing another sink.
Gather Tools and Identify Your Sink Type
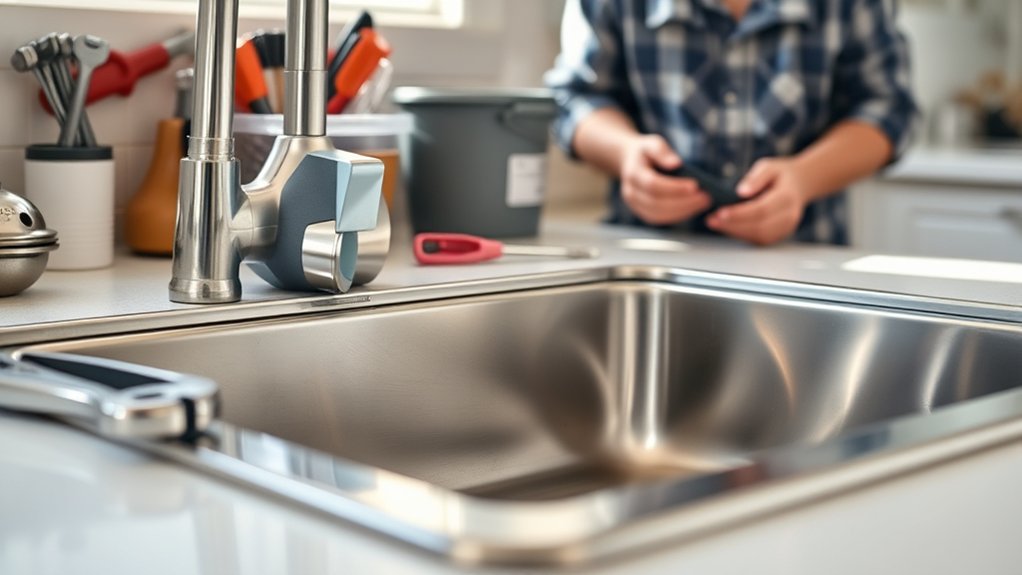
Before you begin, gather an adjustable wrench, basin wrench, screwdrivers, utility knife, bucket, towels, and a pair of pliers. This tools overview gives you what you’ll need to loosen fasteners, cut caulk, protect cabinets, and handle awkward fittings during removal.
Gather the essential tools first to loosen fittings, cut caulk, protect surrounding surfaces, and manage awkward plumbing connections.
Keep everything within reach, but don’t start disconnecting plumbing yet.
Next, identify your sink types and how each one mounts. An undermount sink sits beneath the countertop and usually relies on clips, brackets, or adhesive.
A top-mount, or drop-in, sink rests on the counter’s surface and may use clips underneath. A farmhouse sink extends across the cabinet front and can require additional support.
Check the rim, cabinet framing, and underside to confirm the design. Take a few photos before you work so you can reference the sink’s position and hardware later.
Clear items from the cabinet, place towels over nearby surfaces, and set the bucket aside for later use. Wear gloves and eye protection when cutting caulk or handling metal parts.
Shut Off Water and Disconnect the Supply Lines
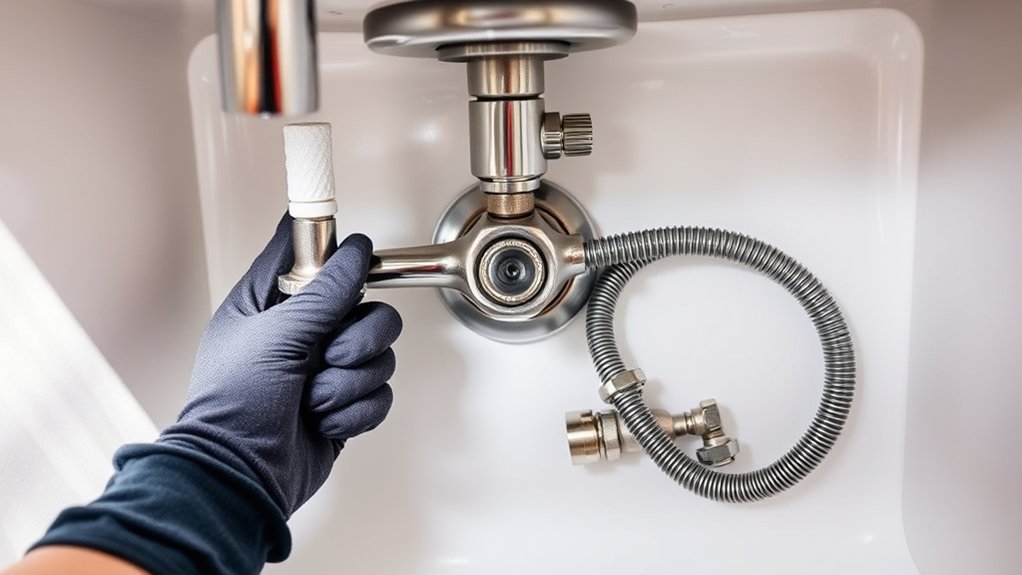
With the sink type confirmed and your tools ready, shut off the hot- and cold-water valves beneath the sink. Turn each valve clockwise until it stops, but don’t force it. If you can’t find local shutoffs, close the home’s main water valve.
Open both faucet handles to release water pressure, then leave them open while you work.
Place a bucket and towel under the connections to catch residual water. Identify the hot and cold supply lines, and note their positions so you can reconnect them correctly if needed.
Use an adjustable wrench to loosen each compression nut where the line meets the faucet tailpiece or shutoff valve. Hold the valve steady with a second wrench to prevent twisting the plumbing.
Inspect the pipe materials and fittings as you disconnect them. Cap or plug open valve outlets temporarily, especially if someone might restore the water.
Keep the removed lines and nuts together, and wipe the area dry before continuing. Don’t disconnect the drain or disposal yet.
Disconnect the Drain, Trap, and Disposal
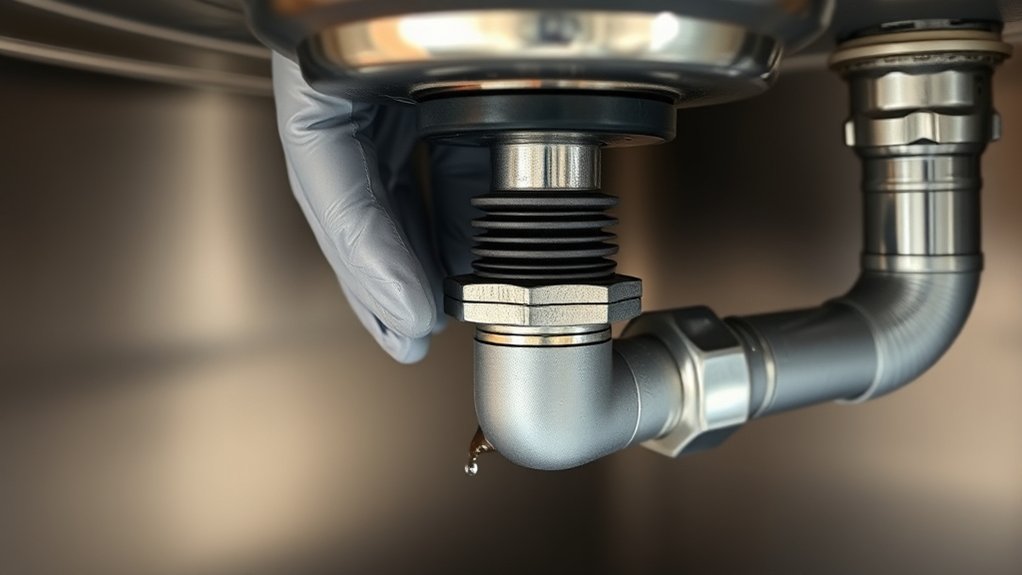
Next, disconnect the drainpipe and P-trap beneath the sink. If your sink has a garbage disposal, remove that as well. Keep a bucket nearby to catch any water left in the pipes.
Disconnect the Drainpipe
Turn off the water supply, place a bucket beneath the sink, and loosen the slip nuts to disconnect the drainpipe and P-trap. Let standing water drain into the bucket, then remove the washers and set them aside.
If a nut resists, use tongue-and-groove pliers gently to avoid cracking the fitting. Keep a rag nearby for spills, and inspect each connection for buildup or damage.
| Check | Action |
|---|---|
| Residue | Wipe fittings clean |
| Damage | Note parts needing replacement |
Cap the wall pipe temporarily with a rag to block odors, but don’t push it inside. Label parts if you’ll reuse them.
This access helps with drain cleaning and makes pipe replacement easier later. Photograph the arrangement before removing anything else.
Then store hardware in a container so you won’t lose small washers or nuts.
Remove the Disposal
Disconnect the disposal’s drain connection and dishwasher hose, if present, before loosening its mounting ring. Place a bucket beneath the trap, then loosen the slip nuts with channel-lock pliers.
Let trapped water drain, and remove the trap carefully. Support the disposal with one hand or a block, because it’s heavy.
Insert a screwdriver into the mounting ring’s lugs and turn the ring counterclockwise. Lower the unit and set it aside.
If the ring sticks, tap the lugs gently with a hammer and screwdriver. Don’t force the sink flange.
Remove the old gasket and scrape away remaining plumber’s putty. Keep the drain opening covered to prevent debris from entering the pipe.
Inspect connections for corrosion and note any parts you’ll need for disposal maintenance or future disposal replacement before installing the new sink.
Remove the Sink’s Mounting Clips
With the cabinet cleared beneath the sink, use a screwdriver or nut driver to loosen each mounting clip. Work around the basin, turning every screw counterclockwise until the clip no longer presses firmly against the underside of the countertop. Keep one hand near each fastener as you remove it, preventing clips or screws from dropping into the cabinet.
Loosen each mounting clip beneath the sink, working around the basin and supporting hardware as you remove it.
Some sinks use wing nuts, hex nuts, or specialized brackets instead of standard screws. Choose the matching tool before applying force, and spray a small amount of penetrating oil on stubborn hardware. Let it work briefly, then try again rather than stripping the fastener.
Use careful removal techniques in tight spaces. Position a flashlight so you can see each connection, and place removed hardware in a container for easy cleanup. If a clip spins with its screw, hold the nut or bracket steady with pliers while turning the screw.
Continue until every mounting clip assembly is loose, but leave the sink undisturbed for the next step.
Cut Through the Sink’s Caulk Seal
Once every mounting clip is loose, run a sharp utility knife around the seam where the sink rim meets the countertop. Keep the blade nearly parallel to the surface, and use controlled strokes to avoid scratching laminate, stone, or wood.
Work around corners carefully, where caulk often forms a thicker bond.
For safer caulk removal, choose your tool and pressure according to the countertop:
| Surface | Cutting approach |
|---|---|
| Laminate | Light, shallow strokes |
| Stone | Keep the blade flat |
| Wood | Avoid digging into finish |
If the bead resists, score it again rather than forcing the knife. Slide a plastic scraper into the cut line to separate remaining adhesive, but don’t pry against the countertop edge.
Check both the visible rim and the underside edge for uncut sections. Your seal inspection should confirm that no caulk still connects the sink to the counter.
Remove loose strands with pliers or scrape them away carefully. Keep the area clean so you can see the entire seam clearly.
Lift Out the Sink With Support
After confirming the caulk is fully cut, place a support beneath the sink basin before lifting it. Keep your back straight, and don’t rely on the plumbing connections or countertop edge to hold the sink’s weight. Work slowly, especially if the basin is cast iron or filled with attached hardware.
Support the basin from below before lifting, and use proper technique to prevent strain or damage.
- Slide a sturdy platform, sawhorse, or helper’s hands beneath the basin. Center it to maintain balanced weight distribution.
- If the sink uses support brackets, loosen and remove every fastener before raising the basin. Keep one hand on the sink to prevent shifting.
- Ask a helper to stand opposite you. Lift together with your legs, keeping the sink level as you ease it upward.
- Once it clears the countertop, move it straight to a padded surface. Don’t twist, drag, or let exposed edges strike the cabinet.
Set the sink aside securely, and keep the removed brackets and hardware together for disposal or later reference.
Clean the Opening and Check for Damage
Inspect the exposed countertop opening for old caulk, adhesive, chips, or cracks. Remove loose debris by hand, then use a plastic scraper to lift stubborn residue without gouging the surface.
For effective Cleaning techniques, dampen a cloth with warm, soapy water and wipe the rim, underside, and surrounding countertop. Avoid soaking porous materials, especially wood or laminate, because trapped moisture can cause swelling.
Complete a careful Damage inspection before installing another sink. Shine a flashlight across the opening to reveal hairline cracks, swollen edges, burn marks, or separating laminate.
Check the cabinet beneath the opening for water stains, softened wood, mold, or damaged supports. Press gently around questionable areas; a spongy feel may indicate hidden moisture damage.
Let the area dry fully, then vacuum dust from the cutout and wipe it again with a clean cloth. Photograph significant problems and repair them before proceeding.
If the countertop feels unstable or damage extends beyond the opening, consult a professional rather than forcing a replacement sink into an unsafe surface.
Frequently Asked Questions
Can I Remove a Kitchen Sink Without Hiring a Professional Plumber?
Yes, you can remove a kitchen sink without hiring a professional plumber if you’re comfortable with basic DIY plumbing. First, shut off the water supply, open the faucet, and place a bucket beneath the pipes.
Disconnect the supply lines, drain, garbage disposal, and mounting clips. Cut through old caulk, then lift the sink carefully.
For safe sink disposal, check local regulations, especially if your sink contains heavy materials. Avoid damaging the countertops or cabinets.
How Long Does Kitchen Sink Removal Typically Take?
Kitchen sink removal typically takes two to four hours, though your project may move faster or crawl along like a stubborn drain. You’ll spend about 30 minutes shutting off water and disconnecting plumbing, then one to two hours on sink dismantling.
Using the right removal tools can save time, while old sealant, rusted fasteners, tight cabinets, or damaged pipes can extend the job. Add extra time for cleanup and repairs.
What Safety Precautions Should I Take Before Removing the Sink?
Shut off the water supply and disconnect the drain before you begin. Open the faucet to relieve pressure, then place a bucket beneath connections to catch water.
Turn off electricity if nearby outlets or garbage disposals could get wet. Wear protective gear, including gloves and eye protection.
Practice Tool safety by using the correct wrench, keeping blades pointed away, and maintaining stable footing. Don’t work alone if the sink feels heavy.
Can I Reuse My Old Sink After Removing It?
Yes, you can often reuse your old sink—think of it as a trusted ship ready for another voyage.
First, inspect the Sink material: stainless steel usually travels well, while porcelain or composite may hide cracks, chips, or stains.
Check the Reuse potential by examining mounting edges, drain openings, faucet holes, and underside hardware.
If everything remains sound, clean it thoroughly, replace worn seals, and reinstall it carefully. Otherwise, recycle it responsibly.
How Much Does Professional Kitchen Sink Removal Usually Cost?
Professional kitchen sink removal usually costs $100–$300, depending on your location, sink size, countertop type, plumbing complexity, and disposal needs. You’ll typically pay more if the installer must disconnect a garbage disposal, cut through stone, or repair surrounding surfaces.
Ask service providers for a written cost estimate that includes labor, hauling, plumbing disconnection, and potential damage repairs. You can often reduce expenses by clearing the cabinet and removing stored items beforehand.
Conclusion
With the right tools and a careful approach, you can remove a kitchen sink in seven manageable steps. In fact, a leaky faucet can waste more than 3,000 gallons of water each year, so replacing a damaged sink or fixture may save more than you expect.
Once you’ve lifted the sink, clean the opening, inspect the countertop, and repair any damage before installing the replacement. Take your time, and you’ll finish the kitchen sink removal safely and confidently.