7 Easy Tips to Organize Your Kitchen
A cluttered kitchen can make even simple meals feel stressful. You’re not alone—many people struggle to keep counters clear, cabinets organized, and everyday essentials easy to find. These 7 easy tips to organize your kitchen can help you create a more functional space.
Declutter first by removing expired food, duplicates, damaged containers, and rarely used gadgets. Group cookware, bakeware, dishes, and utensils by function. Give every item a designated home, keeping daily essentials within easy reach.
Organize cabinets by meal routines and use dividers in drawers. Add shelves, hooks, magnetic strips, or pegboards to use vertical space. Keep counters clear, then reset your kitchen weekly by wiping surfaces, checking supplies, and returning items.
The following tips will help you refine each step.
Key Takeaways
- Declutter expired food, duplicate tools, cracked containers, and rarely used items to create more usable space.
- Group similar items into dedicated zones based on function, such as cooking, baking, food preparation, and serving.
- Use shelf risers, drawer dividers, bins, hooks, magnetic strips, and vertical racks to maximize storage.
- Keep frequently used dishes, utensils, cookware, and appliances within easy reach near their work areas.
- Label shelves, drawers, bins, and food containers clearly to simplify identification and maintain organization.
Declutter Your Kitchen Before Organizing
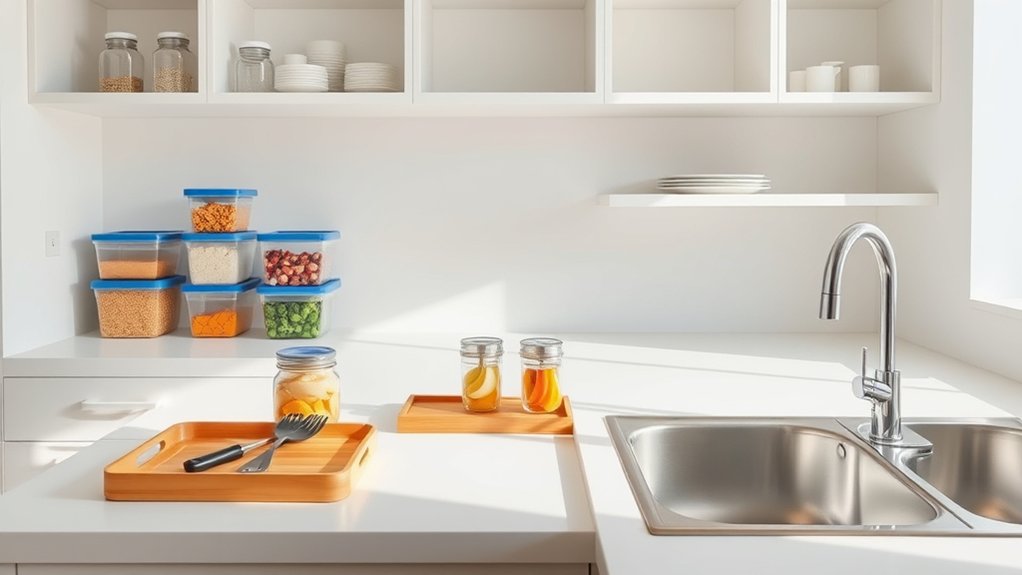
Before organizing your kitchen, declutter it by removing expired food, duplicate tools, and items you rarely use. Check every cabinet, drawer, shelf, and countertop, then make quick decisions: keep, donate, recycle, or discard.
Declutter first: remove expired food, duplicate tools, and rarely used items from every kitchen storage area.
You’ll create useful space by letting go of appliances you never use, cracked containers, mismatched lids, and gadgets that don’t perform well.
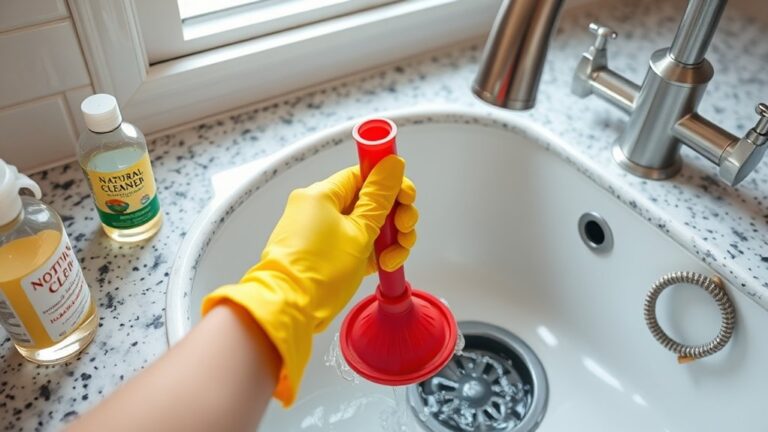
Use kitchen cleaning as your starting point. Wipe empty shelves, vacuum crumbs from corners, and clean sticky drawer interiors before returning anything.
Inspect your cookware, cutting boards, and storage containers for damage or lingering odors. Set aside items that need repair, recycling, or replacement rather than allowing them to occupy valuable space.
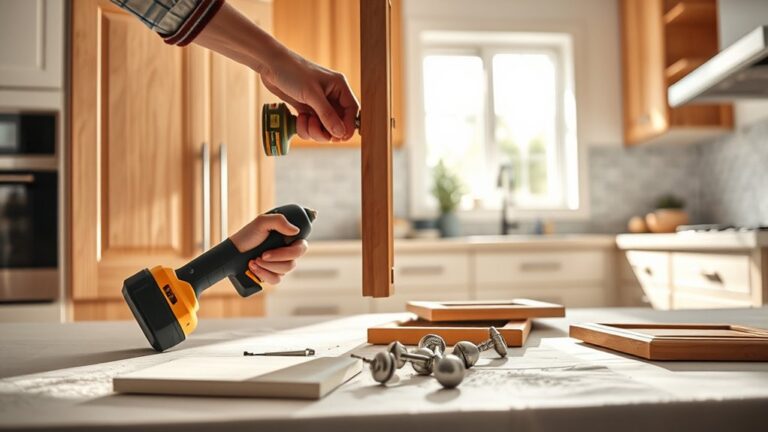
Include utensil maintenance in your decluttering routine. Sharpen dull knives, replace bent tools, and discard utensils with loose handles or rust.
Keep only safe, functional pieces you regularly reach for. As you work, avoid creating temporary piles in other areas; finish each decision immediately so your kitchen feels lighter, cleaner, and ready for an efficient organizing system.
Group Similar Kitchen Items Together
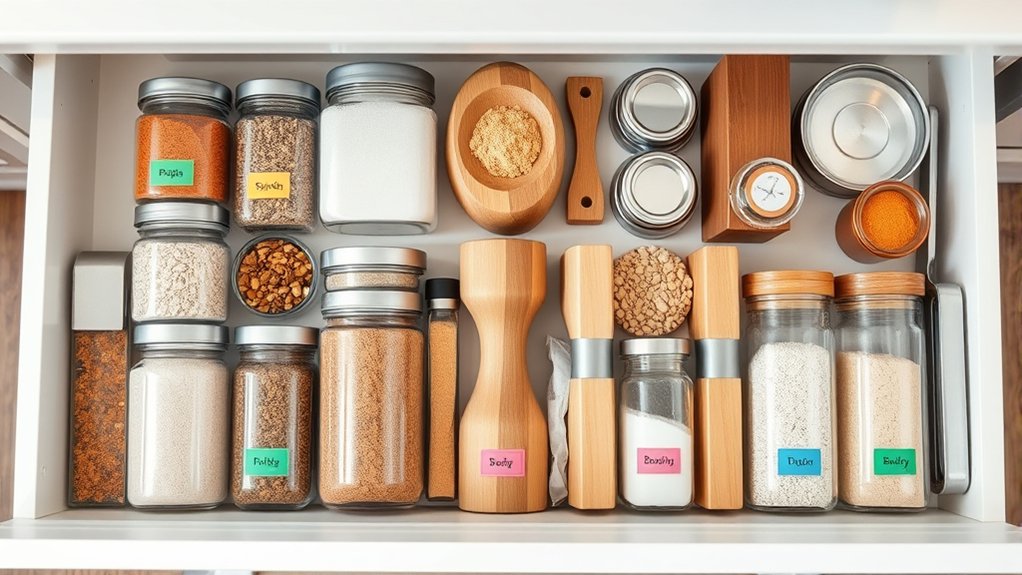
Group similar items together so you can find what you need quickly. Start by sorting everything into categories, then create zones for cooking tools, dishes, and pantry goods. Label each storage area to help keep everything in its place.
Sort By Category
Sort similar kitchen items into categories so you can find what you need quickly and put everything back in its proper place. Start with broad groups such as cookware, bakeware, utensils, dishes, glasses, food-storage containers, and serving pieces.
Then refine each category by function or size. Keep pots with pots, measuring tools together, and lids matched with their containers.
During meal prep, you’ll save time when knives, cutting boards, mixing bowls, and measuring cups are easy to identify. Review appliance placement, too, and group accessories with the appliance they support, such as blender blades or mixer attachments.
Label containers or shelves if categories aren’t obvious. As you sort, remove duplicates, damaged items, and rarely used pieces.
Don’t create extra categories that make retrieval harder. Choose simple groupings you’ll remember and maintain.
Create Item Zones
Once you’ve sorted items by category, create dedicated zones for the tasks you perform most often. Group each collection near its point of use, so you won’t waste time crossing the kitchen.
Use these cooking tips to build practical zones:
- Keep pots, pans, and utensils beside the stove for quick access during meal preparation.
- Place mixing bowls, measuring cups, and baking tools together near your main counter.
- Store plates, glasses, and serving pieces close to the dishwasher or dining area.
- Reserve a coffee or breakfast zone with mugs, filters, and everyday ingredients.
Think carefully about appliance placement, too. Keep frequently used appliances on accessible counters, while less-used ones can occupy a nearby cabinet.
Match every zone to your routine, and return items to their proper group after each use. This arrangement keeps cooking smoother and cleanup simpler.
Label Storage Areas
Clear labels make it easier to find items and keep similar kitchen supplies together. Label each shelf, drawer, and bin according to its purpose, such as baking tools, spices, snacks, or lunch containers.
You’ll quickly return items to their proper homes and avoid overcrowding. Use clear, readable words instead of vague labels like “miscellaneous.”
Try different labeling techniques, including adhesive tags, chalkboard stickers, or a waterproof marker for containers near the sink. Match labels to your storage container types so you can identify contents without opening every bin.
Place labels where you can see them easily, even when shelves are full. If your needs change, update labels promptly.
Grouping similar supplies and labeling their areas will make cooking, shopping, and cleanup much more efficient. Don’t forget expiration dates on food containers.
Give Every Kitchen Item a Home
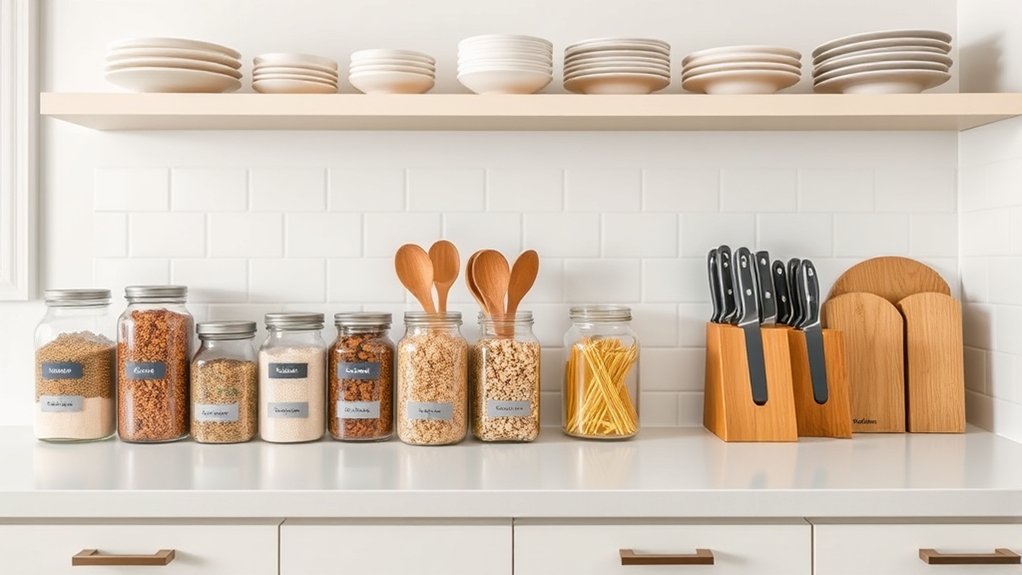
Give every kitchen item its own storage spot, so you’ll always know where to find it. Group similar items together, and label shelves and containers to make everything easy to identify.
Assign Specific Storage Spots
Assign every kitchen item a specific home so you can find it quickly and return it easily after use. Choose locations based on how often you use each item and how easily you can reach it.
- Keep everyday plates and bowls in a cabinet near the dishwasher.
- Place pots and pans in a lower drawer or sturdy cabinet.
- Create dedicated utensil spots in a drawer organizer for knives, spatulas, and measuring tools.
- Store wraps, bags, and foil in one labeled drawer.
Use shelf risers, hooks, bins, and drawer dividers as custom storage solutions when standard cabinets waste space.
Label containers if family members regularly put things away. Keep heavy items low and fragile pieces at comfortable heights.
After cooking, return each item to its assigned location immediately. Consistent placement makes tidying faster and keeps your kitchen orderly.
Group Similar Items Together
Once each item has a designated home, group similar kitchen tools and supplies together so you can find what you need without searching. Keep spatulas, tongs, and wooden spoons in one drawer or crock for simple utensil placement.
Store measuring cups and spoons near your mixing bowls, while keeping baking tools together in a nearby cabinet. Create an appliance grouping for frequently used machines, such as your toaster, blender, and coffee maker.
Place occasional appliances, including a food processor or waffle iron, together in a less accessible cabinet. Arrange cookware by type, keeping pots with pots and pans with pans.
Group plates, bowls, and glasses separately so setting the table takes less time. Return each item to its category after use, and you’ll maintain order with less effort.
Label Shelves And Containers
Clear labels turn shelves, bins, and containers into easy-to-follow storage zones. When you label shelves, you’ll know exactly where to return spices, snacks, dishes, and cleaning supplies.
Use large, readable words and place each label at eye level. Match labels to your routine so you won’t create extra steps.
- Label each shelf by category, such as breakfast foods or baking supplies.
- Mark containers with both the food name and expiration date.
- Use consistent labels throughout your pantry for smoother container organization.
- Add removable labels to bins that change with the seasons.
Choose waterproof labels for areas near sinks or refrigerators. You can also use colors to separate family members’ snacks or identify allergy-safe foods.
Review your system monthly, replace damaged labels, and adjust locations when your habits change. This simple practice keeps every kitchen item at home.
Organize Cabinets by Daily Use
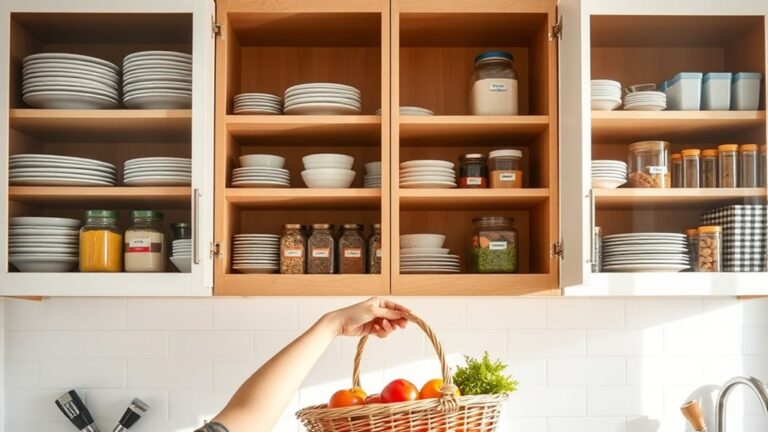
Make everyday cooking easier by placing the dishes, glasses, and utensils you use most often in the cabinets closest to your main prep area. Keep everyday plates on a middle shelf, where you can reach them without stretching.
Place frequently used dishes, glasses, and utensils near your prep area for easier cooking and fewer unnecessary steps.
Store mugs and drinking glasses near the refrigerator or coffee station to shorten routine tasks. Put mixing bowls, measuring cups, and frequently used cookware beside your workspace, while reserving higher shelves for specialty items.
Consider kitchen appliance placement, too: position your toaster, blender, or coffee maker where you’ll use it, but leave enough counter space for preparation. Apply utensil drawer organization by keeping your most-used tools within easy reach and storing occasional gadgets elsewhere.
Group items by meal routines, such as breakfast, baking, or dinner, so you can gather what you need quickly. After a week, notice which cabinets you use most and adjust locations to match your habits.
You’ll save steps and keep counters less cluttered.
Use Dividers to Organize Kitchen Drawers
With cabinets arranged by daily use, turn to the drawers that hold smaller tools and utensils. Before buying organizers, empty each drawer and group similar items.
Measure the interior, then choose adjustable drawer dividers that fit snugly without wasting space. Use this simple system:
- Place everyday cooking tools, such as spatulas and tongs, in the most accessible drawer.
- Keep measuring cups and spoons together so you can grab them quickly.
- Separate sharp knives with a secure insert, keeping blades from contacting other tools.
- Reserve a smaller section for gadgets you use occasionally, and remove duplicates.
Arrange items with handles facing the same direction to make utensil organization easier. Label sections only if multiple household members share the kitchen.
After a week, notice which tools you reach for most and adjust the layout. Don’t overfill drawers; leave enough room to open and close them smoothly.
Wipe compartments regularly, and return each item to its designated spot after washing.
Add Vertical Storage to Small Kitchens
When counter and cabinet space runs short, use your walls to store kitchen essentials. Install vertical shelving to hold plates, bowls, spices, or small appliances without consuming valuable workspace. Choose adjustable shelves so you can change the arrangement as your needs evolve.
Mount a narrow shelf beside the refrigerator for oils and seasonings, or place one above your prep area for frequently used ingredients.
Create convenient storage with a narrow shelf beside the refrigerator or above your prep area for frequently used ingredients.
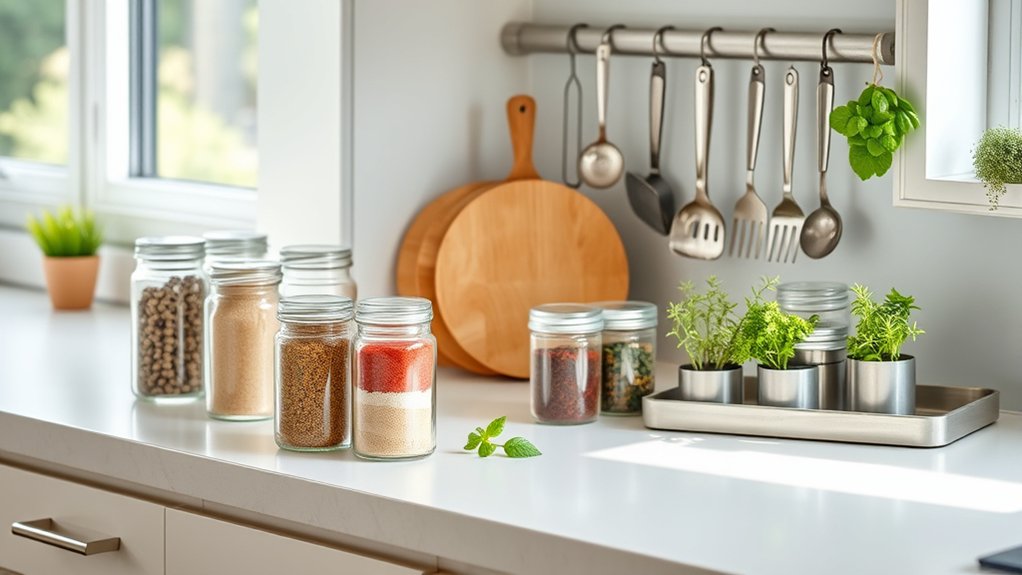
Use hanging racks to keep pots, pans, utensils, and mugs within easy reach. A rail with hooks can turn an unused backsplash into practical storage, while a magnetic strip can hold knives safely off the counter.
Add a pegboard if you want flexible placement for tools and cookware.
Measure your wall before buying hardware, and anchor every shelf securely. Keep heavier items on lower levels to improve stability.
Leave enough clearance around doors, outlets, and work areas so your new storage makes cooking easier, not more crowded. Consider labeled bins for loose accessories.
Reset Your Kitchen Once a Week
Set aside a few minutes each week to reset your kitchen before clutter gets out of hand. Choose a consistent day, put on a timer, and work through four quick tasks:
- Clear counters and return every utensil, dish, and ingredient to its assigned home. Toss expired food and wipe crumbs from drawers.
- Check the refrigerator and pantry before meal planning. Group similar items, note what you need, and place soon-to-expire foods where you’ll see them.
- Wash reusable containers, empty the drying rack, and sweep the floor. A clean finish makes daily cooking feel easier.
- Include appliance maintenance in your reset. Wipe the microwave, clean the coffee maker, empty the toaster tray, and inspect filters or cords for problems.
Ask everyone in your household to help, so the reset doesn’t fall entirely on you. End by setting out anything you’ll use tomorrow.
This simple routine prevents small messes from becoming overwhelming and keeps your kitchen ready for the week ahead. You’ll spend less time searching and more time cooking confidently.
Frequently Asked Questions
Can Kitchen Organization Improve Food Safety?
Yes, kitchen organization can improve food safety by helping you separate raw ingredients from ready-to-eat foods, store items at safe temperatures, and track expiration dates. You’ll reduce food contamination risks when you keep shelves clean, place raw meat below other foods, and use separate cutting boards.
Organized supplies also support consistent hygiene practices, such as washing hands, sanitizing surfaces, and rotating older products forward. These habits make safe food handling easier every day.
How Can I Organize a Kitchen Shared by Multiple People?
You can organize a shared kitchen by giving every item a clear home and labeling shelves, drawers, and pantry zones. Create separate spaces for personal foods, shared staples, and cleaning supplies.
Use a visible meal prep calendar so everyone knows what’s reserved and when. Post simple cleaning schedules on the refrigerator, assigning daily and weekly tasks.
Add a shared shopping list, communicate before rearranging items, and review the system monthly together.
What Storage Solutions Work Best for Renters?
Renters’ shelving works best because you can add vertical space without drilling permanent holes. Choose tension shelves, freestanding bookcases, or over-the-door racks that you can move when you relocate.
Portable storage, such as rolling carts, stackable bins, and labeled baskets, keeps supplies accessible while adapting to shared kitchen routines. Use adhesive hooks for lightweight tools, and measure every area first so your solutions fit securely without damaging walls or cabinets.
How Often Should I Replace Kitchen Storage Containers?
Replace kitchen storage containers when they crack, warp, stain permanently, retain odors, or no longer seal. Don’t wait until your pantry becomes a food-storage disaster zone.
With good Container durability, quality plastic or glass can last five to ten years, while inexpensive pieces may need replacement sooner.
Inspect containers every few months, especially after heavy use. Apply clear Labeling techniques to track dates, contents, and damage, helping you replace items before they fail.
Can Organized Kitchens Help Reduce Grocery Spending?
Yes, an organized kitchen can help you reduce grocery spending. Meal planning lets you buy only what you’ll use, while pantry labeling helps you see existing ingredients before shopping.
Group similar foods together, rotate older items forward, and keep a running inventory of staples. You’ll avoid duplicate purchases, waste less food, and spot sales that genuinely benefit your budget.
A tidy refrigerator also makes leftovers easier to find and enjoy.
Conclusion
With these simple habits, you’ll create a kitchen that feels calmer and works harder for you. Clear out what you don’t use, group similar items, and give everything a designated home.
Arrange cabinets around your daily routines, use dividers in drawers, and make the most of vertical space. Then, reset your kitchen once a week so clutter doesn’t return.
Like a well-tuned recipe, your organized kitchen will make every task smoother and more enjoyable.