How to Remove Kitchen Cabinets in 7 Easy Steps
Removing kitchen cabinets can feel overwhelming, especially when you’re worried about damaging your walls, floors, or plumbing. You’re not alone—many homeowners struggle with where to start, but a careful plan can make the process much easier.
Remove kitchen cabinets in seven steps: protect the room and gather tools, then shut off water, gas, and electricity. Disconnect appliances and plumbing, catching water in a bucket and capping open lines.
Remove doors, drawers, and hardware, labeling parts. Take down upper cabinets with a helper, then remove base cabinets carefully.
Finally, inspect walls and floors for leaks, mold, or damage, and repair surfaces before installation. These precautions make the job safer and easier to manage.
Key Takeaways
- Protect floors, walls, and remaining items with drop cloths, plastic sheeting, sealing tape, and dust containment.
- Shut off and verify water, gas, and electricity before disconnecting appliances, plumbing, or electrical connections.
- Remove appliances carefully, disconnect supply lines and drains, cap pipes, and label every connection for reference.
- Remove cabinet doors, drawers, shelves, and hardware. Then unscrew wall and neighboring cabinet fasteners with proper support.
- Inspect and repair walls and floors, remove debris, locate studs and utilities, and prepare surfaces for replacement cabinets.
Protect the Room and Gather Removal Tools
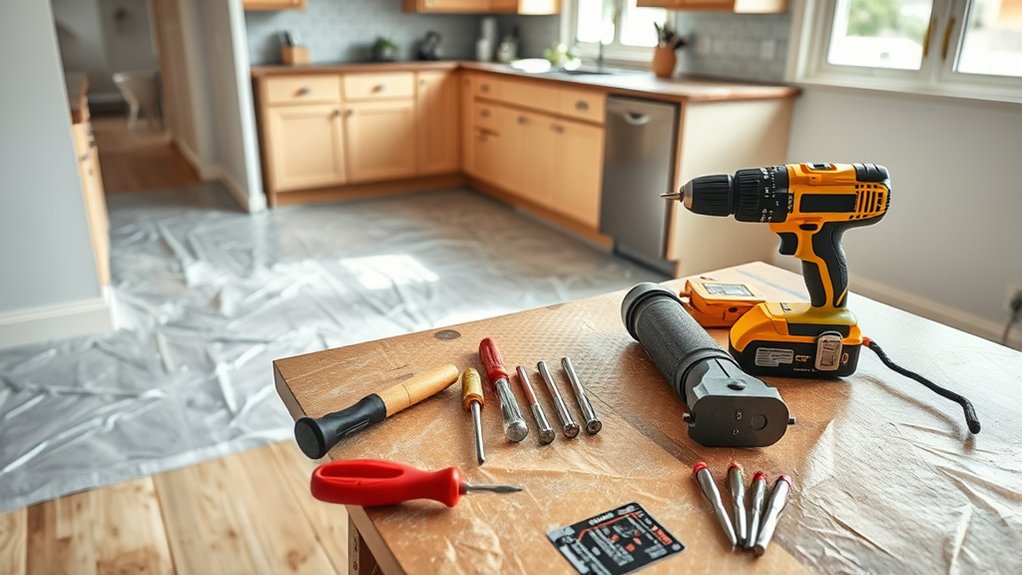
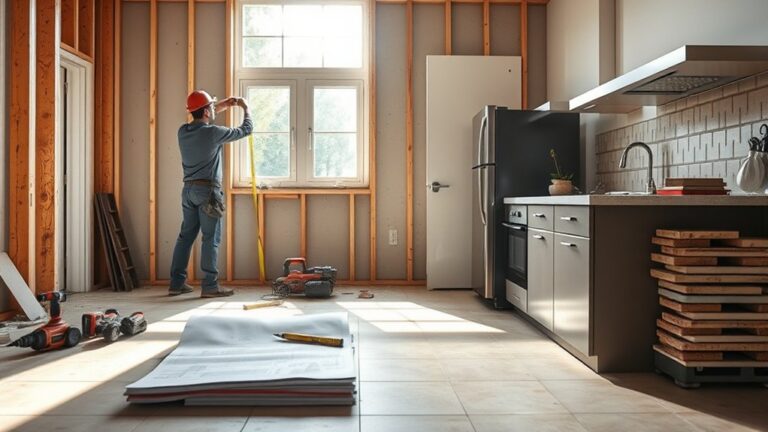
Before removing any cabinets, protect the room from dust, debris, and accidental damage. Clear countertops, appliances, dishes, and nearby furniture from the work area.
Cover anything that remains with heavy-duty plastic sheeting, and seal its edges with painter’s tape. To protect flooring, lay down moving blankets, canvas drop cloths, or thick cardboard, securing them so they won’t slide.
Create dust containment by hanging plastic sheeting across doorways and closing vents in the work zone. Keep windows accessible for ventilation, but avoid letting debris spread into adjoining rooms.
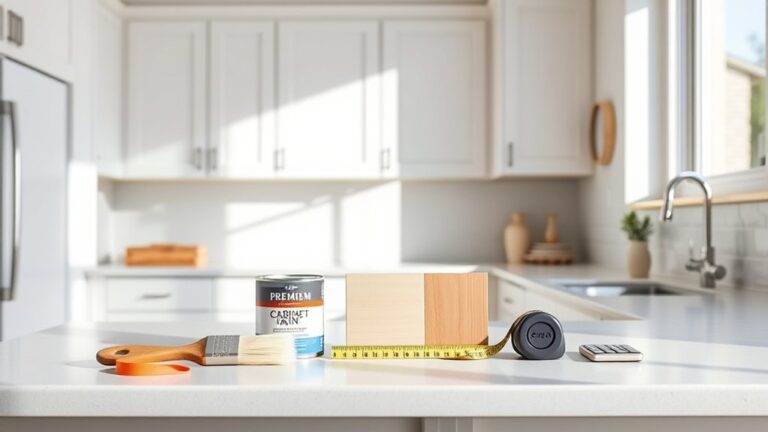
Gather the right removal tools before you begin. You’ll typically need a drill or screwdriver, pry bar, hammer, utility knife, adjustable wrench, pliers, level, stud finder, and a bucket for hardware.
Add safety glasses, work gloves, hearing protection, and a dust mask or respirator. Label containers for screws and brackets, and keep a sturdy step stool nearby.
Organize everything within reach so you can work efficiently and avoid unnecessary trips through protected areas.
Shut Off Water, Gas, and Electricity
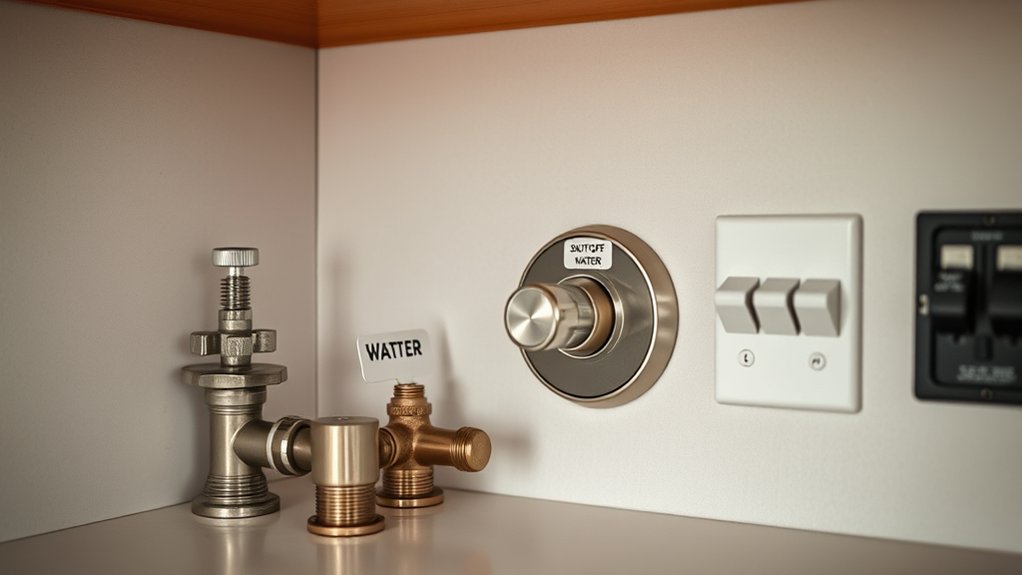
Shut off the water, gas, and electricity serving the cabinet area before removing anything connected to those utilities. This protects you from leaks, fire, shocks, and unexpected appliance movement while you work.
Locate each shutoff and identify it clearly before touching the cabinets.
Identify and label every utility shutoff before starting work, so you can respond safely if something goes wrong.
- Water safety: Turn the nearby supply valve clockwise until it stops. If you can’t find a local valve, close the home’s main water valve.
- Gas: Turn the gas shutoff handle so it sits perpendicular to the pipe. If you smell gas, leave immediately and call your utility company from outside.
- Electricity: Switch off the appropriate breaker, then test the area with a noncontact voltage tester. Don’t rely on a wall switch alone. Electrical hazards can remain hidden.
Tell everyone in the home that these utilities are off. Keep the breaker panel and shutoff valves accessible, and never force a stuck valve or handle.
Call a licensed professional if you’re unsure which control serves the cabinet area.
Remove Appliances and Disconnect Plumbing
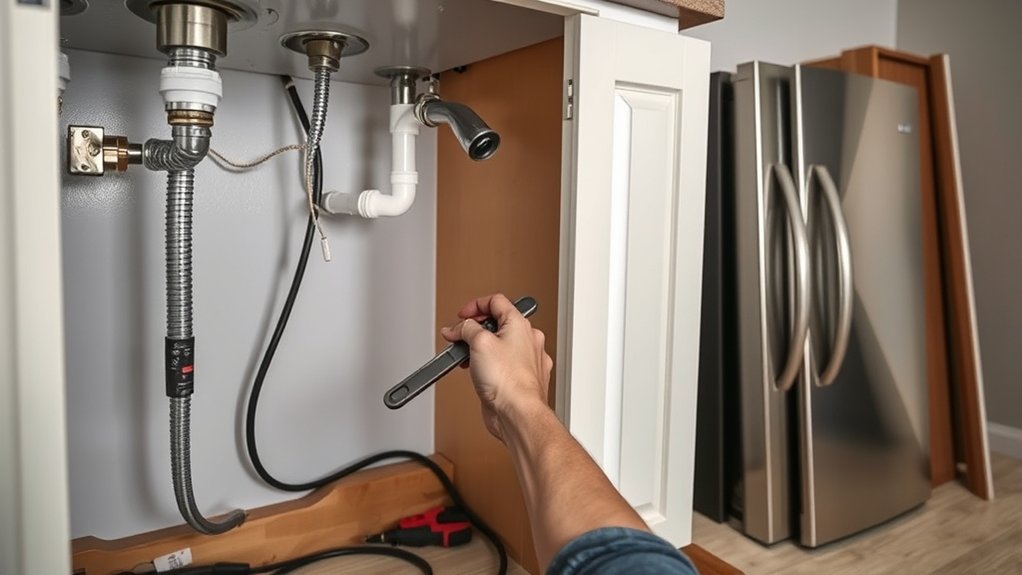
With the utilities off, remove appliances and disconnect plumbing from the cabinet area. Begin appliance removal by pulling the range, dishwasher, refrigerator, or microwave forward carefully.
Get help with heavy units, and protect the floor with cardboard or a moving blanket. Don’t force an appliance if a gas line, water hose, or electrical cord still connects it.
Confirm each connection is fully detached before moving the unit aside.
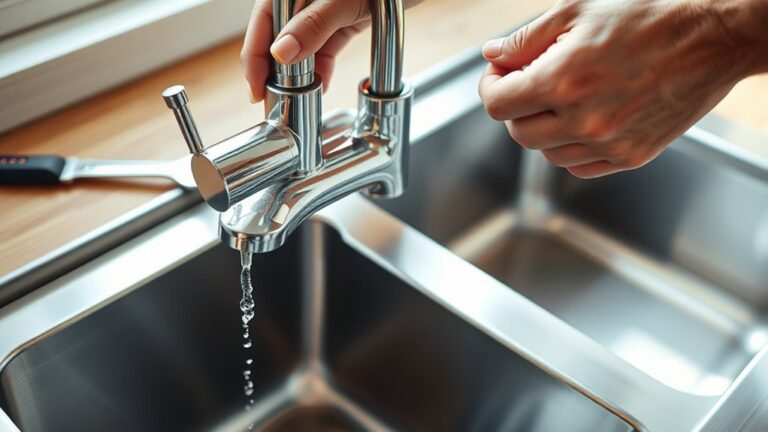
For plumbing disconnection, place a bucket beneath supply valves and loosen the faucet, dishwasher, or refrigerator water lines with an adjustable wrench. Open the faucet briefly to release pressure, then cap exposed pipes or valves to prevent drips.
Disconnect the drain trap under the sink, keeping the bucket in position for leftover water. Seal the drain opening temporarily to block odors and debris.
Label removed connections if you’ll reinstall them later. Check the cabinet area for moisture, leaks, or hidden supports before proceeding with cabinet removal.
Keep tools organized and avoid damaging walls or flooring.
Remove Cabinet Doors, Drawers, and Hardware
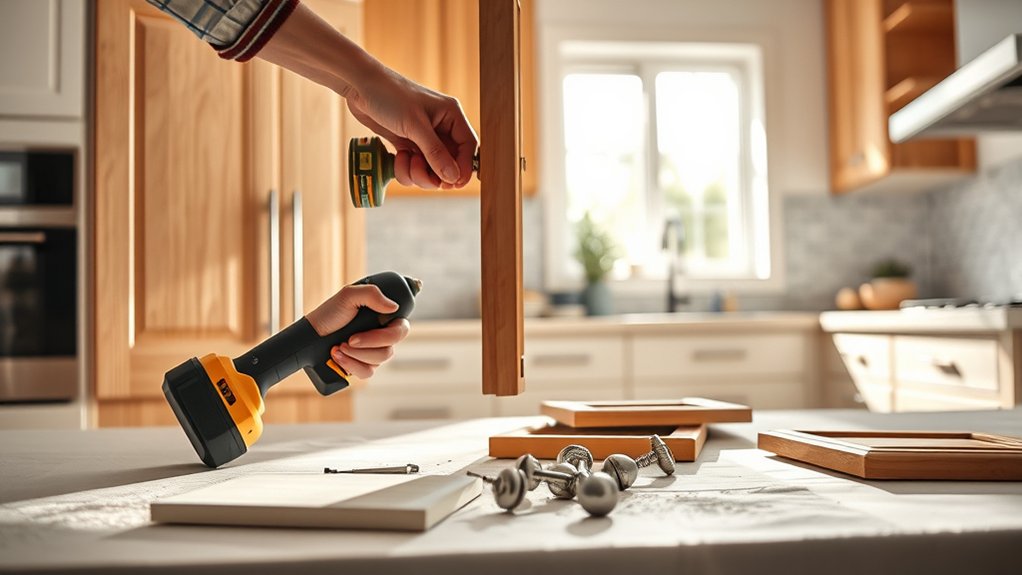
Once the appliances and plumbing are clear, remove the cabinet doors, drawers, and hardware to lighten the units and expose their attachment points. Start with the doors, supporting each one while you loosen its hinge screws. Keep screws and hinges together in labeled bags so you can identify them later.
Next, pull each drawer out as far as it goes, then lift or press its release tabs, depending on the slide style. Set doors and drawers on a protected surface to prevent scratches, especially if you’ll reuse them. Watch for chips in the cabinet paint around screw holes.
- Place hinges in a small bag labeled by cabinet.
- Wrap knobs and pulls to prevent dents.
- Photograph unusual hardware before removal.
Finally, remove knobs, pulls, shelf pins, and catches with the correct screwdriver. If decorative molding overlaps a door or blocks hardware, note its position, but don’t pry it loose yet. Keep the work area organized before proceeding.
Remove Upper Kitchen Cabinets Safely
Before loosening any fasteners, position a sturdy work platform beneath the upper cabinet and have another person support its weight. Clear the area, remove nearby obstacles, and wear safety glasses and work gloves.
If the cabinet connects to electricity, turn off the circuit and confirm the wires are dead before touching them.
Locate the screws securing the cabinet to wall studs or a neighboring cabinet. Have your helper maintain firm support while you remove the bottom, side, and top fasteners with a drill or screwdriver.
For cabinets installed in sections, detach each unit separately, starting with the smallest or lightest piece. Don’t pry against drywall, since you could enlarge damage around the fasteners.
When every screw is out, lower the cabinet straight down with your helper. Set it on padded supports, then label the hardware and inspect the wall for remaining anchors.
Careful removal protects surfaces and makes later Cabinet finishing or Custom remodeling work easier. Never work beneath an unsupported cabinet.
Remove Base Cabinets Without Damage
After the upper cabinets are down, remove the base cabinets one unit at a time to protect the countertop, flooring, and walls. Clear each cabinet, then shut off and disconnect nearby plumbing or appliances if necessary. Remove drawers and doors, labeling hardware in bags so reassembly stays simple.
Remove base cabinets one at a time, disconnect utilities safely, and label hardware to simplify reassembly.
- Cut through caulk along the countertop, backsplash, and wall with a sharp utility knife.
- Support the countertop while you loosen screws securing it to the cabinet frames.
- Back out wall and floor screws, then gently rock each cabinet free.
Use a pry bar only against a wood block, never directly on finished surfaces. Lift cabinets with a helper instead of dragging them across the floor.
If you’re saving units for Custom cabinetry changes or Cabinet painting, wrap doors and panels in moving blankets. Keep shims and fasteners together, and don’t force a cabinet that remains attached to its neighbor. Remove connecting screws first.
Work slowly around corners to preserve reusable materials and prevent unnecessary cracking or splintering.
Inspect for Damage and Prepare the Walls
With the cabinets removed, inspect the exposed walls, floor, and surrounding trim for water stains, mold, loose drywall, or damaged studs. During your wall inspection, use a flashlight to check corners, plumbing openings, and areas hidden behind the cabinet material.
Probe soft spots carefully with a screwdriver, but don’t disturb suspected mold until you’ve protected yourself and improved ventilation.
Remove loose screws, nails, adhesive, and damaged drywall. If you find active leaks, mold, or structural damage, stop and address the source or call a qualified professional.
Replace weakened studs before installing new cabinets, and let damp surfaces dry completely.
Scrape away bumps and hardened caulk, then vacuum dust and debris. Patch small holes with joint compound, reinforce larger damage, and sand repairs smooth.
Check the wall with a level. Shim or repair uneven sections so your new cabinets will sit securely and align properly.
Finally, mark stud locations and plumbing or electrical lines before proceeding.
Frequently Asked Questions
Can Kitchen Cabinets Be Removed Without Professional Help?
Yes, you can remove kitchen cabinets without professional help if you plan carefully and work safely. First, shut off utilities, empty the cabinets, and protect nearby surfaces.
Identify the cabinet materials, since wood, laminate, and metal require different handling. Gather removal tools, including a drill, pry bar, utility knife, level, and safety gear.
Remove doors, shelves, and fasteners before lifting each cabinet. Ask someone to help with heavy units and dispose of debris responsibly.
How Long Does Kitchen Cabinet Removal Usually Take?
Most homeowners complete kitchen cabinet removal in four to eight hours, though a larger kitchen can take one to two days. You’ll usually spend about 30 minutes per cabinet during careful cabinet demolition.
If you’re working alone, add extra time for disconnecting fixtures, labeling parts, and carrying debris outside. Gather essential removal tools first, including a drill, pry bar, utility knife, gloves, and safety glasses.
Careful preparation keeps your project moving safely.
Can Removed Cabinets Be Reused or Donated?
Yes, you can often reuse or donate removed cabinets if they’re sturdy, clean, and free from water damage, mold, or pests. Label hardware, photograph each piece, and store everything together to simplify reinstallation.
Contact Habitat for Humanity ReStore, local nonprofits, or community groups before transporting them, and ask about pickup requirements. If donation isn’t practical, consider recycling options for wood, metal, and hardware.
Donation tips: disclose damage honestly and offer measurements.
What Should You Do With Old Kitchen Cabinets?
Give old kitchen cabinets a second life: donate usable units, sell them locally, or repurpose doors and hardware for shelves, workbenches, or storage. Consider vintage salvage shops if the cabinets have character or antique value.
When they’re damaged beyond repair, investigate recycling options through your municipality or a construction-waste facility. Remove nails, hinges, and other hardware first, then separate wood, metal, and laminate whenever possible. Dispose of treated materials according to local rules.
How Much Does Professional Cabinet Removal Typically Cost?
You’ll typically pay $300–$800 for professional cabinet removal, though larger kitchens, difficult access, and disposal can raise the total to $1,000 or more. Many contractors charge hourly, often $50–$100 per worker, or quote a flat project fee.
Ask whether the estimate includes cabinet dismantling, hauling, landfill charges, and cleanup. Professionals bring specialized removal tools, which can reduce wall damage and save you time, effort, and potential repair costs.
Conclusion
With your kitchen cabinets removed, inspect the walls, floor, and plumbing for damage. Patch holes, remove any remaining screws, and clean away dust before installing replacements.
If you find mold, hidden leaks, or damaged wiring, call a professional instead of risking a bigger problem. Keep your tools organized so the next project starts smoothly.
Even without a modern robot butler, careful preparation makes the job manageable. Now you’re ready to plan your kitchen’s fresh layout and complete the upgrade.