How to Sharpen a Kitchen Knife in 3 Easy Steps
A dull kitchen knife can make everyday prep frustrating, from slicing tomatoes to chopping herbs. You’re not alone—many home cooks struggle to keep their knives sharp, so finding the right sharpening tool can make a big difference.
To sharpen a kitchen knife in three easy steps, first secure a whetstone, honing rod, or manual sharpener on a stable, nonslip surface.
Hold the blade at a consistent 15- to 20-degree angle and use controlled strokes on both sides, applying light, even pressure.
Finish with a few alternating strokes to remove the burr, then wipe and dry the blade.
Test it on paper or a ripe tomato, and find helpful sharpening tips below.
Key Takeaways
- Choose a suitable whetstone, honing rod, or manual sharpener, and secure it on a stable, nonslip surface.
- Hold the knife at a consistent 15–20-degree angle against the sharpener.
- Sharpen both sides using controlled, even strokes with light pressure.
- Finish with alternating, gentle strokes to remove the burr and refine the edge.
- Wipe and dry the blade, then test sharpness by slicing paper or a ripe tomato.
Choose Your Sharpener and Secure the Knife
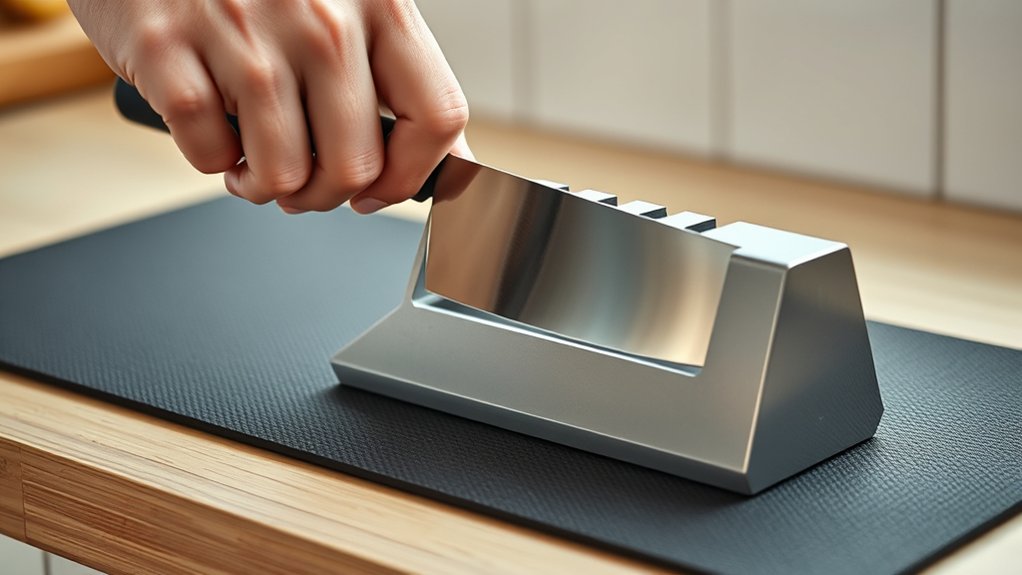
Choose a sharpening method that matches your skill level, such as a whetstone, honing rod, or manual sharpener. Review your knife’s blade materials before selecting equipment. Stainless steel, carbon steel, and ceramic blades may require different tools and techniques. Check the manufacturer’s recommendations to avoid unnecessary wear or damage.
Choose a sharpening method suited to your skill level and blade material, following manufacturer guidance to prevent damage.
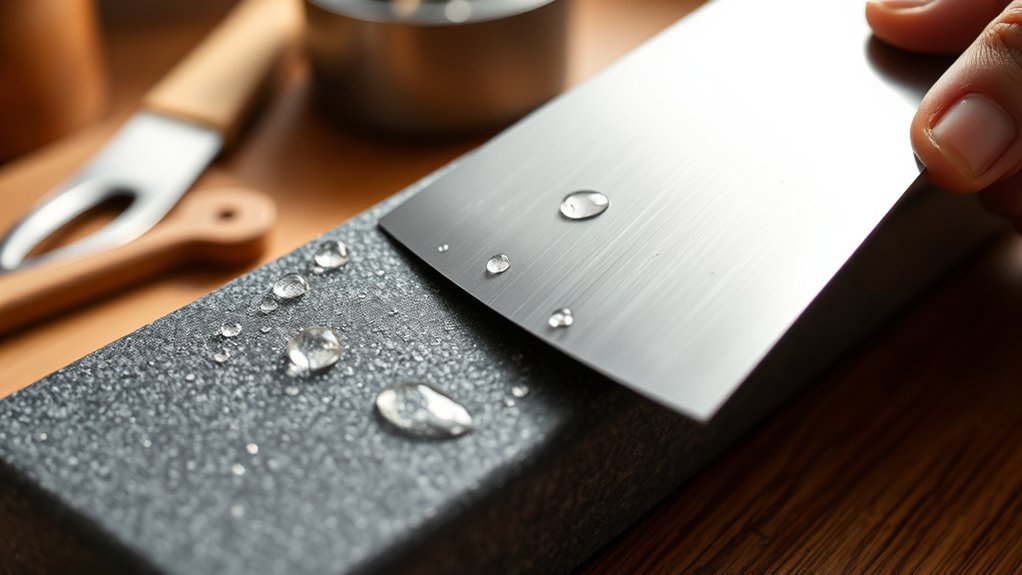
If you choose sharpening stones, select an appropriate grit. A coarse stone repairs chips and reshapes dull edges, while a medium or fine stone refines an intact edge. Soak water stones as directed, or apply oil when using an oilstone.
Keep your workspace stable by placing a damp towel or nonslip mat beneath the stone. For a manual sharpener, set it on a level, secure surface and inspect the slots for debris.
With any method, clear the counter, improve your lighting, and keep distractions away. Wear cut-resistant gloves if you need extra protection, and position the knife so you can control it safely throughout the process. Don’t begin until every tool feels stable.
Hold Your Kitchen Knife at a Consistent Angle
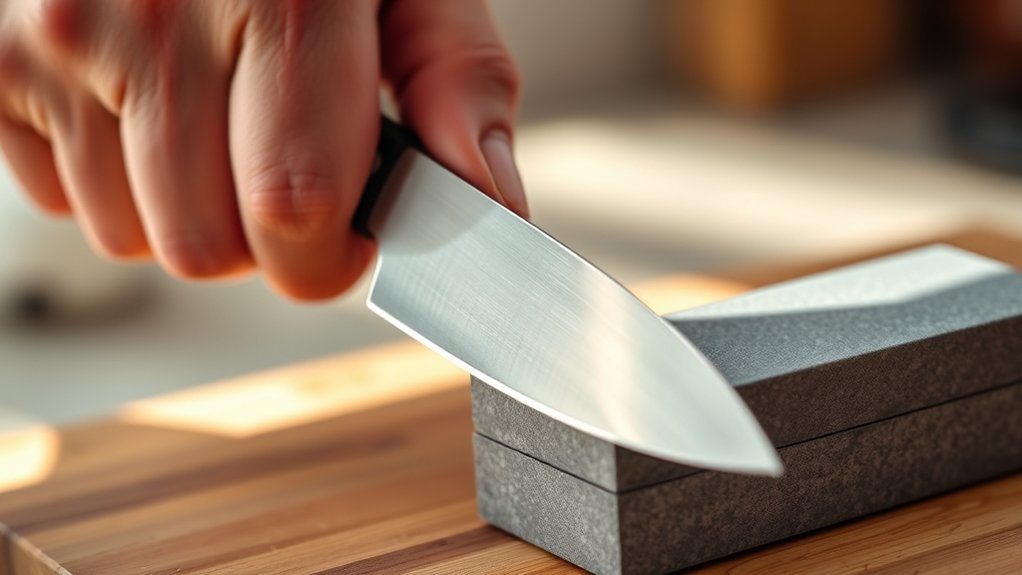
Hold the knife so the blade meets the sharpening surface at a consistent angle, typically 15 to 20 degrees per side for most kitchen knives. Keep your wrist firm and guide the knife with controlled, even movements.
Don’t raise or lower the handle during each stroke, or you’ll create an uneven edge.
Use your free hand to steady the sharpener, but keep your fingers away from the blade’s path. Follow basic safety precautions: work slowly, maintain a stable grip, and direct the edge away from your body.
If you’re using a whetstone, place it securely on a nonslip base before starting.
For accurate blade alignment, imagine a narrow wedge between the knife and sharpening surface. Some manufacturers mark this angle on the blade or provide guides to help you.
Match the angle on both sides, and count your strokes so you can maintain balance. Focus on consistency rather than pressure. A steady angle does more work than force.
Finish, Clean, and Test the Edge
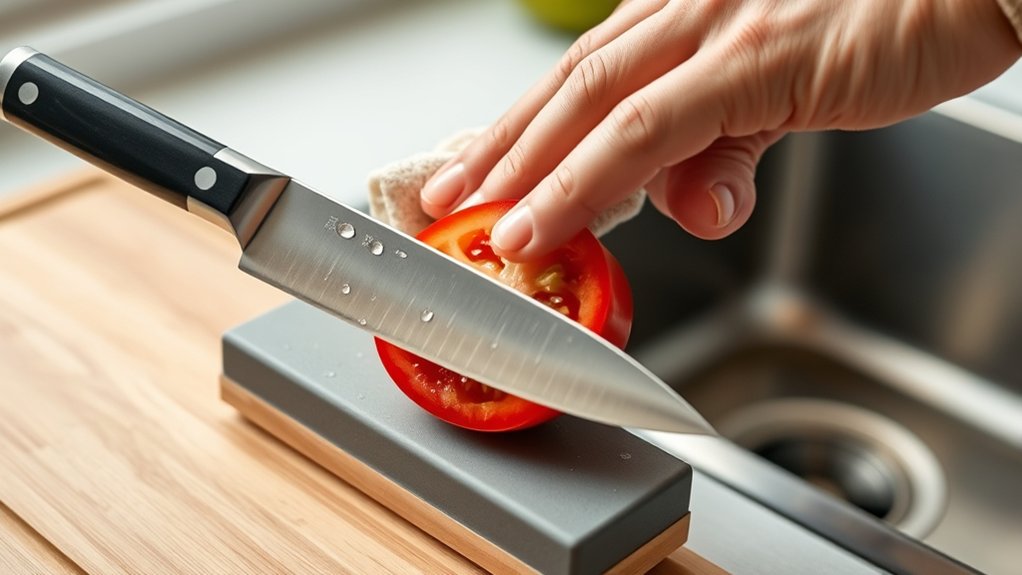
Once you’ve sharpened both sides at a consistent angle, make a few light finishing strokes to remove any remaining burr. Alternate sides with minimal pressure, then gently drag the knife through a clean piece of cork or soft wood if needed. Avoid aggressive motions that could damage your newly refined edge.
Wipe the blade from spine to edge with a damp cloth, keeping your fingers behind the cutting edge. Dry it immediately to prevent rust, especially if you’re working with carbon steel. Clean your stone, honing rod, and workspace as well.
Test the edge by slicing through a sheet of paper or a ripe tomato. A sharp knife should cut smoothly without tearing or crushing. Don’t test it on your skin. If the blade catches or slips, repeat a few light honing strokes. Regular blade maintenance, including careful cleaning and occasional honing, will keep your knife sharp, safe, and ready for precise kitchen work.
Frequently Asked Questions
How Often Should I Sharpen My Kitchen Knife?
You should sharpen your kitchen knife every one to three months with regular home use, but your sharpening frequency depends on how often you cook, your cutting surfaces, and the knife’s steel. For heavy use, sharpen monthly; occasional cooks may wait six months.
Include honing in your knife maintenance routine every few uses to realign the edge. If the blade slips, crushes food, or feels dull, sharpen it sooner rather than later.
Can I Sharpen Serrated Knives Using the Same Method?
No, you shouldn’t sharpen a serrated knife exactly like a straight-edged blade. Think of each tooth as a tiny mountain trail: you must follow its individual slope, not flatten the range.
For effective serrated blade maintenance, choose a tapered ceramic or diamond rod that matches each groove. Sharpen only the beveled side with light, controlled strokes, then gently remove the burr.
Proper sharpening tool selection protects your knife’s distinctive cutting edge.
What’s the Difference Between Sharpening and Honing?
Sharpening removes metal to create a new cutting edge, while honing realigns the existing edge without considerably removing material.
For effective knife maintenance, sharpen a dull knife with a whetstone, pull-through sharpener, or professional service. Hone your knife regularly with a honing rod to maintain alignment between sharpenings.
Among sharpening techniques, honing supports routine upkeep, but it won’t restore a truly blunt or damaged edge. Use both methods for better performance.
When Should I Replace a Kitchen Knife?
Replace your kitchen knife when sharpening no longer restores a usable edge—but check one warning sign first: damage may hide beneath the dullness. During regular knife maintenance, inspect the blade for deep chips, cracks, warping, rust pits, or a loose handle.
If the blade flexes unpredictably or sharpening removes too much metal, retire it. Your cutting habits, materials, and cleaning routine affect blade durability, so replace any knife that feels unsafe or uncontrollable.
Are Electric Sharpeners Safe for Expensive Knives?
Yes, electric sharpeners can safely sharpen expensive knives when you choose a quality model and follow its instructions. However, aggressive wheels may remove too much metal or damage delicate edges.
For better knife maintenance, confirm the sharpener matches your blade’s steel, angle, and construction. Use light pressure and avoid repeated passes.
Among sharpening techniques, consider a professional service or fine ceramic rod for premium knives, especially handmade, thin, or Japanese blades.
Conclusion
With these three steps, you can sharpen a kitchen knife safely and confidently. Choose the right sharpener, secure the blade, maintain a consistent angle, and finish by cleaning and testing the edge.
You’ll spend less time forcing dull knives through food and more time slicing smoothly. Notably, a sharp knife can require less force than a dull one, helping reduce slips.
Keep practicing, and you’ll turn how to sharpen a kitchen knife into a quick kitchen habit.