7 Steps to Organize Kitchen Cabinets Efficiently
Cluttered cabinets can make even simple cooking feel frustrating. You’re not alone—many people struggle to keep dishes, cookware, and pantry items organized. The good news is that the right products can make every cabinet easier to use.
To organize kitchen cabinets efficiently, empty and clean each cabinet first. Sort items by use, condition, and expiration date, then discard, donate, or repair what you don’t need.
Group similar items by zone, keeping dishes, cookware, pantry goods, and utensils near where you use them. Measure cabinets before buying organizers.
Place everyday items within reach, then add risers, bins, and door storage. Finish with a simple weekly reset, and you’ll uncover more ways to maintain order.
Key Takeaways
- Empty and clean every cabinet, shelf, drawer, and corner before reorganizing.
- Sort items by frequency of use, condition, and function. Discard, donate, or replace unnecessary items.
- Create dedicated zones for dishes, cookware, baking supplies, pantry goods, spices, and utensils.
- Measure cabinets before adding risers, bins, racks, or door organizers to ensure a proper fit and easy access.
- Maintain organization by returning items promptly and completing a weekly cabinet reset.
Empty Your Kitchen Cabinets
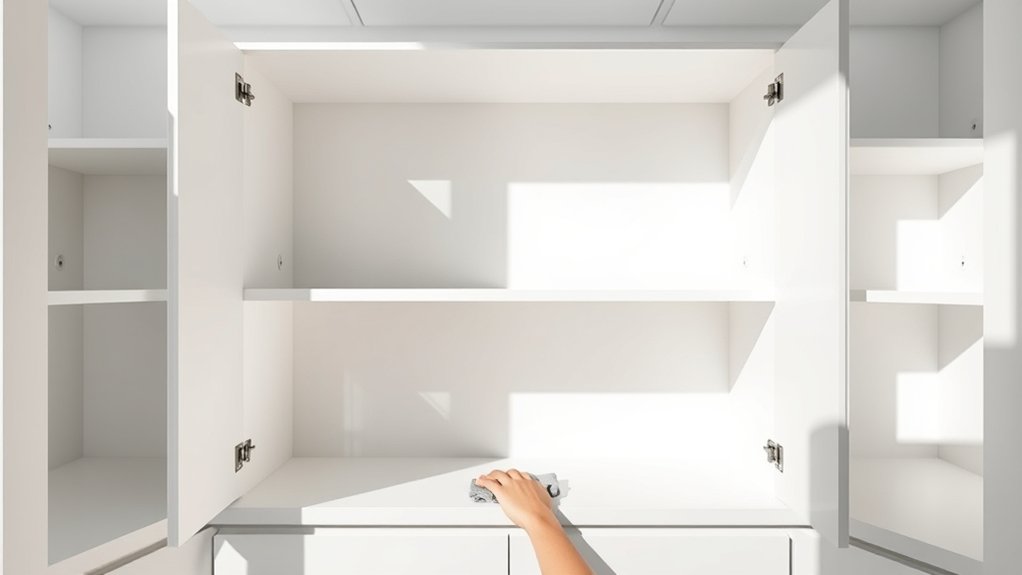
Before reorganizing your kitchen cabinets, remove everything from the shelves and place items on a clean counter or table. Empty each cabinet completely, including corners, drawers, and hidden spaces.
> Empty every cabinet, drawer, and corner completely, placing contents on a clean counter before beginning the reorganization process.
Working one section at a time helps you maintain control and prevents missed items. As you clear the shelves, wipe away crumbs, dust, and spills with a damp cloth, then let surfaces dry thoroughly.
Check hinges, shelf supports, and cabinet liners for damage, but don’t start deciding what to keep yet. This step gives you a clear view of your storage space and reveals how much room each cabinet actually offers.
Note unusual dimensions, awkward corners, or areas affected by plumbing. You can later consider appliance placement and adjust your Kitchen decor around the available space.
Keep the counter clear enough to work safely, and use a tray for small hardware. Once every cabinet stands empty and clean, you’re ready for the next organizing step.
Sort Items by Use and Condition
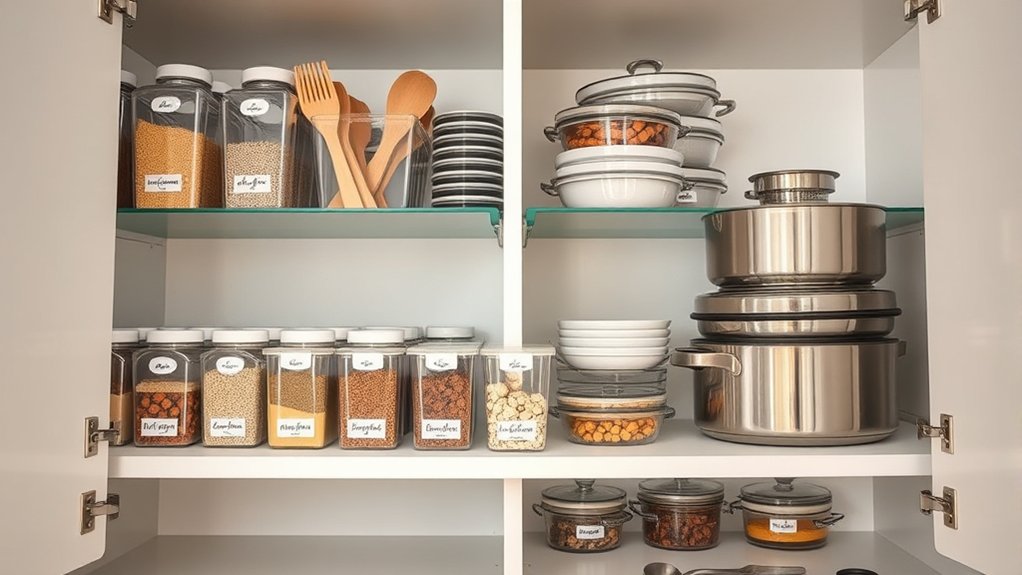
With your cabinets empty and clean, sort each item by how often you use it and whether it’s still in good condition. Set aside anything broken, stained, chipped, rusty, or missing essential parts. You’ll create more space by letting go of pieces you can’t safely or comfortably use.
Use this quick sorting guide:
- Daily essentials: Keep frequently used plates, glasses, pans, and tools easy to reach.
- Weekly items: Retain equipment you use regularly, even if it doesn’t support everyday cooking.
- Rare items: Review specialty gadgets, seasonal serving pieces, and duplicates honestly before storing them.
- Discard or donate: Remove damaged goods, unwanted gifts, and outdated utensils that no longer suit your cooking habits.
Test questionable appliances, inspect handles, and check expiration dates on food-related products. If an item works but you never use it, consider donating it.
Keep sentimental pieces only when they hold genuine value, not guilt. You’ll organize more effectively after making firm decisions.
Group Similar Items by Cabinet Zone
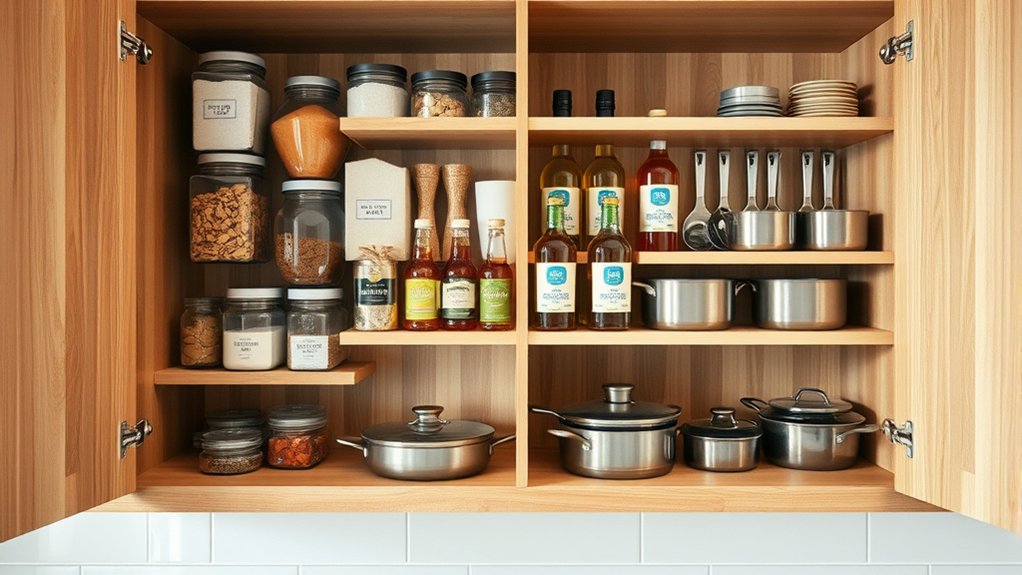
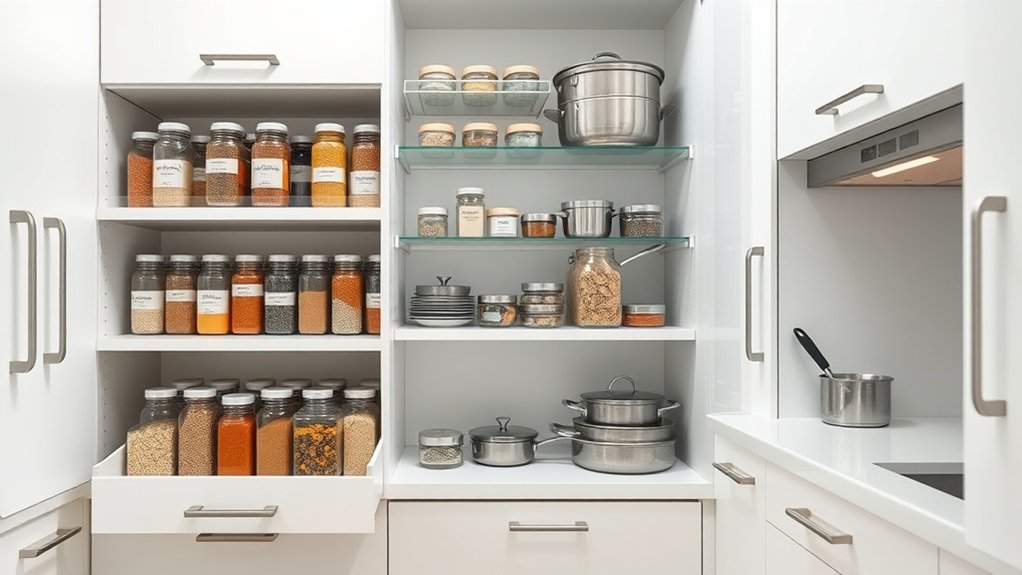
Group similar items by function, then assign each category to a cabinet zone that makes sense for your routine. Keep everyday plates, bowls, and glasses near the dishwasher or dining area, so unloading and serving take fewer steps. Place pots, pans, and cooking tools beside the stovetop, while baking supplies belong together near your main preparation space.
Use pantry categorization to separate dry goods into practical groups, such as breakfast foods, grains, snacks, canned items, and spices. Store frequently used categories at eye level and reserve higher or lower zones for occasional ingredients. Create a clear utensil grouping system by keeping cooking utensils near the range, flatware near the table, and serving pieces in an accessible drawer or cabinet.
Give each zone one purpose, and return every item to its assigned location after use. You’ll spot duplicates faster, maintain order more easily, and move through meal preparation with less searching. Keep related items together even when their sizes differ.
Measure Before Buying Cabinet Organizers
Before you buy organizers, measure your cabinet’s width, depth, and height. Also, check the door clearance, hinges, and shelves to make sure drawers and doors can open fully. Then compare those measurements with each organizer’s dimensions so you know it will fit securely.
Measure Cabinet Dimensions
Accurate measurements help you choose cabinet organizers that fit properly and make the most of your storage space. Before shopping, empty each cabinet so you can inspect its interior and measure without obstacles. Record dimensions in inches, noting the narrowest points.
- Measure the interior width from side to side, then subtract space for hardware or mounting brackets.
- Measure depth from the back panel to the front edge, keeping your measurement level.
- Measure height from the cabinet floor to the underside of the shelf or top.
- Note fixed shelves, hinges, plumbing, and uneven surfaces that could limit usable space.
Write every measurement on a cabinet map, labeling doors and locations. Check the cabinet material, since thickness affects available width. Keep installation tools nearby only for later fitting, not measurement. Verify each figure twice before ordering.
Account for Door Clearance
Check how far the cabinet door swings inward, since hinges and door-mounted racks can reduce usable space. Open it fully and observe the path from closed to open.
Note where the door, hinges, and hardware extend into the cabinet, especially near corners and shelves. You’ll need enough hinge clearance for the door to move without striking stored items or an organizer.
If the door swing takes up significant room, account for that lost space in your measurements before shopping. Check whether a thick door, protruding handle, or soft-close hinge changes the interior clearance.
For double doors, watch both panels as they open. Record these obstacles and their positions so you don’t choose an organizer that interferes with movement or prevents the cabinet from closing securely.
Check Organizer Fit
Will the organizer fit through the cabinet opening and sit securely inside? Before you buy, measure the cabinet’s width, height, and depth, then compare those figures with the product’s dimensions.
Include hinges, shelves, plumbing, and trim in your fit assessment. Keep in mind that listed measurements may describe the outside, so check interior capacity and required clearance carefully.
- Measure the opening at its narrowest points, not just the cabinet frame.
- Record usable depth from the door to the back wall, allowing room for movement.
- Check shelf thickness, hinge placement, and nearby obstructions that could limit organizer compatibility.
- Confirm the organizer’s weight rating and installation requirements before ordering.
Leave a small margin for easy removal and smooth operation. If possible, use cardboard to make a full-size template and test it inside the cabinet before you commit.
Place Frequently Used Items Within Reach
Keep the items you use most often—such as plates, mugs, and cooking utensils—on shelves or in drawers that are easy to reach. You’ll save time and reduce unnecessary bending, stretching, and searching during daily meal preparation.
Keep frequently used items within easy reach to simplify meal preparation and reduce unnecessary bending, stretching, and searching.
Arrange dishes near the dishwasher or dining area so you can unload and set the table efficiently. Store glasses beside the refrigerator or sink, depending on where you pour and wash them.
Place mixing bowls, measuring cups, and frequently used tools near your main preparation area. Consider your Cooking routines when deciding which cabinet zones deserve the easiest access.
Thoughtful utensil placement keeps spatulas, wooden spoons, and tongs close to the stove without forcing you to reach across hot surfaces.
Keep heavier cookware at waist level to make lifting safer, and reserve higher shelves for items you use less often.
After a week, notice which items still slow you down, then adjust their locations until your kitchen feels natural and efficient.
Use Risers, Bins, and Door Storage
Use shelf risers to create extra levels for plates, bowls, and cans, while bins group similar items and prevent small supplies from getting lost. Choose sturdy, washable containers that fit your cabinet dimensions, and label them when contents aren’t obvious.
Thoughtful riser placement keeps taller items behind shorter ones, so you can see everything without shifting stacks.
Make each tool serve a specific purpose:
- Place a riser beneath mugs or glasses to use vertical space efficiently.
- Store packets, wraps, and baking decorations in narrow bins.
- Add door storage for spices, measuring spoons, or pot lids.
- Select adjustable racks when shelf heights vary between cabinets.
Mount door organizers securely, leaving enough clearance for shelves and hinges. Keep heavier objects on lower levels, and avoid overloading doors, which can strain hardware.
Match bins by depth rather than appearance alone, ensuring they slide out smoothly. With these additions, you’ll gain usable space and clearer visibility while protecting dishes and supplies from unstable piles.
Reserve each container for one category, making retrieval quick and intuitive.
Keep Cabinets Organized With a Simple Reset
Set aside a few minutes each week to restore order before clutter builds up. Put items back after using them, and refresh cabinet zones whenever they stop working well.
Schedule Weekly Resets
A 10-minute weekly reset keeps your cabinets organized before clutter builds up. Choose a consistent day, such as Sunday, and connect the task to meal planning or your cleaning schedule. Set a timer so the reset feels manageable, not overwhelming.
- Scan each cabinet for visible disorder, expired products, or supplies running low.
- Wipe shelves, handles, and frequently touched surfaces with an appropriate cleaner.
- Group similar items, then adjust dividers, bins, or shelf risers if the layout no longer works.
- Note items you need to replace, donate, or remove during your next household errand.
Keep a short checklist nearby, and involve other household members when possible. A weekly reset prevents small problems from becoming major projects.
Review what caused clutter that week, then make one practical adjustment to improve your system. Consistency matters more than perfection, so restart the routine whenever you miss a week.
Return Items Promptly
When you finish using an item, return it to its designated cabinet spot right away. Returning items promptly keeps your kitchen orderly and makes future tasks easier.
After cooking, place spices, utensils, appliances, and dishes back where you found them instead of leaving them on the counter. If you’re in a hurry, take a moment to carry everything back before starting another activity.
Use a simple rule: nothing stays out overnight unless it’s drying or serving a specific purpose. This habit prevents avoiding clutter buildup and reduces the time you’ll spend searching for essentials.
Encourage everyone in your household to follow the same routine. A quick reset after each meal maintains clear surfaces, accessible supplies, and cabinets that stay organized without requiring a major cleanup.
Even small returns make a noticeable difference daily.
Refresh Cabinet Zones
Every few weeks, refresh each cabinet zone by removing misplaced items, wiping the shelves, and returning supplies to their proper spots. This quick reset prevents clutter from spreading and helps you notice what you actually use.
Set a timer for ten minutes, then work zone by zone:
- Check expiration dates and discard stale food.
- Group duplicates, placing everyday items within easy reach.
- Adjust shelf heights to fit current cookware and containers.
- Donate useful extras you no longer need.
As you reset, inspect hinges, liners, and drawer runners for problems. Wipe fingerprints from doors, especially around decorative hardware.
If your Cabinet color feels dated or shows wear, note whether touch-up paint or new pulls could improve the space. Finish by labeling bins or shelves, so everyone knows where items belong and can maintain the system daily.
Frequently Asked Questions
How Often Should Kitchen Cabinets Be Deep-Cleaned?
You should deep-clean your kitchen cabinets every three to six months, then adjust your cleaning schedule based on spills, cooking frequency, and household needs.
Wipe handles, doors, and shelves weekly to prevent grime buildup. Use a mild cleaner and dry surfaces immediately, especially wood.
Your maintenance tips should include checking hinges, removing expired items, and lining shelves when needed.
Deep-clean sooner if you notice grease, odors, pests, or sticky residue inside cabinets.
What Materials Work Best for Lining Kitchen Cabinet Shelves?
You’ll find that non-slip, washable shelf liners work best for kitchen cabinet shelves because they protect surfaces, prevent shifting, and clean up easily. As the saying goes, “A stitch in time saves nine”; lining shelves now can prevent stains and scratches later.
Choose cushioned liners for dishes, waterproof liners beneath cleaning supplies, and breathable liners for wood. Pair them with labeled Storage containers to create a tidy, durable setup. Replace liners when they curl or crack.
How Can Renters Organize Cabinets Without Drilling Holes?
You can organize rental cabinets without drilling by using removable shelf dividers to separate plates, pans, and cutting boards. Add nonslip shelf liners to protect surfaces and keep items steady.
Choose tension rods to create vertical storage for trays or lids, and use adhesive-free hooks that hang over cabinet doors. Stackable bins maximize height, while labeled containers make supplies easy to find.
Keep heavy items low, and remove everything cleanly when you move.
What Should You Do With Expired Food Found During Cabinet Organization?
Discard expired food immediately, don’t taste it, and don’t donate it. Check dates, inspect packaging, and trust your senses, but keep in mind that some dangerous bacteria leave no obvious signs.
For safe Expired food disposal, seal spoiled items in a bag, place them in your trash, and wash your hands and cabinet surfaces. Follow these Food safety tips: keep usable foods, separate questionable products, and clean spills before restocking your cabinets.
How Can You Childproof Kitchen Cabinets Effectively?
Protect children by installing sturdy Cabinet locks on every lower cabinet containing cleaners, medicines, sharp tools, glassware, or small choking hazards. Choose magnetic, sliding, or latch-style locks that match your cabinet design, and test each one regularly.
Move dangerous items to high, secured storage whenever possible. Keep cabinet doors closed, explain boundaries clearly, and inspect for loose hardware. Consistent supervision strengthens your overall Child safety strategy, especially during busy kitchen activities.
Conclusion
With these seven steps, you’ll turn crowded cabinets into calm, useful spaces. Empty each shelf, keep only what you use, and group items where they naturally belong.
Measure first, then add risers, bins, and door storage to make every inch work harder. Why wrestle with an avalanche of pans when your essentials can sit within easy reach?
Finish with a quick reset, and your kitchen will stay organized, inviting, and ready for whatever you’re cooking next. These tips will help you organize kitchen cabinets efficiently for the long term.