How to Clean White Kitchen Cabinets in 5 Easy Steps
White kitchen cabinets can quickly show fingerprints, grease, and everyday messes, making them frustrating to maintain. You’re not alone—many people struggle to keep them looking bright without damaging the finish. The right cleaning routine and products can make the job much easier.
Clean white kitchen cabinets in five easy steps. First, gather a microfiber cloth, mild dish soap, warm water, and a soft sponge; avoid abrasive cleaners. Next, dust from top to bottom, including grooves and handles. Then wipe each door with a wrung-out, soapy cloth, using minimal moisture. Treat grease with soap or a tested baking soda paste. Finally, rinse with a clean damp cloth and dry immediately.
Keep exploring for tips that help prevent new marks.
Key Takeaways
- Gather a microfiber cloth, mild dish soap, warm water, and a soft toothbrush. Avoid abrasive cleaners and scrubbers.
- Dust cabinets from top to bottom, removing crumbs and debris from grooves, trim, hinges, and handles.
- Wash one door at a time using a wrung-out soapy cloth and gentle strokes. Test the solution first.
- Treat grease with mild dish soap or a carefully tested baking soda paste. Rub gently along the grain.
- Rinse with a clean damp cloth, dry immediately, and wipe spills promptly to prevent marks and moisture damage.
Gather Gentle Supplies for White Cabinets
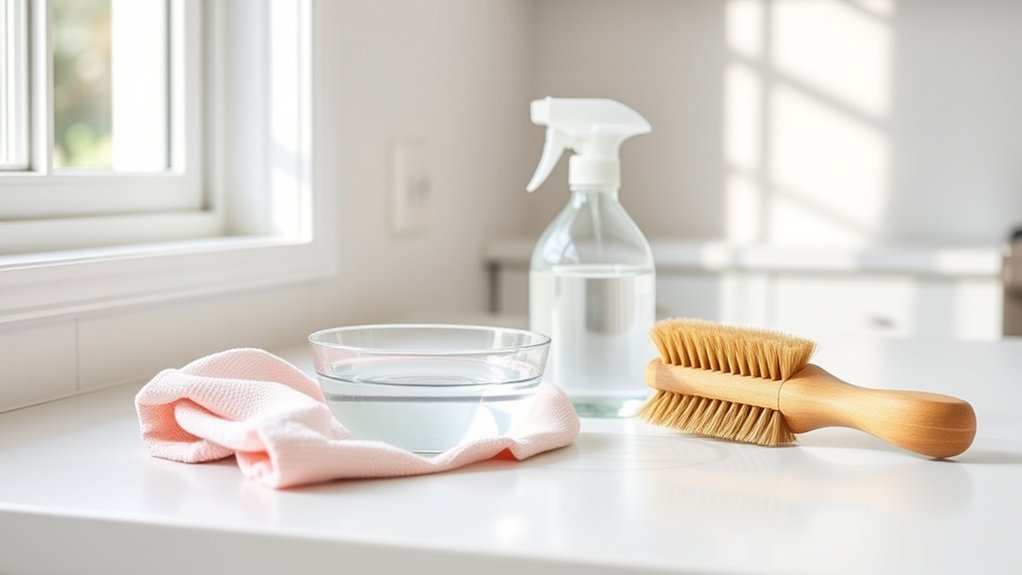
Before you begin, gather a few gentle supplies to protect your white cabinets from scratches and discoloration. Choose a soft microfiber cloth, a nonabrasive sponge, and a small bucket for your cleaning solution.
You’ll also need mild dish soap, warm water, and a clean towel for drying. Avoid steel wool, rough scrubbers, bleach, and powdered cleaners because they can dull the finish or leave scratches.
For stubborn grease, keep a soft toothbrush nearby to reach narrow edges without damaging the surface. If you have wood cabinets, check the manufacturer’s care instructions before applying any solution.
Test your diluted soap mixture on an inconspicuous spot, then wait until it dries to confirm the finish stays unchanged.
Consider your kitchen’s color coordination when selecting cloths. Use white or light-colored ones to prevent dye transfer.
Keep separate supplies for cabinet hardware, especially if metal pieces require a specific cleaner. Organize everything before you start so the process stays simple.
Dust Cabinets Before Washing
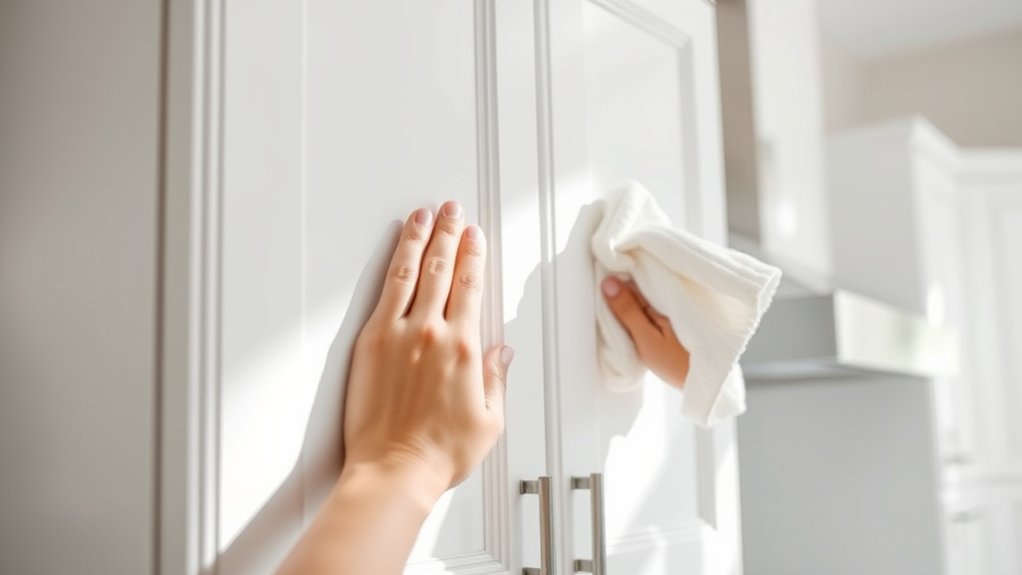
With your gentle supplies ready, remove loose dust and crumbs from the cabinets before adding moisture. This step prevents dry debris from turning into gritty residue that can scratch white finishes. Use a clean, soft microfiber cloth or a vacuum’s brush attachment to reach doors, frames, corners, and cabinet tops. Start at the highest point, then work downward so loosened particles don’t settle on areas you’ve already cleared.
For effective Cabinet dusting techniques, hold the cloth lightly and use overlapping strokes rather than pressing hard. Pay special attention to grooves, trim, hinges, and handles, where dust collects easily.
Shake the cloth outdoors or replace it when it looks dirty. Otherwise, you may spread particles around. The Importance of dust removal goes beyond appearance: it protects the surface during the next step and helps you spot sticky spots, stains, or damage that need careful attention.
Once every area feels clean and dry, you’re ready to wash gently.
Wash White Kitchen Cabinets Gently
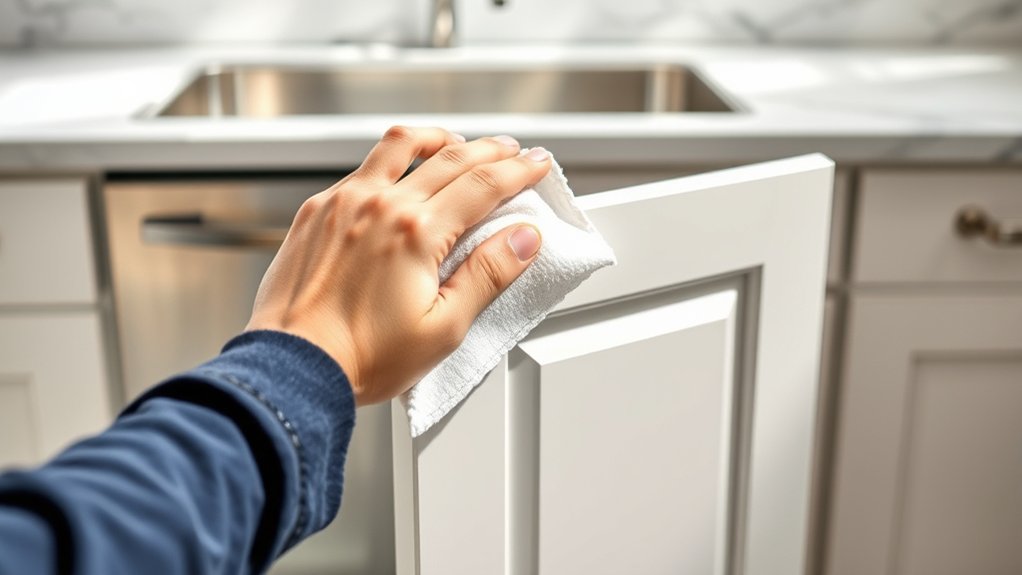
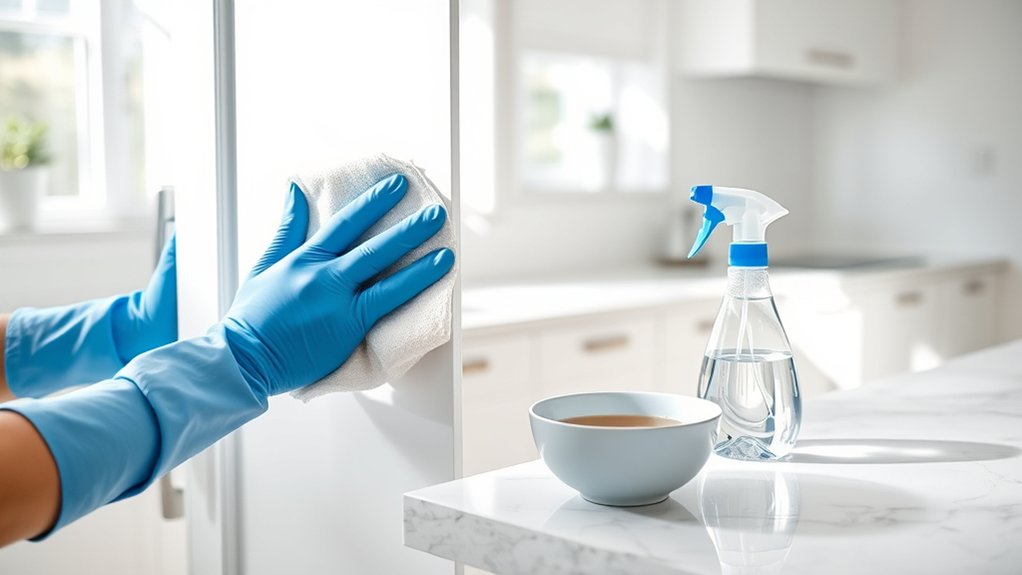
Mix a small amount of mild dish soap with warm water, then dip a soft microfiber cloth into the solution and wring it out thoroughly. Wipe one cabinet door at a time, moving from the top downward.
Use gentle, overlapping strokes to lift everyday dust and surface residue without soaking the finish. Rinse the cloth often in clean water, wring it well, and wipe away any soap film.
Pay attention to edges, corners, and handles, but don’t scrub aggressively or use abrasive pads. For cleaning kitchen hardware, wipe knobs and pulls with the same damp cloth, then dry them immediately with a clean towel.
Choosing eco friendly cleaning products can help you clean effectively while reducing harsh chemicals in your home. Test your solution on a hidden spot first, especially if your cabinets have a delicate painted or wood finish.
Keep moisture away from seams and hinges, and dry each surface completely to prevent water marks or damage.
Remove Grease and Stubborn Stains
For greasy spots or stubborn stains, apply a small amount of mild dish soap directly to a damp microfiber cloth and gently wipe the affected area. Work in small sections, using light pressure so you don’t damage the cabinet’s finish.
For dried-on grease, let the soapy cloth rest over the spot for a minute to soften the residue, then wipe again.
If soap doesn’t lift the mark, mix warm water with a little baking soda to create a soft paste. Test this and other Cleaning solutions on an inconspicuous area first.
Apply the paste with a nonabrasive cloth, rubbing gently in the direction of the wood grain or cabinet texture. Avoid scouring pads, bleach, ammonia, and harsh degreasers, which can dull white paint or cause discoloration.
Repeat the process as needed for effective stain removal, but stop if the finish begins to look different. Handle ink, rust, or permanent-marker marks carefully, and consult the cabinet manufacturer before trying stronger products.
Rinse, Dry, and Prevent New Marks
Once the stain is gone, wipe the cabinet with a clean, damp microfiber cloth to remove any soap or baking soda residue. Rinse the cloth often so you don’t spread grime across the surface.
Pay close attention to edges, corners, and the area around each handle, where cleaner can collect.
Dry the cabinet immediately with a fresh, soft towel. Moisture left behind can cause streaks, swelling, or finish damage, especially along seams and lower edges.
Wipe cabinet hardware separately, using a slightly damp cloth, then dry it thoroughly. For metal pulls, follow the manufacturer’s care instructions before applying any polish.
Don’t forget interior shelving. Remove crumbs and residue, rinse your cloth, and wipe shelves from back to front.
Keep cabinets open for a few minutes to let air circulate. Prevent new marks by using clean hands, placing cups on coasters, and wiping spills as soon as they happen.
A weekly gentle wipe keeps white cabinets bright without wearing down their finish.
Frequently Asked Questions
How Often Should White Kitchen Cabinets Be Professionally Deep-Cleaned?
You should professionally deep-clean white kitchen cabinets once or twice yearly, depending on cooking frequency, grease buildup, and household activity. Schedule service sooner if you notice sticky residue, odors, discoloration, or grime around handles and hinges.
A professional can protect delicate Cabinet paint while removing buildup that regular wiping misses. Don’t wait until heavy scrubbing causes Surface scratches.
Between appointments, wipe spills promptly and use gentle, manufacturer-approved cleaners to preserve your cabinets’ finish.
Can Cleaning White Cabinets Damage Their Warranty or Manufacturer’s Finish?
Yes, cleaning white cabinets can damage the manufacturer’s finish or affect your warranty if you use abrasive tools, harsh chemicals, excessive water, or unapproved methods. Check your care guide first, because cabinet material determines which cleaning solutions you can safely use.
Choose a mild, manufacturer-approved cleaner, test it in a hidden spot, and wipe gently. Don’t let moisture sit on seams, and keep receipts or service records for warranty protection.
Should Cabinet Hardware Be Removed Before Cleaning or Replaced Afterward?
You should usually remove cabinet hardware before cleaning, then reinstall it afterward. For example, if you’re cleaning greasy white cabinets, taking off the knobs lets you wipe beneath their edges without trapping moisture or cleaner around the screws.
Label each piece and keep its screws together so reassembly stays simple. Include cabinet hardware in your cleaning process only when necessary. Otherwise, protect it with a cloth and avoid soaking metal, wood, or painted finishes.
Are Steam Cleaners Safe for White Kitchen Cabinet Doors?
Steam cleaners aren’t generally safe for white kitchen cabinet doors because heat and moisture can damage finishes, loosen veneer, swell wood, or affect MDF edges. Check your manufacturer’s instructions before using one.
Instead, choose gentle Cleaning tools, such as a microfiber cloth and diluted dish soap. Consider your Cabinet materials, finish, and construction, and test any solution in an inconspicuous spot.
Wipe surfaces dry immediately, and avoid forcing steam around seams, hinges, or hardware.
How Can Renters Clean Cabinets Without Violating Their Lease Agreement?
You can clean rental cabinets safely by following your lease agreements and avoiding permanent changes. Start with gentle cleaning tips: dust with a microfiber cloth, then wipe surfaces using warm water and a small amount of mild dish soap.
Test inconspicuously first, and don’t soak wood or use abrasive pads, bleach, or steam. Picture your trusty typewriter nearby, recording each step.
Ask your landlord before repainting, replacing hardware, or repairing damage, and photograph results.
Conclusion
With five simple steps, you can keep your white kitchen cabinets looking bright without treating them like museum pieces. Gather gentle supplies, dust first, wash carefully, tackle grease, then rinse and dry completely.
It’s almost ironic: the cabinets that show every fingerprint can stay spotless with less effort than you’d expect. Wipe spills promptly, use soft cloths, and avoid harsh cleaners.
Your reward? A fresh, inviting kitchen and fewer dramatic encounters with tiny smudges. Follow these tips for cleaning white kitchen cabinets, and keeping them fresh will feel easy.