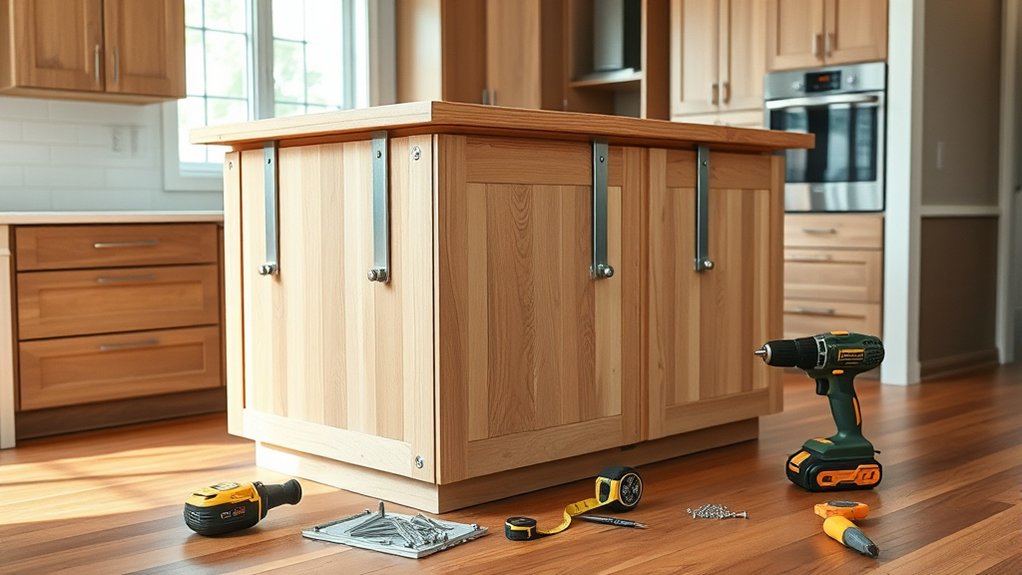
How Do You Build a Kitchen Island in 5 Steps?
Building a kitchen island can feel overwhelming, especially when you’re trying to balance limited space, storage needs, and a professional-looking finish. You’re not alone—many homeowners struggle to know where to begin. The right products and a clear plan can make the process much easier.
To build a kitchen island in five steps, first measure your room, preserve 36 inches of clearance, and plan utilities.
Next, choose plywood, cabinets, and a durable countertop, then assemble a level, square base.
Anchor the frame securely after checking for plumbing and electrical lines.
Add cabinets, shelves, cleats, and countertop supports.
Finally, install and level the countertop, allow a 10–12-inch seating overhang, and arrange stools and lighting.
The following steps will help you complete each stage confidently.
Key Takeaways
- Measure the kitchen, preserve 36 inches of clearance, and plan plumbing, electrical, ventilation, lighting, and storage.
- Choose durable countertop materials and build a sturdy plywood frame with appropriate cabinets, drawers, toe kicks, and trim.
- Assemble the square, level frame, then mark and securely anchor it to the floor after locating utilities.
- Install and level cabinets, add shelves, and support the countertop with properly positioned cleats or stretchers.
- Attach the countertop, verify its fit and overhang, then add seating, lighting, hardware, and decorative finishing touches.
Plan Island Size, Clearance, and Utilities
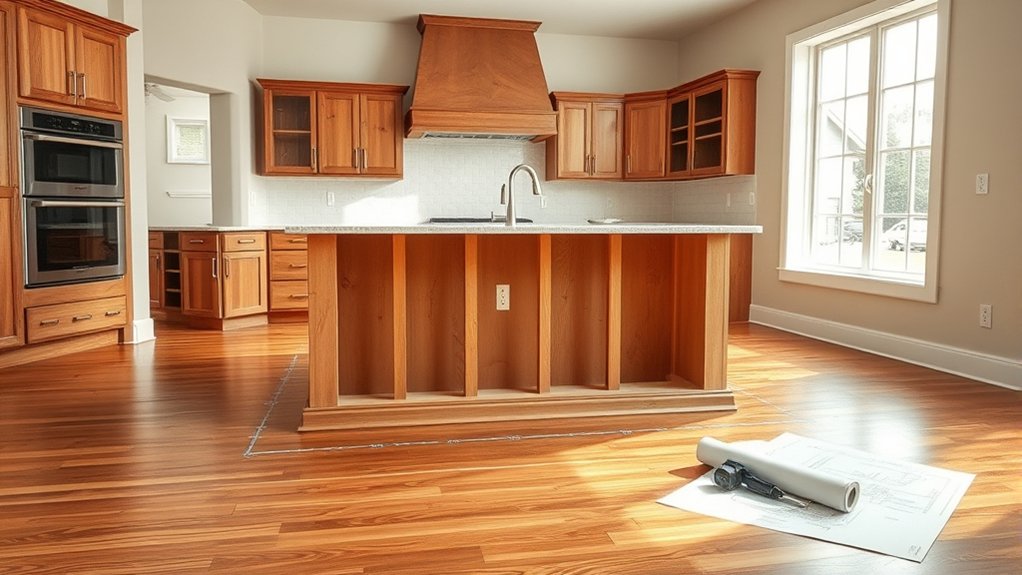
Before you build, measure the room and map out the island’s purpose, size, and utility needs. Decide whether you’ll use it for food prep, dining, seating, or multiple tasks.
Measure nearby cabinets, appliances, doors, and walkways, then preserve at least 36 inches of clearance around the island for comfortable traffic. Allow more space where people cook or gather, especially near the range and sink.
Choose dimensions that fit the room without blocking appliance doors or sightlines. Mark the proposed footprint with painter’s tape, and test movement through every approach.
Identify plumbing, electrical, and ventilation routes before finalizing the layout. If you want outlets, a sink, dishwasher, cooktop, or seating, note each location and confirm code requirements with a professional.
Plan lighting options early so fixtures won’t interfere with sightlines or headroom. Consider storage solutions based on your workflow, including drawers, cabinets, and open shelving.
Record measurements and utility locations before ordering components or scheduling installation.
Choose Materials and Build the Base
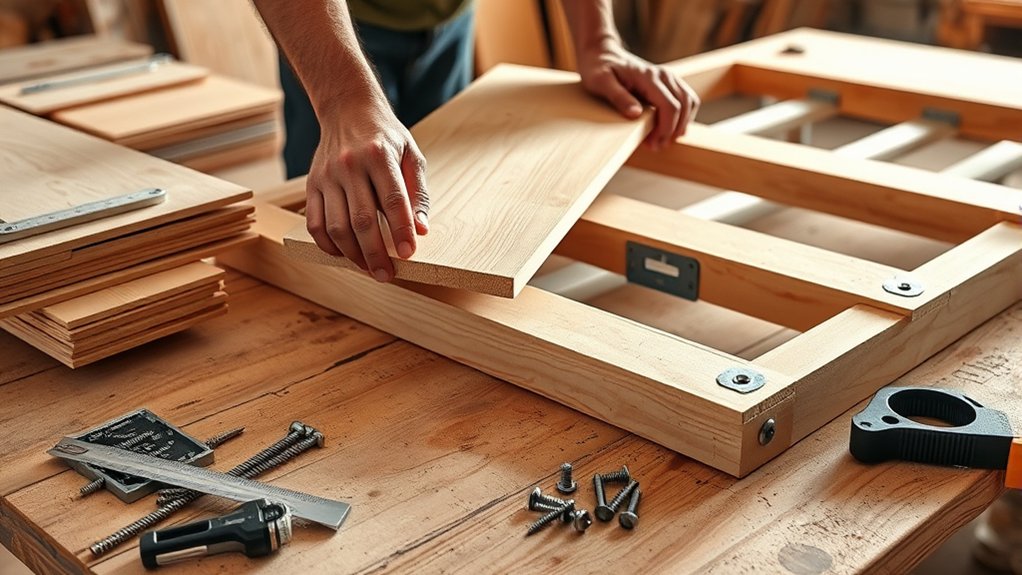
With the layout set, choose materials that suit your kitchen’s style, workload, and budget. Select a durable countertop, such as butcher block, quartz, or sealed stone, based on your cooking habits and maintenance preferences.
For the base, use sturdy plywood rather than particleboard, especially in areas exposed to moisture. Match the island’s finish to your cabinets, or create contrast with paint, stain, or a complementary wood tone.
Design the base around your needs. Add drawers for utensils, cabinets for cookware, or open shelving for frequently used items. These storage solutions should fit your inventory without making the island look crowded.
Plan space for toe kicks, trim, and practical hardware, then measure each panel carefully before cutting. Decorative accents, including corbels, beadboard, or turned legs, can add personality, but don’t let them interfere with comfortable movement or cleaning.
Label every piece and sand exposed edges smooth. Keep the countertop and hardware aside until the base is ready for installation.
Assemble and Anchor the Island Frame
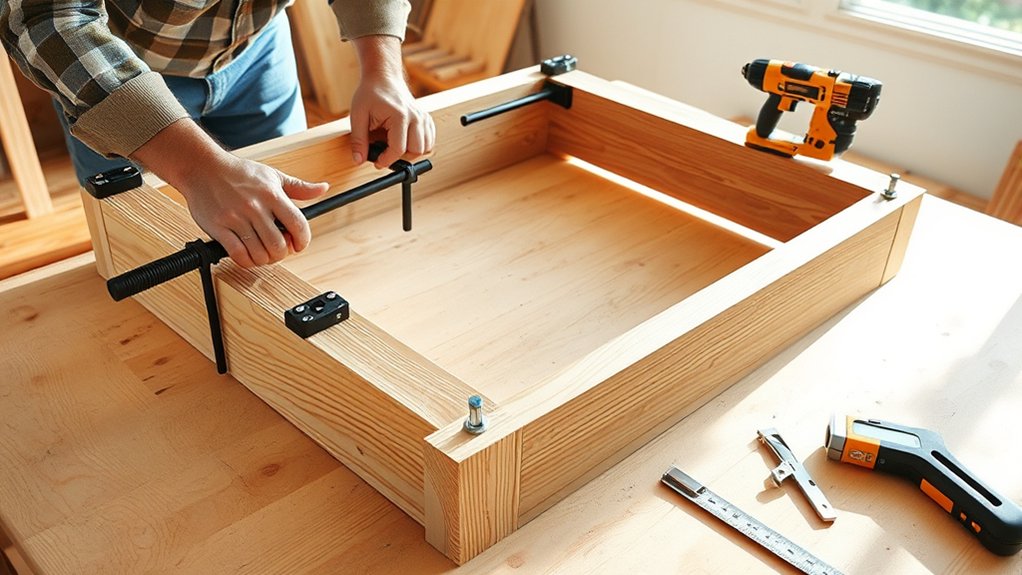
Start by assembling the island frame on a level surface, fastening the panels and supports according to your plan. Check every corner with a square, and tighten screws only after confirming that each joint sits flush. Use clamps to hold pieces steady while you drill, preventing shifts that could weaken the structure.
> Assemble the island frame carefully, checking every joint for square, flush alignment, and stability before tightening screws.
Next, position the completed frame where you want the island to stand. Measure its clearance from walls, appliances, and walkways, then confirm that doors and drawers will have room to open later.
Mark the floor through the frame’s mounting holes. Move the frame aside, locate any plumbing or electrical lines, and select appropriate anchors for your floor type. These safety considerations help you avoid costly damage and create a stable foundation.
Set the frame back in place, drive the anchors, and check for level in both directions. Add shims where necessary, then secure every connection firmly.
Don’t rush this step. A rigid frame keeps future decorative accents aligned and prevents movement during everyday use.
Add Cabinets, Shelves, and Countertop Support
Once the frame is level and anchored, install the cabinets inside it, securing each unit to the frame and to adjoining cabinets. Choose cabinet styles that match your kitchen, then check every face for plumb and consistent spacing.
Add adjustable shelves, fastening supports firmly and leaving room for plumbing or electrical access if needed. Compare shelf materials before cutting replacements:
| Shelf materials | Best use |
|---|---|
| Plywood | Strong, stable storage |
| Solid wood | Durable, refinable surfaces |
| MDF | Smooth, painted interiors |
| Wire shelving | Ventilated pantry storage |
Support the countertop with sturdy cleats or stretchers along the cabinet tops and exposed ends. Position them so they provide continuous bearing without blocking doors, drawers, or appliance openings.
Use a level as you work, predrill screws to prevent splitting, and verify that fasteners reach the frame securely. If one side remains open, build a finished panel or add shelving with cleats.
Leave the assembly clean, square, and ready for the next installation stage. Don’t attach the countertop yet; confirm support locations and measurements first.
Install the Countertop and Finish With Seating
How will you know the countertop fits? Set it on the island base and check that every edge aligns with the supports. Leave the planned overhang for seating, usually 10 to 12 inches, and verify that doors and drawers open freely.
If the slab fits, lift it off, apply construction adhesive or silicone to the cabinet tops, then carefully lower it into place. Keep the surface level while the adhesive cures, and follow the manufacturer’s instructions for sealing, especially with natural stone or butcher block.
Next, choose stools that suit your island’s height and available legroom. Allow about 24 inches of width per seat so everyone can sit comfortably.
Secure the stools only if you’re installing a built-in bench. Otherwise, select movable seating for flexibility.
Add decorative accents, such as cushions or a centerpiece, without crowding the work surface. Finally, evaluate lighting options above the island, ensuring fixtures illuminate prep areas without blocking sightlines or creating glare.
Frequently Asked Questions
Do I Need a Permit to Build a Kitchen Island?
You may not need a permit to build a kitchen island if it’s freestanding and doesn’t involve plumbing, electrical, gas, or structural changes. However, local rules vary, so you should contact your building department before starting.
Adding outlets, water lines, drainage, or permanently anchoring the island may require approval and inspections. Discuss your Design options and Material choices with officials to confirm requirements, avoid delays, and guarantee your project meets safety codes.
How Much Does It Typically Cost to Build a Kitchen Island?
You’ll typically spend $1,000–$5,000 to build a kitchen island, though costs can reach $10,000 or more with plumbing, electrical work, appliances, or custom cabinetry. For accurate cost estimation, price cabinets, countertops, hardware, labor, and permits separately.
Your material selection strongly affects the total: laminate and stock cabinets cost less, while quartz, granite, hardwood, and bespoke finishes increase expenses. Get several local quotes before starting your project.
Can I Add Wheels to Make My Kitchen Island Mobile?
Yes, you can add wheels to make your kitchen island mobile, but plan carefully. Choose heavy-duty locking casters that support the island’s total weight, including countertops, appliances, and storage.
During wheels installation, attach casters securely to a reinforced base and verify the island stays level. Mobility considerations include floor protection, clearance around cabinets, and safe movement near plumbing or electrical connections.
Lock the wheels whenever you’re chopping, kneading, or leaning against the island.
How Do I Maintain and Clean My Kitchen Island?
Treat your kitchen island like the heart of your home: give it regular care, and it’ll keep beating beautifully. Establish Cleaning routines by wiping spills immediately, using mild soap, and drying surfaces thoroughly. Avoid abrasive pads and harsh chemicals that can dull finishes.
For Material maintenance, follow your countertop’s needs: oil butcher block periodically, reseal stone as recommended, and protect surfaces from heat, stains, and scratches. Check wheels, hardware, and joints regularly, tightening anything loose.
Should I Hire a Professional or Build the Island Myself?
You should choose based on your skills, budget, and island’s complexity. Build it yourself if you’re comfortable measuring, assembling cabinets, and handling basic plumbing or electrical work.
Follow DIY tips, start with a detailed plan, and check local codes. Hire a professional if you need structural changes, gas lines, plumbing, or custom fabrication.
Professional benefits include safer installation, faster completion, and reliable results. Get multiple quotes before deciding, and don’t sacrifice safety to save money.
Conclusion
With the frame anchored, storage in place, and countertop secured, your kitchen island is ready to become the room’s gathering point. Step back and admire how a few careful measurements and sturdy materials have transformed empty space into a hardworking centerpiece.
Add stools, organize the shelves, and let your style shine through. You haven’t just built furniture. You’ve created the kitchen’s heartbeat, where weekday meals, weekend projects, and shared stories can all find a home.