How to Use a Kitchen Scale in 10 Easy Steps
Many home cooks struggle to measure ingredients accurately, especially when recipes call for precise amounts. You’re not alone—using a kitchen scale can feel confusing at first, but learning how to use a kitchen scale makes cooking and baking much easier.
To use a kitchen scale in 10 easy steps, choose a digital model, place it on a level surface, and turn it on. Select grams, ounces, or pounds, then set an empty bowl on the platform and press tare.
Add ingredients gradually, taring between additions, and pour liquids carefully. Wait for stable readings and avoid exceeding capacity.
Fix errors by checking batteries and placement. Wipe the scale clean and store it safely. The steps below will help you measure confidently.
Key Takeaways
- Place the kitchen scale on a flat, stable surface, turn it on, and wait until the display reaches zero.
- Select the appropriate measurement unit, such as grams, ounces, or pounds, and use it consistently.
- Place your bowl or container on the platform, then press the tare button to reset the display to zero.
- Add ingredients gradually, using the tare function between additions and waiting for each reading to stabilize.
- Record measurements, clean the scale with a damp cloth, and store it safely after use.
Choose the Right Kitchen Scale
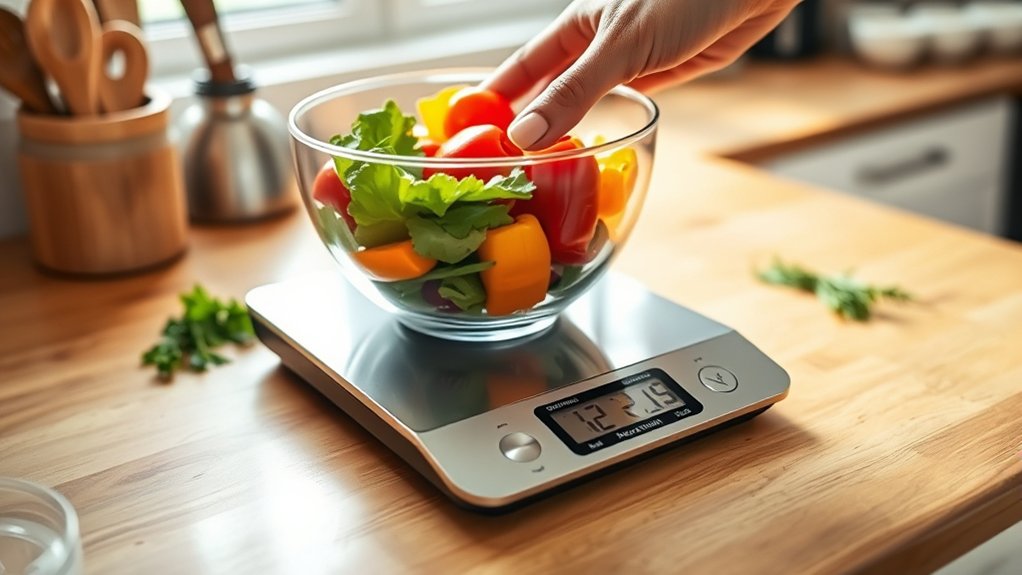
Choose a kitchen scale that matches your cooking needs, such as a digital model with a clear display and a capacity of at least 5 kilograms. A digital scale usually offers quick, readable measurements, while a mechanical model can work without batteries.
Choose a kitchen scale with a clear digital display and enough capacity to handle your typical cooking needs.
Consider the units you’ll use most, including grams, kilograms, ounces, and pounds. A tare button lets you subtract a bowl’s weight, making repeated measurements faster and reducing cleanup.
Look for a flat, wipeable surface that fits comfortably in your available storage space. If you prepare large batches, select a model with a higher weight limit.
For baking, choose precise measurements in one-gram or smaller increments to support consistent results. Cooking precision improves when the display remains visible around large containers.
If you follow a nutrition plan, select a scale that supports dietary tracking through accurate portion measurements. Check battery access, warranty coverage, and user reviews before buying.
Don’t pay for app features you won’t use.
Set Up Your Kitchen Scale
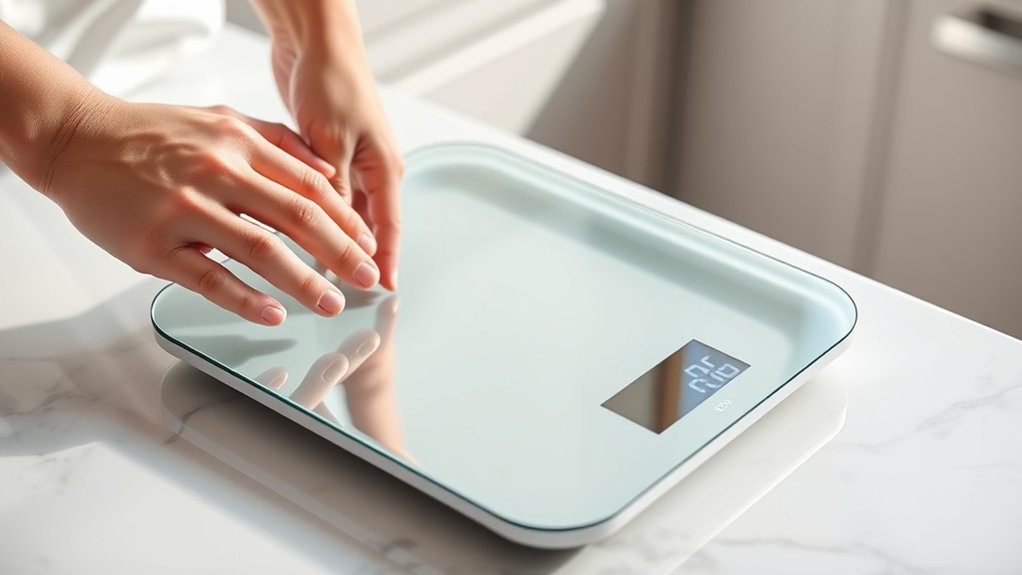
Before measuring ingredients, place your kitchen scale on a flat, stable surface and install fresh batteries if needed. Keep the scale away from heat, moisture, drafts, and vibrations, which can affect accuracy.
Check the weighing platform and remove any packaging, crumbs, or protective film.
Review the manufacturer’s instructions for recommended calibration techniques. If your model includes a calibration weight, place it on the platform only when the instructions direct you to do so.
Confirm that the weight matches the required value, and handle it carefully to prevent damage or residue.
Choose a clean, dry container that fits comfortably on the platform. Make sure it sits fully on the surface without touching nearby objects.
Keep commonly used containers within reach, but don’t place anything on the scale yet.
Use these troubleshooting tips if readings seem inconsistent: reposition the scale, check the batteries, clean the platform, and verify that it rests evenly.
Replace damaged parts before preparing food.
Turn On the Scale

Press the power button to turn on the scale, then wait for the display to show zero before placing anything on the platform. Keep the scale on a stable, level surface, and make sure nothing touches it during startup.
A clear zero reading confirms that the scale is ready for accurate weighing. If the screen stays blank, check the batteries, their placement, and the power connection.
Use these quick checks:
| Check | Action |
|---|---|
| Screen | Confirm the display lights up |
| Zero | Wait for a stable zero |
| Surface | Keep the platform clear |
| Controls | Tap the display toggle only if needed |
Don’t press multiple buttons while the scale initializes. If numbers jump or the display shows an error, turn the unit off, remove nearby items, and restart it.
Give the reading a moment to settle before continuing. Once the scale displays a steady zero, you’re ready for the next step.
Choose Grams, Ounces, or Pounds
Select the unit that matches your recipe or instructions—grams for precise metric measurements, ounces for smaller imperial amounts, or pounds for heavier items. Press the unit button until your preferred option appears on the display.
If your recipe lists kilograms, choose grams and convert the amount by multiplying kilograms by 1,000. For ounces, confirm whether the instructions mean weight ounces, not fluid ounces, which measure volume.
Choose one unit and keep it consistent throughout the recipe. Switching units can cause confusion, especially when you’re measuring several ingredients.
Measuring accuracy improves when you use the smallest practical unit. Grams often provide finer control than pounds.
Check the scale’s maximum capacity before weighing bulky ingredients, and select a different device if the load exceeds its limit.
Calibration techniques also affect reliable readings. Follow your model’s instructions for calibration, use the recommended reference weight, and place the scale on a firm, level surface.
Replace weak batteries when readings fluctuate, and verify the display before continuing.
Tare the Scale Before Weighing
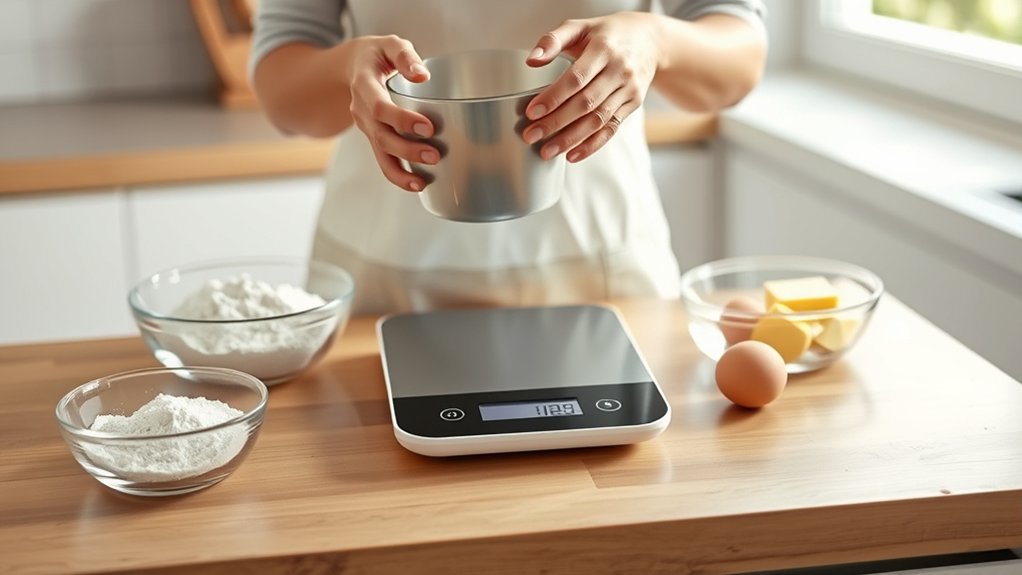
Once you’ve chosen the unit, tare the scale to remove the container’s weight from the reading. Place your bowl, plate, or measuring cup on the center of the platform.
Keep the container steady, then press the tare or zero button. Wait until the scale resets to zero before adding ingredients.
Keep the container steady and wait for the scale to return to zero before adding ingredients.
This simple habit supports Cooking precision and prevents you from accidentally counting the container as part of your ingredient.
Use this quick routine:
- Set the empty container securely on the platform.
- Press the tare button once.
- Confirm the scale returns to zero.
- Add ingredients gradually.
- Tare again before adding each new ingredient.
If you’re weighing several ingredients in one bowl, tare after every addition. You’ll save dishes and keep proportions accurate.
Taring also improves Baking accuracy, especially when recipes require small amounts of flour, sugar, yeast, or spices.
Don’t move the container while resetting, and check that nothing touches the platform or counter. Keep the scale stable for consistent results.
Read the Scale Display
Read the display after the scale stabilizes, and check that the number and unit match the measurement your recipe requires. A steady reading helps you record an accurate amount instead of reacting to a temporary fluctuation.
Look for the unit indicator, such as grams, ounces, pounds, or milliliters. If the unit isn’t correct, press the unit button until you reach the setting your instructions specify.
Don’t assume a number represents grams just because it appears on the screen. Check the decimal point, too. A reading of 10.5 differs greatly from 105, so read every digit carefully.
If the numbers jump without reason, review the scale calibration on a level, stable surface. Replace weak batteries when necessary.
Adjust the display brightness if glare or dim lighting makes the figures difficult to see. Keep your eyes directly above the screen to avoid misreading digits.
Once you’ve confirmed the value and unit, note the measurement and continue following the recipe.
Add Ingredients Without Overloading
Add ingredients gradually, keeping the total weight within your scale’s maximum capacity. Check the display after each addition, and pause before the number approaches the limit.
Overloading can produce inaccurate readings or strain the sensor, so remove excess ingredients if necessary.
Use these habits to protect measurement accuracy:
- Place the bowl or plate centrally before adding food.
- Press tare whenever you need to reset the display.
- Add small portions instead of dumping everything at once.
- Watch for warning symbols or an error message.
- Record each amount before continuing your recipe.
If you’re making an ingredient substitution, weigh the replacement separately when possible. This approach helps you compare amounts and adjust the recipe without exceeding the scale’s capacity.
Keep frequently added ingredients in small containers nearby, but add them one at a time. Don’t press on the bowl or move the scale while it’s measuring.
When the display becomes unstable, wait for a steady reading before proceeding. Following these steps keeps your scale responsive, your portions controlled, and your recipe on track.
Measure Liquids in a Container
For liquids, place a stable container on the scale, press tare to reset the display, and pour slowly until you reach the required weight. Keep the container centered so the scale can register its contents evenly. Use a level surface, and check that the display shows zero before you begin.
Choose a container with enough room for the liquid, but avoid oversized bowls that make pouring less controlled. Your container selection affects stability, visibility, and measuring accuracy.
Choose a well-sized container to improve stability, visibility, and control when measuring liquids accurately.
A lightweight cup works well for small amounts, while a sturdy jug suits larger quantities. If the recipe lists milliliters or grams, follow the unit shown by your scale and measure consistently.
Hold the bottle close to the container as you pour to reduce splashes. Pause briefly near the target weight, then add small amounts until you reach it.
Read the display at eye level, and record the measurement before moving the container. This method helps you measure liquids cleanly and confidently for cooking or baking.
Fix Common Kitchen Scale Errors
When your kitchen scale gives an unexpected reading, check its placement, battery, and calibration before changing your ingredients. Set it on a firm, level surface, then press tare with an empty bowl. If numbers jump, replace the battery and keep cords, fans, and vibrations away. Confirm the unit shows grams or ounces as your recipe requires.
Use this quick troubleshooting checklist:
- Remove the bowl, restart the scale, and tare again.
- Test it with a known weight, such as a sealed package.
- Check that the platform isn’t touching a wall or nearby object.
- Calibrate it according to the manufacturer’s instructions.
- Reduce the load if you’ve exceeded its maximum capacity.
For accurate Cooking techniques, add ingredients slowly and wait for the display to stabilize. Don’t lean on the counter while weighing, because pressure can affect readings.
Include scale checks in regular appliance maintenance, and replace damaged parts instead of guessing measurements. If errors continue after calibration and a fresh battery, consult the manual or contact the manufacturer.
Clean and Store Your Scale
Wipe your scale after each use to remove crumbs and spills. Avoid immersing it in water—instead, use a slightly damp cloth. Then store it safely in a dry spot where it won’t get bumped or damaged.
Wipe After Use
After each use, clean the scale’s surface to prevent crumbs, flour, and spills from affecting future measurements. Wipe it with a soft, slightly damp cloth, then dry it completely. Don’t pour water over the scale or submerge it, because moisture can damage electronic parts.
For effective Food safety and sanitation practices, pay attention to the buttons, display edges, and weighing platform where residue collects.
- Remove the bowl before cleaning.
- Brush away dry crumbs gently.
- Use mild soap for sticky spots.
- Keep liquids away from openings.
- Check that the platform feels dry.
If you weigh raw meat, eggs, or allergens, clean the surface promptly to prevent cross-contact. Avoid abrasive pads and harsh chemicals, which may scratch or discolor the finish.
A clean scale gives you reliable readings and keeps your food preparation area hygienic. Wipe spills immediately, especially sugary or oily ingredients, before they harden and become difficult to remove.
Store Safely
Store your kitchen scale in a clean, dry place once you’ve finished using it. Before storing it, remove crumbs, flour, or spills with a soft, slightly damp cloth.
Don’t immerse the scale in water or spray cleaner directly onto its surface, because moisture can damage the electronics. Dry the platform and controls completely.
Then place the scale on a stable shelf or in a drawer where heavy items won’t press on it. Keep the power button and display unobstructed when you use it next.
If your model includes a removable bowl, wash and dry the bowl separately. Store batteries according to the manufacturer’s instructions, and remove them if you won’t use the scale for an extended period.
Proper storage protects recipe accuracy and supports efficient ingredient organization during future baking sessions.
Frequently Asked Questions
Can I Use a Kitchen Scale to Measure Ingredients for Meal Planning?
Yes, you can use a kitchen scale to measure ingredients for meal planning. Weigh each ingredient in grams or ounces, then record the amounts in your meal plan.
This improves portion consistency and supports accurate Recipe conversion when you adjust serving sizes. You can also enter measured quantities into a tracking app for more precise Nutritional analysis.
Remember to tare the container before adding each ingredient, so your measurements stay accurate and reliable.
How Often Should I Calibrate My Kitchen Scale?
Calibrate your kitchen scale monthly, or whenever you move it, replace batteries, overload it, or notice inconsistent readings. Think of calibration as your scale’s compass: it keeps every measurement on course.
For dependable meal planning, check the manufacturer’s instructions and use the recommended calibration weight. Calibration frequency may increase with daily use.
To protect scale accuracy, place it on a level, stable surface and verify it before weighing especially important ingredients.
Can Kitchen Scales Measure Very Small Amounts Accurately?
Yes, kitchen scales can measure very small amounts accurately, but performance depends on resolution and quality. Choose a scale displaying 0.1 grams for spices, yeast, salt, or baking powder; basic 1-gram models may fluctuate or miss tiny quantities.
Place your container centrally, use the tare function, and avoid drafts or vibrations. For reliable cooking precision and baking accuracy, calibrate regularly and verify readings with a known weight when measuring especially small amounts.
Are Kitchen Scales Safe to Use With Hot Ingredients?
Yes, you can use a kitchen scale with warm ingredients, but you shouldn’t place extremely hot pots or pans directly on it. High heat may damage the platform, distort readings, or create burns.
For better cooking safety, transfer the ingredient to a heat-resistant container, let it cool slightly, and check the ingredient temperature before weighing. Protect the scale from steam, spills, and sudden temperature changes, and always follow the manufacturer’s instructions.
What Batteries Do Most Kitchen Scales Require?
Most kitchen scales require two or three AAA batteries, though some models use AA batteries, button cells, or a built-in rechargeable battery. Check your scale’s manual or battery compartment before purchasing replacements.
For reliable performance, use fresh alkaline batteries and replace them when the display dims or readings become inconsistent. Among common battery types, AAA cells remain the standard.
Other power sources include USB charging or an AC adapter on select models.
Conclusion
Using a kitchen scale is easier than you might think. Choose the right model, set it up, select your preferred units, and tare it before adding ingredients.
Measure liquids in a container, avoid overloading the platform, and fix errors by checking the batteries or surface. Finally, clean and store your scale safely.
Ready to cook with greater accuracy? Let your kitchen scale turn every recipe into a recipe for success.