How to Build an Outdoor Kitchen in 7 Simple Steps
Planning an outdoor kitchen can feel overwhelming, especially when you’re balancing space, safety, budget, and design choices. You’re not alone—many homeowners struggle to know where to start.
This guide breaks down how to build an outdoor kitchen in seven simple steps.
To build an outdoor kitchen in seven simple steps, choose a safe, level location away from your home and combustible materials.
Set a realistic budget with a 10–15% contingency.
Plan the layout, utilities, drainage, and permits.
Build a compacted, sloped concrete base.
Install and secure the grill, appliances, and cabinets.
Add weatherproof countertops and finishes.
Finally, test every connection, improve drainage, and arrange comfortable seating.
The sections below explain how to complete each step successfully.
Key Takeaways
- Choose a safe, level location away from combustible materials, with convenient access and sufficient room for movement.
- Plan the layout, appliances, utilities, ventilation, drainage, permits, and future maintenance access before buying materials.
- Set a realistic budget, including delivery, installation, durable weatherproof materials, and a 10–15% contingency.
- Build a reinforced, well-drained foundation, then install level cabinets, countertops, appliances, and grill components securely.
- Connect and test gas, electricity, water, drainage, and ventilation professionally, then add seating and maintain the kitchen regularly.
Choose a Safe, Convenient Kitchen Location
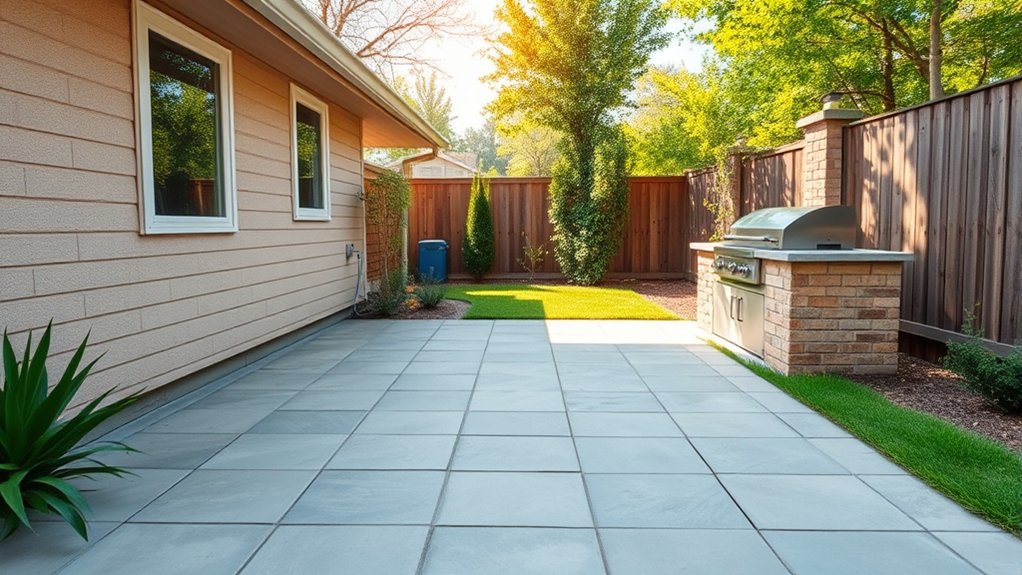
Choose a location that’s close enough to your home for convenient access but far enough from doors, windows, and combustible materials to reduce fire and smoke risks. Check local codes for required clearances around grills, smokers, and other heat-producing appliances.
Choose a convenient location while maintaining safe clearances from your home, windows, doors, and combustible materials.
Keep the kitchen on stable, level ground so you can work safely and prevent furniture or equipment from shifting. Avoid low areas where rainwater collects, and consider drainage before construction begins.
Position your kitchen where prevailing winds will carry smoke away from your home and seating areas. Leave enough room for people to move comfortably around counters, appliances, and dining furniture without blocking walkways.
Consider how the structure will fit your garden aesthetics, choosing a spot that complements existing plants and hardscaping. Plan outdoor lighting early so you can illuminate work surfaces, steps, and pathways without creating glare for neighbors or guests.
Confirm utility access, including gas, electricity, and water, before finalizing your location.
Set a Realistic Outdoor Kitchen Budget
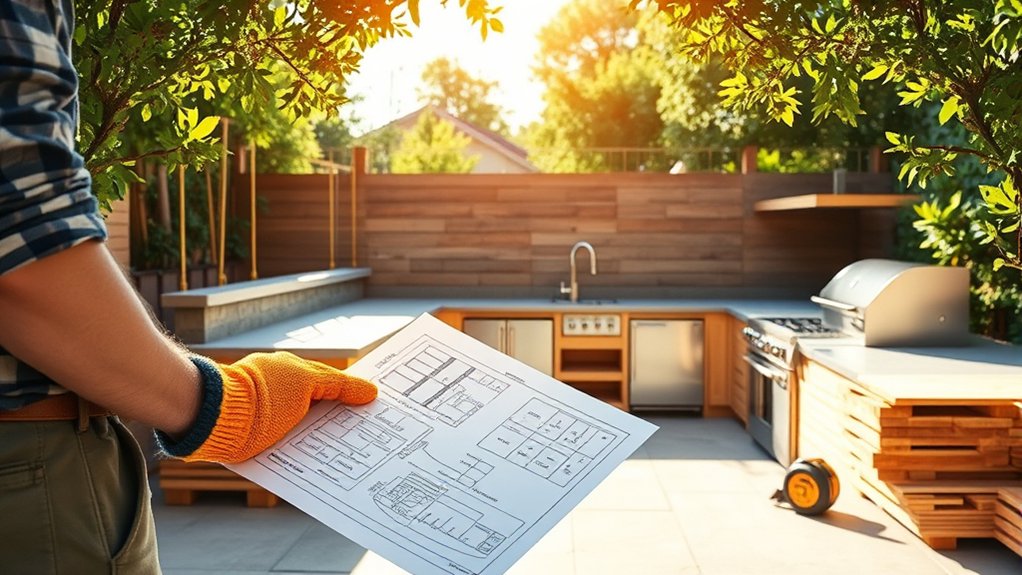
Once you’ve selected a safe, practical location, set a budget that reflects your outdoor kitchen’s size, materials, appliances, utility work, labor, and permits.
Start by listing must-haves, then separate upgrades you can postpone. Your budget priorities should protect essentials such as a durable cooking surface, weather-resistant storage, and safe installation.
Get several estimates, add a 10–15% contingency, and confirm product prices before committing.
| Cost area | Basic choice | Upgrade choice |
|---|---|---|
| Cooking | Portable grill | Built-in grill |
| Counters | Concrete | Natural stone |
| Storage | Freestanding cart | Custom cabinetry |
Material selection strongly affects long-term value. Stainless steel, sealed stone, and exterior-rated finishes may cost more initially but handle sun, moisture, and temperature changes better.
Track every quote in a spreadsheet, including delivery and assembly charges. Don’t drain your emergency savings; scale the design to match your comfortable spending limit.
A clear ceiling helps you compare options confidently and avoid costly impulse purchases. Revisit the budget after each purchase to keep the project financially controlled.
Plan the Layout, Utilities, and Permits
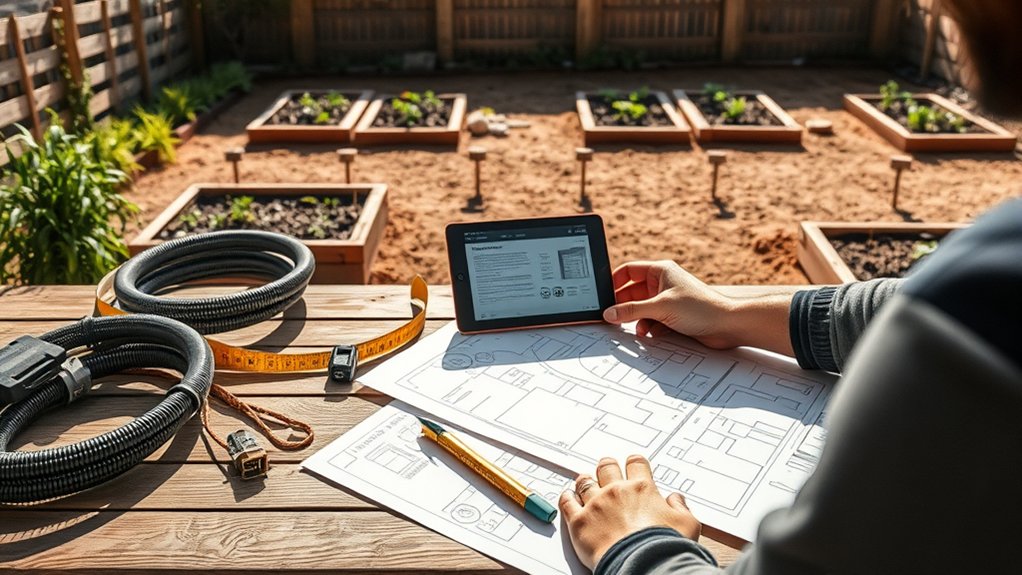
Next, map out your kitchen layout to create an efficient space for cooking and serving. Then, plan the utility connections for water, electricity, and gas. Before construction begins, check your local permit requirements to make sure everything is approved.
Map the Kitchen Layout
Before you buy materials, map the kitchen’s work zones, appliance locations, and utility routes on paper or with layout software. Arrange the grill, prep counter, sink, and serving area so you can move efficiently without crossing hot or crowded spaces.
Allow comfortable clearance behind seating and around cabinet doors. Consider traffic from the house, patio, and yard, then preserve clear paths to each entrance.
- Place frequently used tools and ingredients near the prep zone.
- Include outdoor storage for cushions, cookware, and cleaning supplies.
- Use landscape integration to connect counters with gardens, walls, or screening.
Mark dimensions for counters, islands, and dining areas, and check the view from inside your home. Test the plan with temporary tape or cardboard before construction.
Confirm that the layout suits entertaining, daily cooking, shade, and privacy. Keep future maintenance access in mind, but save detailed connection decisions for the next step.
Plan Utility Connections
With the layout mapped, plan how water, gas, electricity, drainage, and ventilation will reach each appliance. Keep routes as short as practical while ensuring connections remain accessible for maintenance.
Mark pipe, cable, and vent paths before building walls or pouring concrete. Use weatherproof materials, install proper shutoff valves, and provide adequate airflow around cooking equipment.
These safety measures protect your family and help prevent costly changes later.
| Connection | Peace of mind |
|---|---|
| Water | Easy cleanup |
| Gas | Confident cooking |
| Electricity | Reliable lighting |
| Drainage | A cleaner space |
Coordinate appliance locations with connection points, and leave room for insulation and service access. Use dedicated circuits where needed, protect outlets with weather-resistant covers, and slope drainage lines away from the kitchen.
If you’re unsure about sizing or installation, consult licensed professionals before construction begins.
Check Permit Requirements
Check local permit requirements before you finalize construction plans, since outdoor kitchens may need approvals for structural work, gas lines, electrical circuits, plumbing, or drainage.
Contact your building department and review zoning regulations for setbacks, lot coverage, property lines, and restrictions on permanent structures. Ask whether your homeowners’ association imposes additional rules.
Prepare permit applications with an accurate site plan, dimensions, utility routes, equipment locations, and material details.
Your inspector may require drawings from licensed professionals, especially for gas or electrical work. Don’t begin excavation or installation until you receive written approval.
- Confirm required permits with building, fire, and utility offices.
- Schedule inspections at each required construction stage.
- Keep approved plans and permits accessible on-site.
Following these steps helps you avoid fines, delays, forced removal, and unsafe connections while keeping your outdoor kitchen compliant.
Build a Strong, Weatherproof Base
A durable outdoor kitchen starts with a level, well-drained base that can support heavy cabinets, appliances, and countertops. Mark the footprint, then remove grass, roots, and loose soil.
Prepare a solid, level foundation by clearing the footprint and removing unstable soil before construction begins.
Excavate until you reach firm, undisturbed ground, accounting for the required thickness of your base and finished surface.
Spread and compact a layer of crushed gravel to promote drainage and prevent shifting. Pour a reinforced concrete slab over the prepared area, keeping it thick enough for your design and local conditions.
Use a long level or straightedge to maintain a flat surface, and slope it slightly away from your home so water won’t collect.
Add control joints to help limit cracking, then let the concrete cure fully before continuing.
Seal porous materials with an exterior-rated product to improve weather resistance. Check the finished base for standing water, soft spots, or uneven areas.
Taking these steps now improves foundation stability and protects your outdoor kitchen from seasonal moisture and frost damage.
Install the Grill, Appliances, and Cabinets
Once the base has cured, position the grill, appliances, and cabinets according to your layout, leaving enough clearance for ventilation, doors, utilities, and maintenance. Confirm every unit sits level before fastening it to the base.
Begin grill installation by following the manufacturer’s instructions. Secure the firebox, hood, and side components without blocking vents. Connect gas lines or electrical wiring only according to local codes, and have a qualified professional inspect permanent connections.
Complete cabinet assembly on a flat surface, then anchor each cabinet securely. Use stainless-steel hardware and adjust doors and drawers so they open freely. Protect plumbing and wiring from sharp edges, heat, and moisture.
- Test burners, igniters, lights, refrigerator, and outlets before closing access panels.
- Install required shutoff valves where you can reach them quickly.
- Keep service panels removable for future repairs and inspections.
Check that appliances operate correctly and that cabinet doors align. Don’t enclose heat-producing equipment unless its instructions specifically permit it.
Clean the work area and remove packaging before proceeding.
Choose Weatherproof Countertops and Finishes
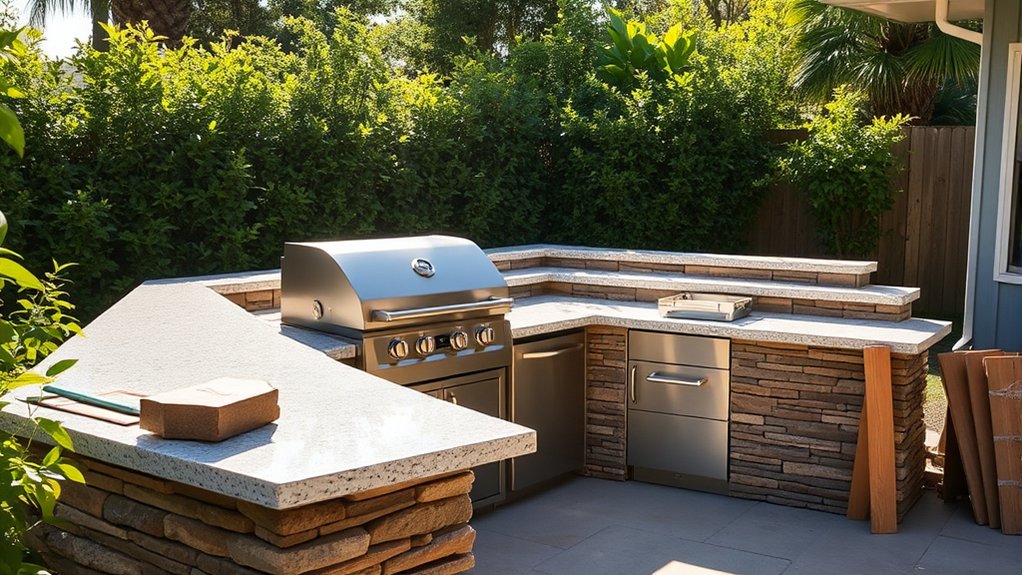
With the appliances secured, choose countertops and finishes that can withstand sun, rain, temperature changes, grease, and frequent cleaning. Select weather-resistant surfaces such as granite, concrete, porcelain slab, or stainless steel.
These materials resist moisture and heat, but each requires appropriate installation and care. Seal porous stone and concrete to prevent stains, then renew the sealer according to the manufacturer’s schedule.
For low maintenance, consider porcelain or stainless steel. These materials won’t absorb spills and are easy to clean.
Match your countertop to the cabinet structure, leaving proper clearance around grills and burners. Use exterior-rated adhesives, fasteners, and caulk so moisture can’t penetrate joints.
Avoid indoor laminates, untreated wood, and materials that crack during freeze-thaw cycles. Choose durable finishes for cabinet doors, hardware, and trim, including powder-coated metal, marine-grade polymer, or properly sealed hardwood.
Confirm every product carries an outdoor rating, and follow its care instructions to preserve color, performance, and appearance through changing seasons. Insist on rounded edges to reduce chipping and improve safety.
Test the Kitchen and Add Comfort
Before hosting, test every appliance to make sure it works safely and reliably. Check the water flow at each fixture, then add comfortable seating so guests can relax.
Test All Appliances
Test every appliance before the kitchen is fully stocked or guests arrive. Turn on your grill, burners, refrigerator, ice maker, lights, and any electrical accessories. Confirm each starts smoothly, reaches the expected temperature, and operates without unusual noise, odors, sparks, or excessive heat.
Keep manufacturer instructions nearby, and don’t ignore a warning light or tripped breaker.
During testing, focus on these essentials:
- Check knobs, igniters, timers, and controls for reliable operation.
- Inspect cords, plugs, gas connections, and vents for visible damage.
- Verify doors, shelves, drawers, and drip trays open, close, and secure properly.
Record problems and schedule repairs before regular use. Include appliance maintenance in your routine by cleaning grease traps, filters, burners, and coils as directed.
Complete safety inspections periodically, especially after storms or long storage. Keep a fire extinguisher accessible, and shut appliances off when testing ends.
Check Water Flow
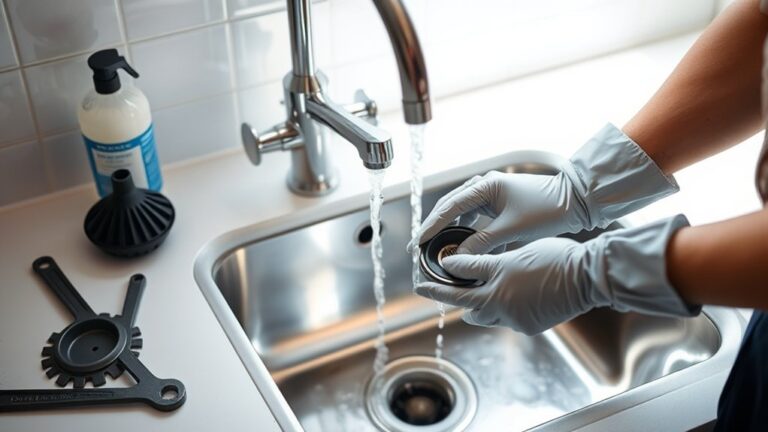
Turn on the faucet and confirm that water flows steadily, drains properly, and reaches both hot and cold settings. Check the water pressure at the faucet and compare it with your fixture’s requirements.
If the stream weakens, inspect the supply line for kinks, clogs, or leaks. Examine hose fittings at the faucet, filter, and connection points, tightening them by hand before using a wrench carefully.
Don’t overtighten plastic parts, which can crack. Let the water run for several minutes, then watch the drain and surrounding cabinet for pooling or drips.
Test the sprayer, if installed, and verify that its switch works smoothly. Flush the lines to clear construction debris.
Finally, shut off the water and inspect every joint again. Catching a slow leak now can prevent damage later.
Add Comfortable Seating
Add comfortable seating that leaves enough room to move around the counters and appliances. Choose durable Outdoor furniture that suits your climate, cooking style, and available space.
Arrange chairs or stools so guests can join conversations without blocking drawers, grills, or walkways. Measure seat height against your counter before buying, and leave enough clearance for knees.
Prioritize Seating comfort with supportive backs, weather-resistant cushions, and materials that won’t become dangerously hot in sunlight. Consider adding shade to keep everyone relaxed during long meals.
- Use bar stools at a raised counter for casual dining and quick serving.
- Place a small table and chairs nearby for full meals or board games.
- Add washable cushions, outdoor rugs, and side tables for practical comfort.
Test every seat after installation. Sit, stand, and move around the kitchen to confirm the layout feels natural, safe, and welcoming.
Frequently Asked Questions
What Outdoor Kitchen Cooking Techniques Work Best for Beginners?
You’ll find outdoor grilling easiest when you start with direct, medium heat. Preheat your grill, oil the grates, and cook burgers, chicken, vegetables, and sausages while turning them occasionally. Use a thermometer instead of guessing doneness.
Practice indirect cooking by placing food beside, rather than over, the coals or burners. Good ingredient prep also helps: cut everything beforehand, season simply, and keep raw and cooked foods separate for safety.
How Should Outdoor Kitchen Utensils and Cookware Be Organized?
Treat your outdoor kitchen like a well-run orchestra: every utensil should have its place and every tool should be ready for its solo. Use Outdoor storage cabinets, weatherproof drawers, or sealed bins to protect cookware from moisture and pests.
Group tongs, spatulas, and brushes together near the grill. Hang frequently used tools on hooks, while stacking pans by size. Clear labels strengthen Utensil organization, helping you cook faster and clean up easily.
What Foods Are Easiest to Prepare in an Outdoor Kitchen?
You’ll find grilled foods, skewers, burgers, hot dogs, sausages, and foil-pack vegetables easiest to prepare in an outdoor kitchen. These dishes need minimal equipment and cook quickly over direct heat.
You can also assemble salads, tacos, sandwiches, and pizzas with simple ingredient prep. Keep raw meat separate from ready-to-eat foods, use clean utensils, and monitor temperatures for food safety.
Choose recipes that let you cook, serve, and clean up efficiently.
How Can I Reduce Smoke and Odors While Cooking Outdoors?
You can reduce smoke and odors by controlling heat, airflow, and grease rather than assuming outdoor cooking must be smoky. Start with clean burners, grates, and drip trays, then trim excess fat and avoid flare-ups.
Use a properly sized hood or vent hood that exhausts away from doors and windows. Position your grill downwind from seating areas, and keep a lid nearby.
For better smoke control and odor management, choose leaner foods and remove waste promptly.
Can I Use My Outdoor Kitchen During Winter or Rainy Weather?
Yes, you can use your outdoor kitchen during winter or rainy weather if you plan carefully. Install weatherproof cabinets, covered countertops, proper drainage, and non-slip flooring.
Use a roof, pergola, or retractable awning for rain protection, but never operate grills beneath enclosed structures without adequate ventilation. Protect plumbing from freezing, and disconnect water lines when temperatures drop.
For winter storage, cover appliances, store cushions indoors, and secure portable equipment from wind and moisture damage.
Conclusion
With the right plan, you can turn an empty patio into a practical outdoor kitchen in just seven simple steps. For example, imagine converting a neglected corner into a compact setup with a grill, weatherproof cabinets, stone counters, and a nearby prep sink.
You’ll spend wisely, build safely, and create a space that’s ready for family dinners. Once you’ve tested every connection and added lighting and seating, you won’t just cook outside. You’ll enjoy your home more with a functional outdoor kitchen.