How to Pack a Kitchen in 10 Easy Steps
Packing a kitchen can feel overwhelming, especially when fragile dishes, bulky cookware, and countless small gadgets all need careful handling. You’re not alone—many people struggle to know where to start. This guide to how to pack a kitchen in 10 easy steps will help you stay organized and make moving day less stressful.
Pack your kitchen in 10 easy steps: gather sturdy boxes, tape, paper, bubble wrap, labels, and markers; declutter duplicates and damaged items; sort belongings by frequency; pack seasonal items first; wrap dishes and glassware individually; protect pots, pans, and bakeware; secure utensils, gadgets, and appliance parts; pack pantry food and cleaners separately; seal and label every box clearly; and prepare an essentials box with daily necessities.
Follow the steps below for a smoother move.
Key Takeaways
- Gather sturdy boxes, packing paper, bubble wrap, labels, tape, markers, towels, and tools before packing.
- Declutter by donating duplicates, unused items, and damaged kitchenware. Sort remaining belongings by frequency and category.
- Wrap dishes, glasses, cookware, and fragile serveware individually. Cushion boxes and place heavier items underneath lighter ones.
- Clean and dry appliances, remove batteries, and secure cords. Keep attachments, manuals, and small parts with their devices.
- Seal boxes securely and label contents and destinations. Mark fragile items and orientation, then photograph boxes for inventory.
Gather Kitchen Packing Supplies
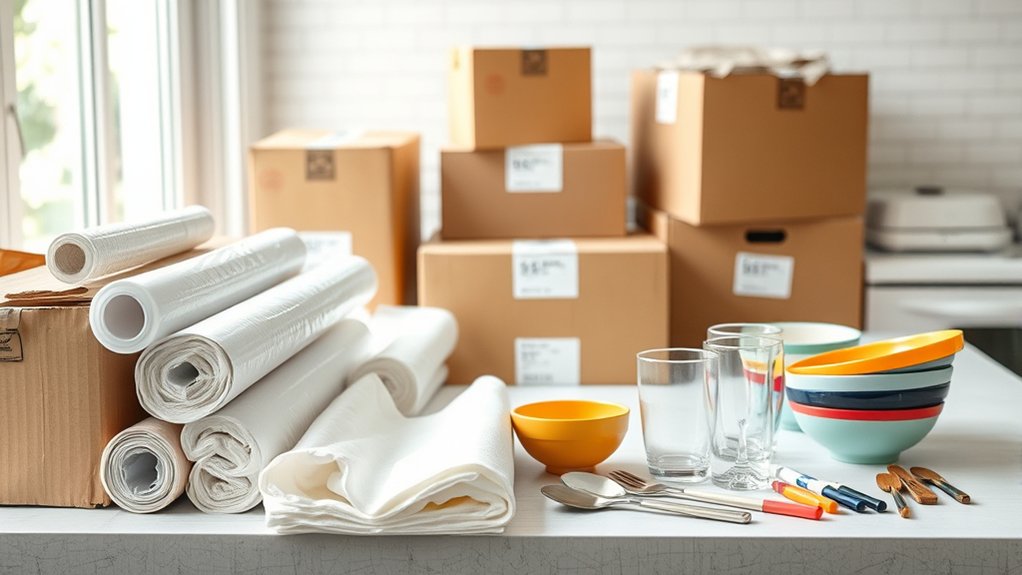
Before you pack, gather sturdy boxes in several sizes, packing paper, bubble wrap, packing tape, resealable bags, labels, and a thick marker. Choose small boxes for heavy items, such as cookware, and medium boxes for lighter dishes, utensils, and pantry tools.
Add towels or dishcloths to cushion gaps and reduce waste. Keep a few sturdy cartons available for appliances, but don’t force bulky equipment into undersized boxes.
Use resealable bags for loose parts, cords, measuring spoons, and hardware; label each bag immediately. You’ll also need scissors, a box cutter, and a broad marker for clear identification.
If you follow practical Cooking tips, collect clean containers for spices and fragile ingredients before sealing cartons. Consider your Kitchen design when selecting labels: mark boxes by destination, such as “island,” “pantry,” or “baking area,” so unpacking feels intuitive.
Finally, reserve one clearly labeled essentials box for your first meals, including a kettle, mugs, plates, utensils, soap, and paper towels.
Declutter the Kitchen First
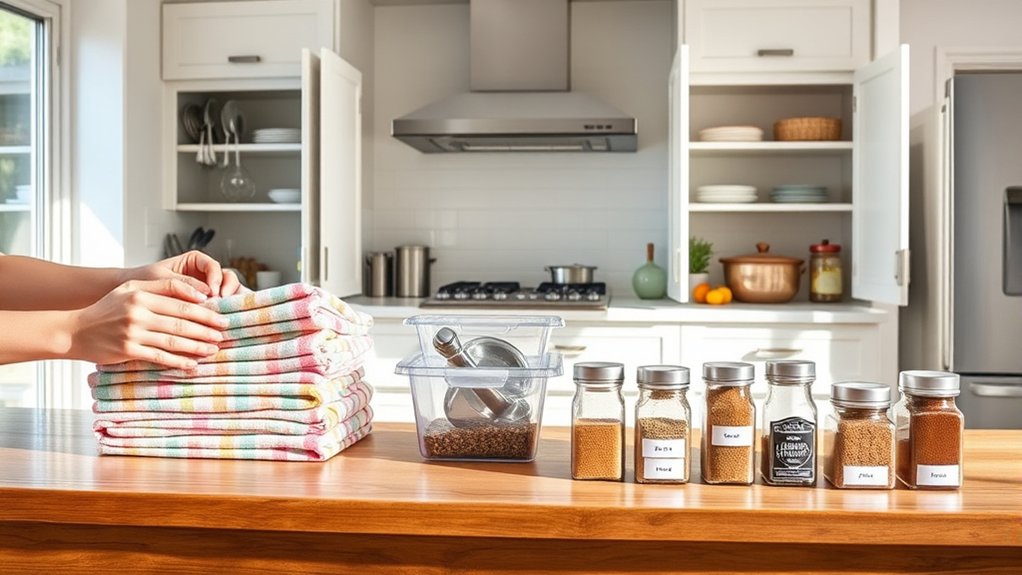
Before you start packing, go through your kitchen items and sort them by how often you use them. Set aside anything you rarely use, no longer need, or have duplicates of. Donate kitchenware you don’t need so it can help someone else instead of taking up valuable space.
Sort Items by Use
Start by sorting kitchen items according to how often you use them. Keep daily essentials, such as plates, mugs, utensils, and pans, within easy reach.
Group weekly items, including baking tools, serving dishes, and specialty appliances, in a separate area for convenient access after the move. Place seasonal or rarely used pieces together, so you can pack them efficiently without disrupting your routine.
While organizing pantry shelves, check which ingredients you use regularly and group them by meal or cooking purpose. Use labeling containers to identify contents quickly and prevent misplaced supplies.
Create clear categories for cookware, tableware, food storage, and gadgets. Pack each category together, and mark its box with the room, contents, and priority level.
Leave the highest-priority boxes accessible, and keep packing materials away from your cooking workspace.
Donate Unneeded Kitchenware
Which kitchen items haven’t you used in the past year? Set aside duplicate utensils, novelty gadgets, chipped dishes, and appliances collecting dust. If you haven’t needed an item recently, you probably won’t miss it after moving.
Keep only useful pieces that fit your cooking habits and new kitchen.
Inspect every donation carefully. Wash dishes, remove crumbs, and test appliances to verify they work. Don’t donate cracked cookware, stained containers, or unsafe electrical items.
Group similar pieces in sturdy boxes so recipients can sort them easily.
Research local charitable organizations, community kitchens, shelters, or thrift stores before loading your car. Each may have different rules for accepted goods, pickup options, and hours.
Follow the donation process, request a receipt when applicable, and record what you give away. You’ll pack less and help someone else equip their kitchen.
Pack Rarely Used Kitchen Items
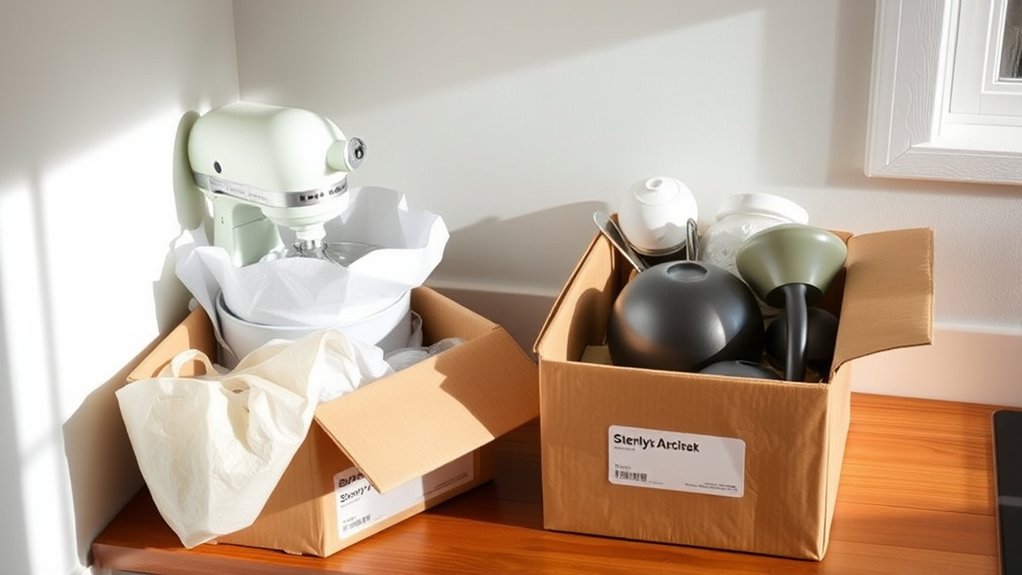
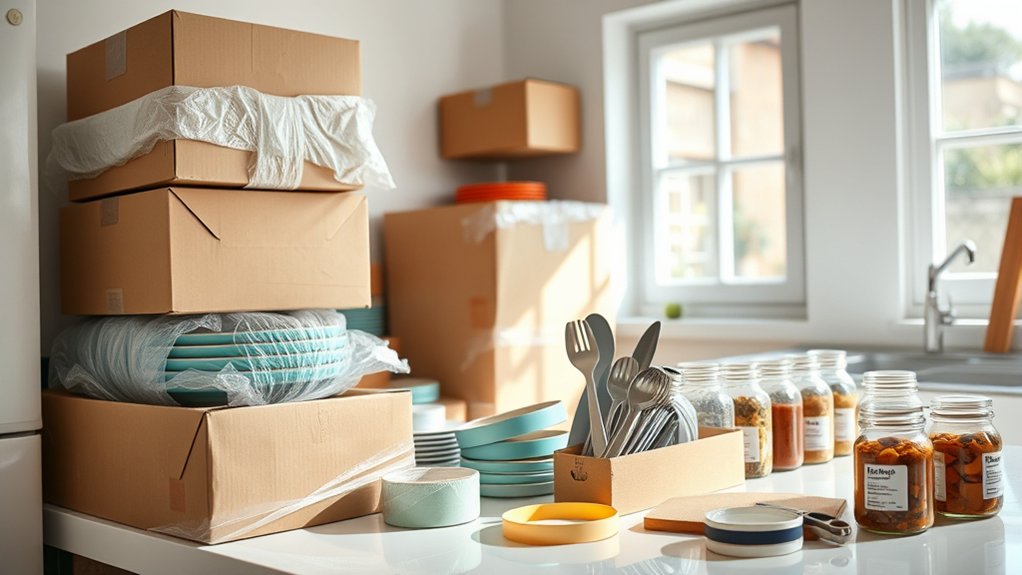
Start with seasonal items, like holiday bakeware and outdoor serving pieces, that you won’t need anytime soon. Group specialty appliances together, and label each box clearly. Be sure to wrap fragile serveware carefully to prevent chips and cracks.
Identify Seasonal Items
Set aside kitchen items you use only during certain seasons, such as holiday serving dishes, canning supplies, ice-cream makers, or specialty bakeware. Review each item and decide when you’ll use it next.
Keep spring, summer, fall, and winter supplies together so you can find them without unpacking everyday kitchen boxes. Wrap fragile pieces in clean towels, then place them in sturdy, labeled containers.
Mark each container with its contents and the season, such as “Winter baking” or “Summer preserving.” Store these boxes high in a closet, basement, or another dry area suited for seasonal storage.
Keep holiday decorations separate from kitchen supplies, but label both clearly if you’ll retrieve them together. Donate duplicates, damaged pieces, or items you haven’t used in several seasons.
Your kitchen will stay lighter and easier to unpack.
Group Specialty Appliances
Group specialty appliances you rarely use, such as pasta makers, food dehydrators, waffle irons, or slow cookers, before packing everyday kitchen equipment.
Unplug each appliance, remove detachable parts, and clean everything thoroughly. Let components dry completely to prevent odors, mold, or corrosion during storage.
Follow appliance maintenance tips by checking cords, inspecting seals, and securing loose accessories in labeled bags. Use the original manuals, if available, to confirm proper cleaning and storage instructions.
For effective specialty appliances organization, group items by function, then label each box with its contents and intended location.
Choose sturdy boxes that fit appliances snugly without forcing them inside. Fill empty spaces with clean towels or paper to limit movement.
Keep frequently needed accessories accessible, and place these boxes where you won’t need them immediately.
Protect Fragile Serveware
After grouping specialty appliances, turn to rarely used fragile serveware, such as fine china, crystal glasses, and decorative platters. Protect each piece before storing it for moving or long-term organization.
Line a sturdy box with crumpled paper, then wrap every item individually. Add extra padding between pieces, and never let glass or porcelain touch the cardboard.
- Stack plates vertically with cushioning between them to reduce pressure.
- Wrap glasses and stemware, then place them upright in divided boxes.
- Cushion platters around their edges and fill empty spaces completely.
Label the box “Fragile serveware” and mark which side should stay up. Keep heavier items below lighter boxes, and avoid overpacking.
If you display certain pieces seasonally, photograph their arrangement before wrapping them. You’ll recreate those decorative displays quickly after unpacking, without searching through several boxes.
Wrap Dishes and Glassware Safely
Protect fragile dishes and glassware by wrapping each piece individually in packing paper, starting with the center and folding the edges around it. This dishware wrapping method cushions surfaces and prevents pieces from rubbing together.
Wrap each dish individually in packing paper to cushion surfaces and prevent fragile pieces from rubbing together.
Add a second paper layer to plates, bowls, and especially thin or valuable items. For glassware safety, stuff each glass loosely with crumpled paper, then wrap it completely, covering stems, rims, and handles.
Don’t use newspaper directly against your dishes. Ink can transfer and stain them.
Choose a sturdy box and line its bottom with crushed paper or soft towels. Place heavier pieces below lighter ones, keeping plates on their edges rather than stacking them flat.
Fill gaps with crumpled paper so nothing shifts when you gently shake the box. Avoid overpacking, which can create pressure and cause cracks.
Finish with a final cushioning layer, close the box, and label it “Fragile, Glassware” and “This Side Up.” Seal the seams securely with packing tape.
Protect Pots, Pans, and Bakeware
Wrap each pot, pan, and baking dish in paper or bubble wrap to prevent scratches and chips. Stack them carefully, placing padding between each piece and heavier items on the bottom. This will help keep your cookware protected and ready to use.
Wrap Each Piece
Cushion each pot, pan, and baking dish with packing paper before placing it in the box. Use enough paper to cover every surface, especially sharp rims, handles, and corners.
Wrap each item separately, then secure the paper with a small piece of tape so it won’t loosen during the move. For extra protection, add a layer of bubble wrap around delicate bakeware, such as glass casserole dishes or ceramic pie plates.
Don’t overlook these details:
- Fill hollow pots with crumpled paper.
- Cover lids separately, including knobs and edges.
- Mark fragile bakeware clearly on the box.
Your cookware supports everyday cooking techniques, while attractive pieces may complement your kitchen decor. Protect both function and appearance by checking each wrapped item for exposed surfaces before you pack it.
This careful preparation helps prevent scratches, chips, and costly replacements.
Stack With Care
Stack pots and pans from largest to smallest, placing a sheet of packing paper between each piece to prevent scratches. Stack with care by nesting only items that fit comfortably; forcing them together can cause dents, chips, or difficult unpacking.
Place heavier cookware at the bottom of a sturdy box and lighter pieces above it. Wrap glass bakeware, casserole dishes, and ceramic pans individually, then add cushioning around every side.
Keep lids separate when necessary, wrapping each one before placing it vertically along the box’s edge. Use crumpled paper to fill gaps so nothing shifts during transport.
Don’t overpack the box, since excessive weight can damage cookware and make lifting unsafe. Label the box clearly, and organize efficiently by grouping similar items for easy access in your new kitchen.
Pack Appliances With Cords and Parts
Gather each appliance’s cord, attachments, manuals, and small parts before packing it. Unplug everything, clean and dry each appliance, then wrap removable pieces in paper. Keep matching components together so you won’t waste time searching after the move.
Gather each appliance’s parts, clean and dry them, then pack matching components together for an easier move.
For reliable cord management, coil each cord loosely, secure it with a reusable tie, and label it with the appliance’s name. Don’t wrap cords tightly around appliances; pressure can damage plugs or insulation.
Place manuals and warranties in a labeled envelope, then tape the envelope to the box interior or keep it with your moving documents.
- Protect delicate parts with towels or bubble wrap.
- Fill empty spaces with crumpled paper to prevent shifting.
- Mark boxes with appliance names and “This Side Up.”
Prioritize appliance organization by grouping similar machines, but don’t overload boxes. Put heavier appliances on the bottom and lighter ones above them.
Seal each box securely. Photograph complicated connections before disassembly so you can reinstall everything confidently. Keep frequently used appliances accessible until moving day.
Pack Utensils and Kitchen Gadgets
Sort utensils and kitchen gadgets by type, then wrap sharp edges and delicate pieces in paper or towels. Group knives, peelers, and graters separately from measuring cups, whisks, and spatulas.
Nest smaller tools inside larger bowls to save space, but cushion everything so pieces won’t scratch. Keep favorite gadgets accessible if you’ll need them before unpacking fully.
Consider your cooking techniques: place frequently used tools together, while specialty items can travel deeper in the carton. Protect electronic gadgets with their original padding or soft linens, and remove batteries when appropriate.
Your kitchen design may inspire a simple order, such as arranging tools by drawer or work zone.
| Item group | Packing care |
|---|---|
| Knives | Wrap blades securely |
| Glass tools | Cushion each piece |
| Measuring tools | Nest by size |
| Gadgets | Remove batteries |
Pause over sentimental utensils. A worn spoon or inherited opener can make your new kitchen feel like home.
Don’t cram boxes, since pressure can bend handles or crack plastic. Set delicate pieces gently on top of sturdier layers, leaving room for cushioning.
Label and Seal Every Kitchen Box
Once each kitchen box is packed, seal it securely with strong tape and label it on the top and at least one side. Use consistent labeling techniques so you can identify contents quickly, even when boxes are stacked.
Write the room, a brief item description, and handling instructions in bold, readable lettering. Add a numbering system, such as “Kitchen 1 of 6,” to track every carton.
Choose sealing methods that keep boxes closed during lifting and transport. Press tape firmly across every seam, then reinforce the bottom with a second strip if the box feels heavy.
Don’t overfill cartons, since bulging sides can break the seal.
- Mark “FRAGILE” for breakable cookware.
- Note “THIS SIDE UP” when orientation matters.
- Circle priority boxes you’ll unpack first.
Keep labels simple and visible, and avoid placing them over seams. Before moving each box, test its seal with a gentle lift.
Replace weak tape immediately, and photograph your inventory list for backup.
Pack Pantry Food and Cleaners Safely
With kitchen boxes labeled and sealed, pack pantry food and cleaners with extra care to prevent leaks, odors, and contamination. Start by checking expiration dates, then discard opened, spoiled, or damaged items.
Place dry goods in sturdy, leak-resistant bags or containers before boxing them. Keep cans, jars, and bottles upright, and cushion glass with clean towels or packing paper.
Don’t overfill cartons; heavy food can split weak bottoms and strain your back.
Separate cleaning supplies from every edible item, even if both groups seem tightly closed. Put detergents, sprays, and disinfectants in sealed plastic bags to contain possible leaks.
Keep chemicals upright, secure their caps, and add absorbent material around each container. Never pack bleach beside ammonia-based or acidic products, since leaks can create dangerous fumes.
Store pantry food in a cool, dry area during the move, away from heat and sunlight. Your food storage should remain clean, while cleaning supplies stay isolated and easy to identify.
Pack a Kitchen Essentials Box
Pack a kitchen essentials box with the items you’ll need during the first day and night, such as plates, cups, utensils, a can opener, paper towels, dish soap, a sponge, coffee or tea, and basic snacks. Add a few practical extras so you won’t unpack every carton immediately.
- Include trash bags, food-storage containers, a small cutting board, and one sharp knife.
- Pack medications, pet supplies, children’s items, and any special dietary foods your household needs.
- Add a towel, hand soap, reusable water bottles, and a basic cleaning spray.
Choose a sturdy, clearly labeled box, and keep it separate from heavier cookware. Mark it “Open First” on every side, then place it in your car or an easily accessible moving area.
Include this box on your moving checklist so it doesn’t get buried. Good kitchen organization starts before moving day: group essentials together, check expiration dates, and set aside anything you’ll use while the rest of your kitchen remains packed.
You’ll save time, reduce stress, and settle in more comfortably.
Frequently Asked Questions
How Far in Advance Should I Start Packing My Kitchen?
Start packing your kitchen two to three weeks before moving day. Begin with rarely used appliances, specialty cookware, serving dishes, and pantry items you can live without.
Follow your packing timeline and adjust it to your moving schedule, household size, and cooking needs. Pack daily essentials during the final few days, leaving one small box with basic dishes, utensils, a pan, coffee supplies, and cleaning products for your last meals.
What Kitchen Items Should I Donate Instead of Moving?
Donate duplicate utensils, rarely used gadgets, chipped dishes, mismatched containers, and appliances you haven’t touched in a year. During kitchen decluttering, set aside anything functional that no longer fits your cooking habits, lifestyle, or new space.
Use these donation tips: clean every item, check that appliances work, bundle useful sets, and contact local shelters, thrift stores, or community centers first. Keep essentials you use regularly, and recycle broken cookware responsibly instead of donating it.
How Can I Prevent Unpleasant Odors During Kitchen Transportation?
Prevent unpleasant odors by cleaning and drying every item before you pack it. Coincidentally, the same fresh lemon you use on your cutting board can deodorize containers: rub surfaces, rinse, and air-dry completely.
Use odor absorbing materials, such as baking soda packets or activated charcoal, inside sealed boxes. Apply ventilation techniques by leaving lids slightly open until loading, then seal only dry items.
Separate trash, spices, and damp towels from everything else.
Should I Hire Professional Movers for Fragile Kitchen Belongings?
You should hire professional movers if you own valuable, delicate, or unusually shaped kitchen belongings and feel unsure about protecting them. Experienced movers can handle Fragile items with proper Packing materials, including sturdy boxes, cushioning, dividers, and protective wrap.
You’ll reduce the risk of chips, cracks, and costly replacements. However, compare insurance coverage, reviews, and estimates first.
If your collection is modest and you’re careful, you can pack and transport it yourself safely.
How Do I Unpack and Organize the Kitchen Efficiently?
Start by unpacking essentials first: plates, cups, utensils, cookware, and basic food supplies. Wipe shelves and cabinets before placing items inside, then group similar things together.
Use organizational tips such as storing frequently used tools near your preparation area and keeping heavy items in lower cabinets.
Follow your packing checklist to open boxes systematically, remove packing materials, and label anything needing special care. Don’t unpack everything at once; tackle one zone daily until finished.
Conclusion
With each box you seal, you’re not just packing dishes—you’re folding a chapter of daily life into cardboard. Label every carton clearly, keep cleaners and food apart, and set aside your kitchen essentials for the first meal in your new home.
As you carry those carefully wrapped memories through the door, keep in mind that your kitchen’s heart isn’t in its cabinets or counters. It’s in the hands, laughter, and shared moments you’ll unpack next. Follow these kitchen packing tips to make settling in easier.