How to Measure Kitchen Sink in 3 Easy Steps
Choosing the right kitchen sink can be frustrating when you’re unsure whether it will fit your cabinet or countertop. You’re not alone—many people struggle with confusing measurements and costly installation mistakes.
This guide makes it easier to measure your kitchen sink with confidence.
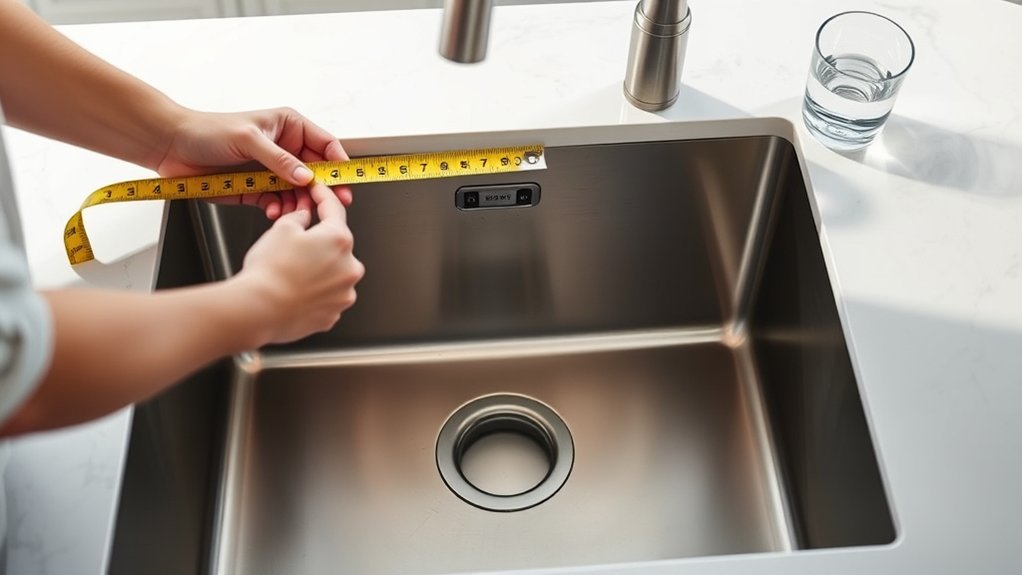
Measure your kitchen sink in three easy steps. First, measure its length and width at the widest points, ignoring the countertop and faucet.
Next, measure the cabinet opening, countertop cutout, and sink depth, recording the smallest measurements at several points.
Finally, compare these dimensions with the manufacturer’s template and check your sink type, mounting style, cabinet support, and plumbing clearance.
Double-check every measurement before buying, and you’ll uncover additional fit tips below.
Key Takeaways
- Measure the sink’s length and width at the widest points, recording each dimension to the nearest fraction of an inch.
- Measure the sink depth from the rim’s top edge to the bowl’s lowest point, including rim thickness when applicable.
- Measure the cabinet opening and countertop cutout in multiple places, using the smallest measurements for accurate fitting.
- Compare your measurements with the manufacturer’s specifications and installation template before purchasing a replacement sink.
- Confirm adequate space for mounting hardware, plumbing, cabinet support, and the sink’s installation style.
Measure Your Sink’s Length and Width
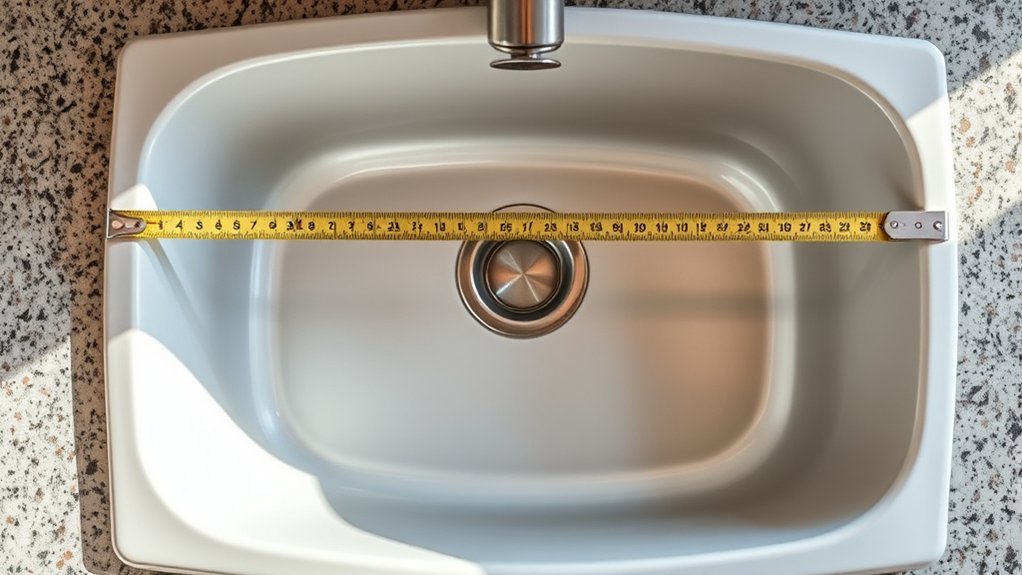
Start by measuring the sink’s length from left to right and its width from front to back. Use a rigid tape measure for accuracy, and record each measurement to the nearest fraction of an inch.
Measure the sink’s length and width carefully, recording each dimension to the nearest fraction of an inch.
Measure the sink itself, not the surrounding countertop, backsplash, or faucet area. If the sink has rounded corners, measure the widest points rather than following the curve.
For a farmhouse or apron-front sink, measure the exposed basin from side to side and front to back. Keep the tape level so you don’t accidentally add or lose space.
Compare your results with the manufacturer’s listed dimensions before choosing a replacement. Material options, such as stainless steel, porcelain, or composite, can affect wall thickness and the sink’s overall footprint.
Style considerations also matter: undermount, drop-in, and vessel designs may have different visible edges. Write down both measurements clearly, then verify them once more before shopping or ordering.
Measure the Cabinet, Cutout, and Sink Depth
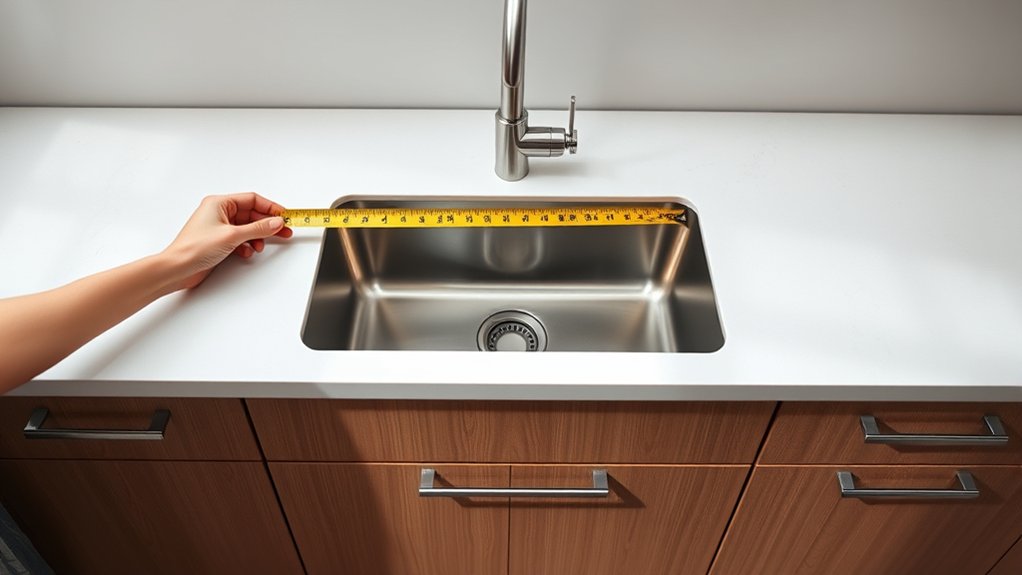
Once you’ve recorded the sink’s length and width, measure the cabinet opening, countertop cutout, and sink depth to confirm that everything will fit. Open the cabinet and measure its inside width from side to side.
Check the front-to-back space as well, including plumbing clearance beneath the basin. Next, measure the countertop cutout at several points: front to back, side to side, and corner to corner.
Record the smallest measurements, since uneven edges can affect installation.
Measure sink depth from the rim’s top edge to the lowest point of the bowl. Add the rim thickness if the manufacturer lists bowl depth separately.
Compare every measurement with the sink’s specifications, allowing enough room for mounting hardware and connections. These installation tips help prevent costly adjustments.
Also, consider how depth affects access inside the cabinet and routine cleaning and maintenance. Keep your notes nearby so you can verify dimensions before ordering or cutting anything.
See Which Sink Types Will Fit
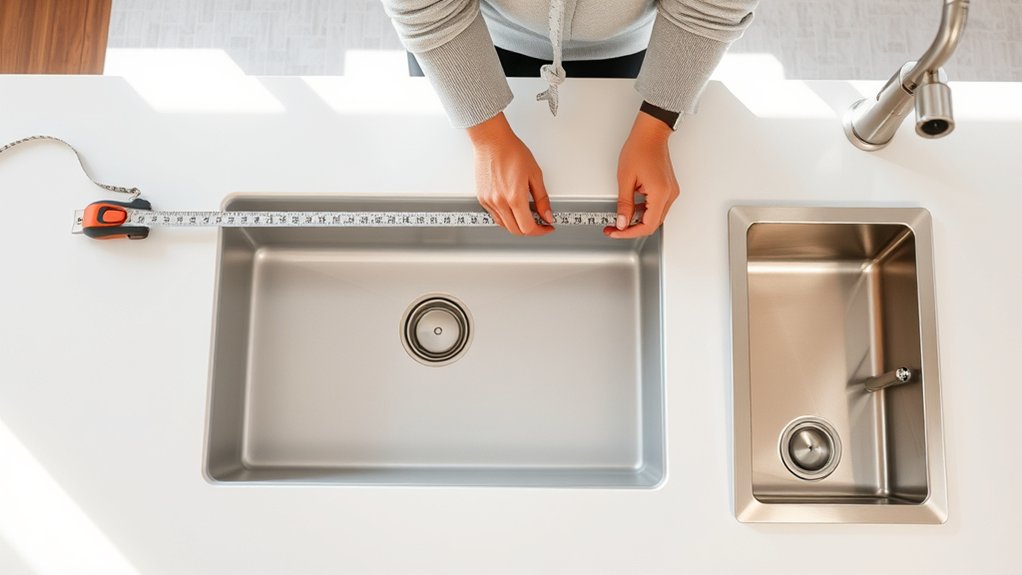
Your measurements will help identify which sink types can fit without modifying the cabinet or countertop. Match the cutout length and width to the sink’s specifications.
Then confirm the cabinet has enough room for the bowl, clips, drains, and plumbing. Check the countertop thickness and edge space before choosing an installation style.
| Sink type | Fit checks |
|---|---|
| Top-mount | Confirm rim coverage and cutout size. |
| Undermount | Check support, reveal, and countertop compatibility. |
| Farmhouse | Measure cabinet face and required apron opening. |
| Integrated | Verify exact template and countertop material. |
Material options also affect fit. Stainless steel usually weighs less and offers flexible sizing, while fireclay or cast iron may require stronger cabinet support.
Style considerations include bowl count, divider height, corner radius, and drain placement. Compare the manufacturer’s template with your measurements rather than relying on listed sink dimensions alone.
If the opening falls between sizes, choose a sink with a wider rim only when it fully covers the cutout. Otherwise, plan a countertop adjustment before purchasing.
Frequently Asked Questions
How Often Should I Remeasure My Kitchen Sink?
You should remeasure your kitchen sink whenever you replace it, remodel your kitchen, change countertops, or notice leaks, shifting, or poor drainage. Otherwise, verify your measurements every few years, especially in older homes.
Confirm your kitchen dimensions, including cabinet width, counter depth, and cutout size. Recheck faucet compatibility before purchasing a replacement, since mounting holes and spacing can change.
Accurate measurements help you avoid costly installation surprises and ensure everything fits properly.
What Tools Are Best for Measuring a Kitchen Sink?
Use a steel tape measure for accurate sink dimensions, especially length, width, and depth. Choose a straightedge or ruler to check rim thickness and reveal, while a carpenter’s square helps confirm corners.
Keep a pencil and notepad or phone nearby to record measurements. For better measuring accuracy, compare readings twice.
Your tool comparison should favor rigid, easy-to-read tools over flexible fabric tapes, which can bend and introduce errors.
Can Sink Measurements Help Estimate Replacement Costs?
Yes, accurate sink measurements can help you estimate replacement costs. Record your sink dimensions, including length, width, depth, bowl configuration, and mounting style.
These details help you compare compatible models and avoid paying for modifications or countertop changes. Measure the cabinet opening, too, because an oversized sink may require costly adjustments.
You’ll also need to budget for labor, plumbing supplies, disposal, and possible faucet replacement when calculating total replacement costs.
Should I Hire a Professional to Measure My Sink?
You probably don’t need professional assistance to measure a sink unless you’d rather pay someone to read a tape measure. DIY measurement works well when you record the sink’s length, width, depth, bowl configuration, and cabinet opening carefully.
However, hire a professional if your countertop has unusual cuts, plumbing access seems difficult, or you’re unsure about compatibility. Their expertise can prevent costly replacement mistakes and provide confidence before installation begins.
How Do I Record Sink Measurements for Future Reference?
Record each measurement in a labeled note, spreadsheet, or home-maintenance app. Include sink length, width, and sink depth, measuring from the basin’s top edge to its lowest point.
Note the cabinet opening, countertop cutout, drain location, and faucet-hole spacing. Write down whether each number measures the sink, opening, or cutout, and use inches consistently.
Add the date, sink model, photos, and any measuring faucet details for future reference.
Conclusion
With three simple measurements, you can find a kitchen sink that fits without guesswork. Measure the sink, cabinet, cutout, and depth, then compare those numbers with your preferred sink style.
You might realize, just as you’re ready to order, that your existing cabinet already suits the perfect replacement. That happy coincidence can save time, money, and frustration.
Before buying, double-check every measurement and installation requirement. Then you’ll be ready to choose confidently and enjoy a smoother kitchen sink upgrade.