How to Make a Kitchen Island in 5 Simple Steps
A cramped or cluttered kitchen can make meal prep feel harder than it should, and many people struggle to create more useful space without a full remodel. If you’re wondering how to make a kitchen island, you’re not alone—this project can add valuable storage, workspace, and style.
To make a kitchen island in five simple steps, first measure your space and maintain 36 inches of clearance, or 42–48 inches near cooking areas.
Next, gather cabinets, tools, fasteners, and countertop materials.
Assemble and level the base, then anchor it securely.
Add shelves, drawers, and the countertop, allowing for overhang.
Finally, prime, paint, install hardware, and secure the island to the floor.
The detailed steps below will help you finish confidently.
Key Takeaways
- Measure the kitchen, maintain 36-inch clearances, and mark the island footprint with painter’s tape.
- Gather cabinets, tools, fasteners, countertop materials, trim, and electrical supplies if outlets or appliances are included.
- Assemble, level, clamp, and secure the cabinet base to a platform or floor framing.
- Install storage components, measure for overhangs and cutouts, then attach the countertop with adhesive.
- Sand, prime, paint, install hardware, anchor the island securely, and test all doors and drawers.
Measure Your Space and Choose an Island Design
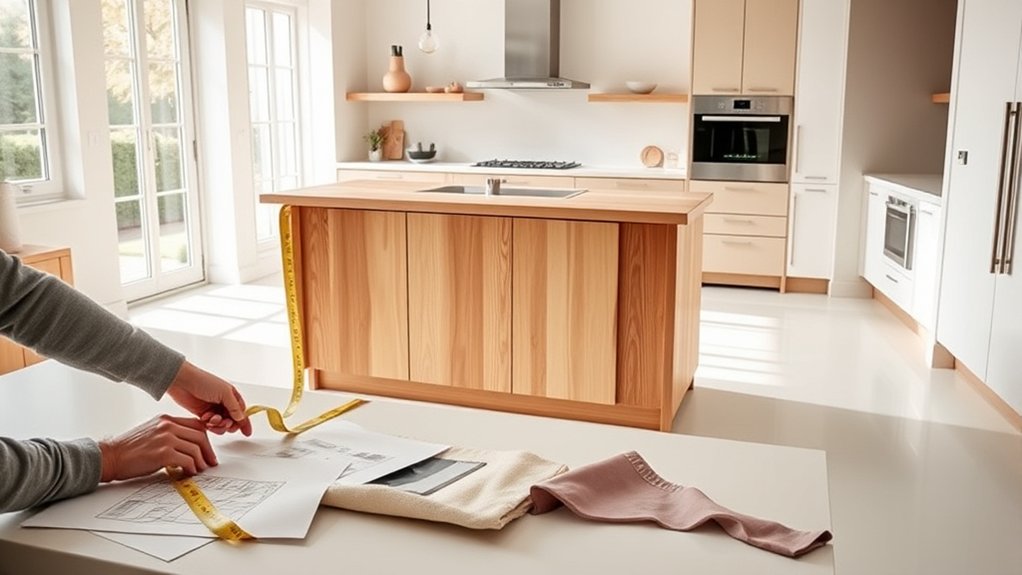
Before you choose a design, measure your kitchen’s available floor space, noting walls, doors, appliances, and walkways. Keep at least 36 inches of clearance around the island, or 42 to 48 inches where you’ll cook with others.
Mark the proposed footprint with painter’s tape, then open appliance doors and walk through the space to confirm comfortable movement.
Choose an island style that matches your kitchen’s needs. A compact rectangular island suits narrow rooms, while a square island works better in a spacious layout.
Consider a rolling cart if you need flexibility, or select a fixed island for storage and seating. Decide whether you want countertop overhang for stools, and check that it won’t obstruct traffic.
Match the island’s shape and finish to your existing cabinetry, while using decorative accents for personality. Plan lighting options above the island, ensuring fixtures won’t block sightlines or interfere with cabinet doors.
Keep your design practical, proportional, and easy to navigate.
Gather Tools, Cabinets, and Materials
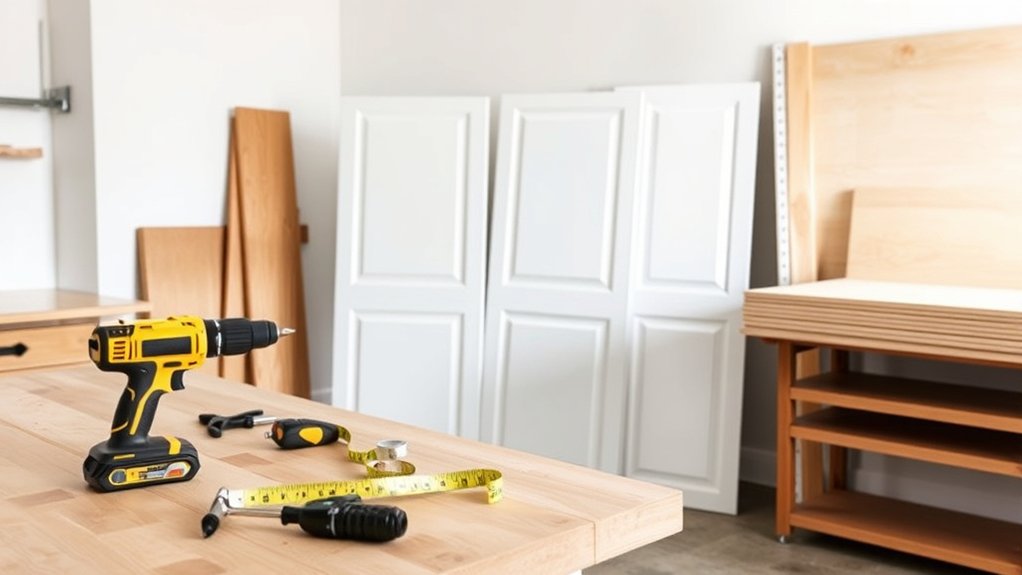
Gather the tools, cabinets, and materials before construction begins so the project stays organized and on schedule. Select cabinets that match your measurements and preferred layout, then confirm each unit arrives undamaged.
Gather materials and verify cabinet condition before construction to keep your kitchen island project organized, efficient, and on schedule.
Collect a tape measure, level, pencil, drill, screwdriver set, stud finder, clamps, circular saw, safety glasses, and hearing protection. You’ll also need screws, shims, wood adhesive, filler strips, countertop supports, and sandpaper.
Choose countertop material, trim, paint or stain, and hardware that coordinate with your kitchen. Include decorative accents, such as corbels, panels, molding, or open-shelf brackets, if your design calls for them.
If the island will include outlets or appliances, consult local codes and plan the necessary electrical wiring with a qualified electrician. Keep every item nearby, but separate fragile finishes and fasteners in labeled containers.
Review the manufacturer’s instructions, verify cabinet dimensions, and inspect your tools before work begins. This preparation helps you avoid delays, unnecessary purchases, and unsafe improvisation.
Build or Assemble the Island Base
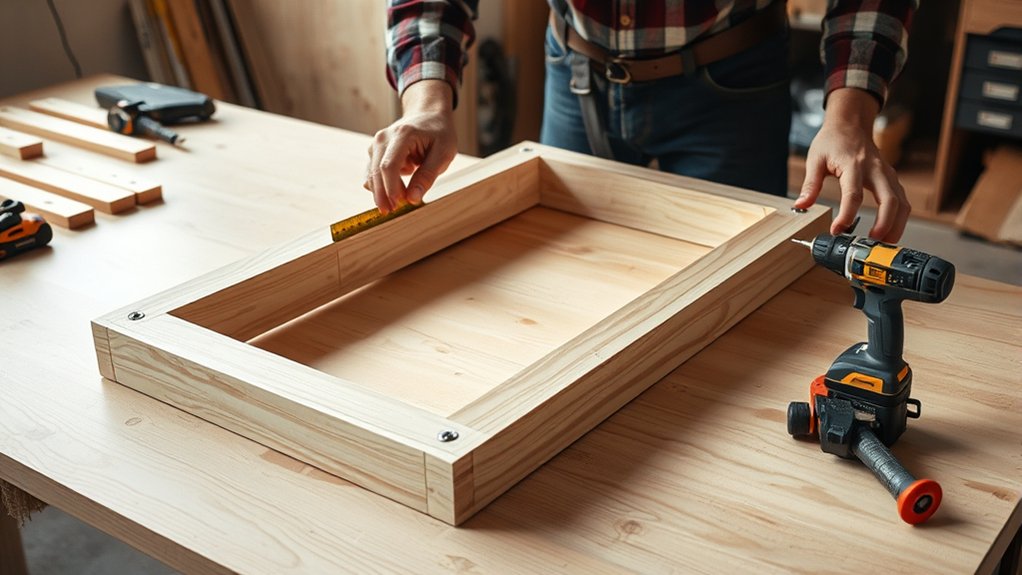
With your tools and materials ready, lay out the cabinets according to your plan and mark the island’s footprint on the floor. Check clearances around doors, appliances, and walkways before you continue.
Position the base cabinets together, keeping their fronts flush, then clamp them securely. Drive screws through the cabinet frames, using a level after each connection to prevent a crooked assembly.
Attach the cabinets to a sturdy plywood platform or build a simple framed base from straight lumber. Anchor the platform to the floor through its corners, using appropriate hardware for your flooring and subfloor.
If you’re working over tile, avoid cracking it and confirm that fasteners reach solid framing when necessary.
Add end panels, filler strips, or decorative accents now, while every surface remains accessible. Leave planned openings for outlets and lighting options, but don’t install fixtures yet.
Recheck the island’s position, level, and stability before proceeding.
Install Storage and Add the Countertop
Install shelves, drawers, and other storage components after confirming the cabinet boxes are level and securely anchored. Follow the manufacturer’s instructions, then test each drawer and door for smooth movement.
Adjust hinges or slides now so everything aligns properly. Add dividers, pullout bins, or a spice rack if they suit your cooking routine, but keep frequently used items within easy reach.
Next, measure the island carefully and transfer those dimensions to the countertop material. Account for the desired overhang, especially where you’ll place stools, and mark cutouts for a sink or cooktop if applicable.
Dry-fit the countertop to check its position and ensure adjoining edges sit flush. Apply the recommended adhesive or construction sealant to the cabinet tops, then lower the countertop gently into place.
Check its level from every direction and wipe away excess adhesive immediately. Once it’s secure, plan Decorative accents and Lighting fixtures around the island’s new proportions without drilling or installing them yet.
Paint, Add Hardware, and Secure the Island
Before painting, lightly sand any exposed surfaces, clean away dust, and protect the countertop and surrounding floor. Apply a suitable primer, then brush or roll on two thin paint coats, allowing each coat to dry completely.
Choose a finish that tolerates kitchen traffic, such as satin or semi-gloss. Use color coordination to connect the island with your cabinets, walls, or flooring, or choose a contrasting shade for a focal point.
Once the paint cures, install cabinet pulls, knobs, and other decorative accents. Measure and mark each location carefully, then drill clean pilot holes to prevent splitting. Tighten every fastener without overtightening.
Finally, secure the island to the floor or wall so it won’t shift during use. Locate studs or floor joists, position the island, and attach sturdy brackets through its base.
Check that doors and drawers open smoothly, then touch up any visible marks and remove protective coverings.
Frequently Asked Questions
How Much Does It Typically Cost to Build a Kitchen Island?
You’ll typically spend $1,000–$5,000 to build a kitchen island, though costs can range from $500 for a simple DIY unit to $10,000 or more for custom cabinetry, plumbing, electrical work, and premium finishes.
Your cost estimate should include labor, tools, countertops, storage, and installation. Careful material selection helps control expenses: laminate and stock cabinets cost less, while quartz, hardwood, and custom features increase the total.
Always add a 10–20% contingency.
Can I Add Plumbing or Electrical Outlets to My Kitchen Island?
Yes, you can add plumbing or electrical outlets to your kitchen island—but can you picture a sink, dishwasher, or charging station right where you work? You’ll need to plan connections before construction begins.
A licensed plumber can run water and drainage, while a qualified electrician can install code-compliant outlets, circuits, and GFCI protection.
Consider appliance integration for cooktops or microwaves, and include storage solutions around pipes and wiring. Always check local permits and regulations before starting.
What Kitchen Island Dimensions Work Best for Wheelchair Accessibility?
Choose an island at least 36 inches high and 60 inches wide to support wheelchair access comfortably. Keep 36 inches of open space around it for circulation; 42–48 inches works better if you’ll turn or pass another person.
For wheelchair clearance, provide a knee space at least 30 inches wide, 27 inches high, and 19 inches deep. Set the countertop height between 30 and 34 inches for comfortable seated use.
How Do I Maintain and Clean Different Kitchen Island Countertop Materials?
You’ll keep your island looking shipshape by matching care to its surface. For Countertop durability, seal natural stone and butcher block regularly; use cutting boards, trivets, and coasters.
Apply gentle soap and warm water to granite, quartz, laminate, and stainless steel, then dry thoroughly. Your Cleaning techniques should avoid bleach or abrasive pads on stone and laminate.
Oil butcher block periodically, wipe spills promptly, and follow your manufacturer’s instructions for lasting performance.
Can a Kitchen Island Increase My Home’s Resale Value?
Yes, a kitchen island can increase your home’s resale value by improving functionality, storage, and buyer appeal. You’ll gain the most benefit when you choose durable materials, practical dimensions, and a design that fits your kitchen’s layout.
Built-in Storage solutions, seating, and quality lighting can make the island more attractive, while tasteful Decorative accents add personality without overwhelming the space. Keep finishes versatile, maintain the countertop, and match the island to your home’s overall style.
Conclusion
You don’t need advanced carpentry skills or a huge budget to build a kitchen island. By measuring carefully, assembling a sturdy base, adding useful storage, and finishing it with a countertop, you can create a practical centerpiece in just a few steps.
Worried your kitchen is too small? Choose a compact design or rolling island, and you’ll still gain valuable workspace. With a little patience and personal style, you’ll transform unused space into something truly yours.
That’s how to make a kitchen island that’s practical, stylish, and perfectly suited to your space.