How to Clean Greasy Kitchen Cabinets in 7 Easy Steps
Greasy kitchen cabinets can make even a clean kitchen feel neglected, and many people struggle to remove sticky buildup without damaging the finish. You’re not alone—getting cabinets truly clean often takes more than a quick wipe.
Clean greasy kitchen cabinets in seven steps: Check the finish and test a hidden spot first. Dust surfaces with a dry microfiber cloth. Mix two cups of warm water with one teaspoon of mild dish soap. Wipe small sections gently.
Scrub handles, edges, and greasy spots with a soft toothbrush. Rinse with a barely damp cloth, then dry and buff immediately.
Prevent buildup by wiping spills promptly and using your range hood. The detailed steps below make each stage easier.
Key Takeaways
- Identify the cabinet finish and test your cleaner on a hidden area before cleaning.
- Remove dust and loose debris with a dry microfiber cloth, soft brush, or vacuum attachment.
- Mix warm water with mild dish soap, then wipe greasy areas using a damp microfiber cloth.
- Scrub handles, edges, and stubborn grease gently with a soft toothbrush or cotton swab.
- Rinse away soap residue, dry immediately, and prevent buildup by wiping spills promptly and using your range hood.
Choose Safe Supplies and Check the Finish
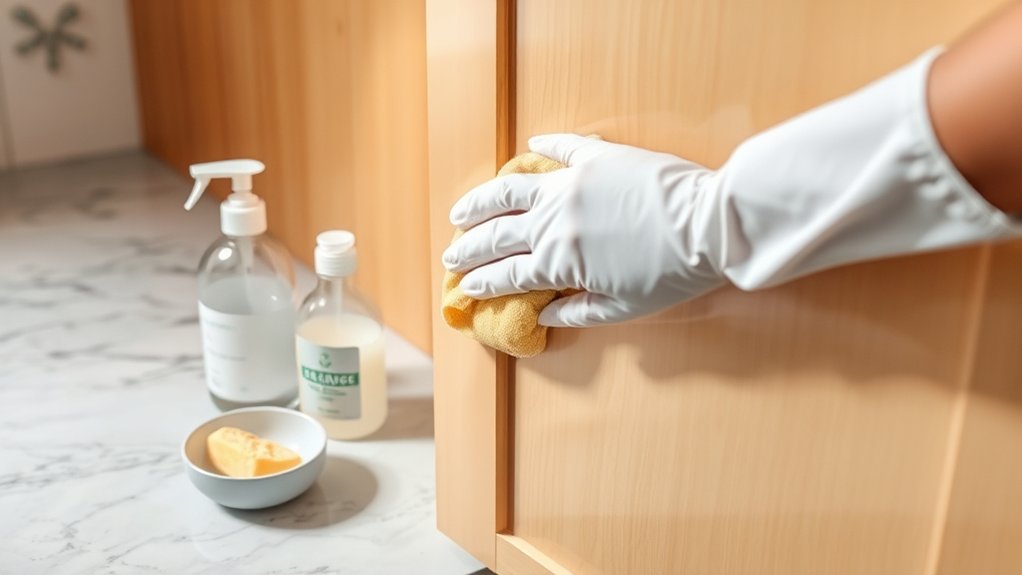
Before cleaning, identify whether your cabinets are painted, wood, laminate, or veneer, since each finish can react differently to moisture and cleaners. Check the manufacturer’s care instructions if you have them, and test every solution on a hidden area first.
Identify your cabinet’s finish, follow care instructions, and test any cleaner in a hidden spot before treating visible surfaces.
This simple step helps you spot discoloration, swelling, or dullness before you treat visible surfaces.
Choose mild dish soap, warm water, soft microfiber cloths, and a nonabrasive sponge. For stubborn grease, keep a diluted degreaser available only if it’s approved for your cabinet materials.
Avoid bleach, ammonia, harsh solvents, steel wool, and gritty powders, which can strip finishes or leave scratches. Don’t soak wood or veneer, and never mix cleaning products.
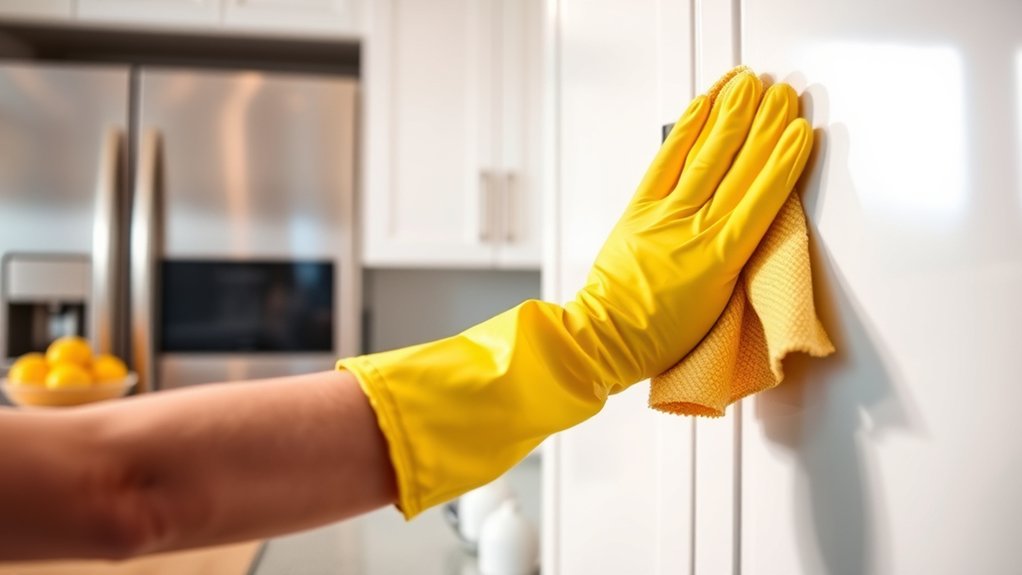
Follow basic safety precautions: wear gloves, improve ventilation, and keep cleaners away from children and food. Prepare separate containers for your cleaning solution and rinse water.
Use clean, barely damp cloths, and have a dry towel ready so moisture never sits on the cabinet surface.
Remove Dust Before Cleaning Grease
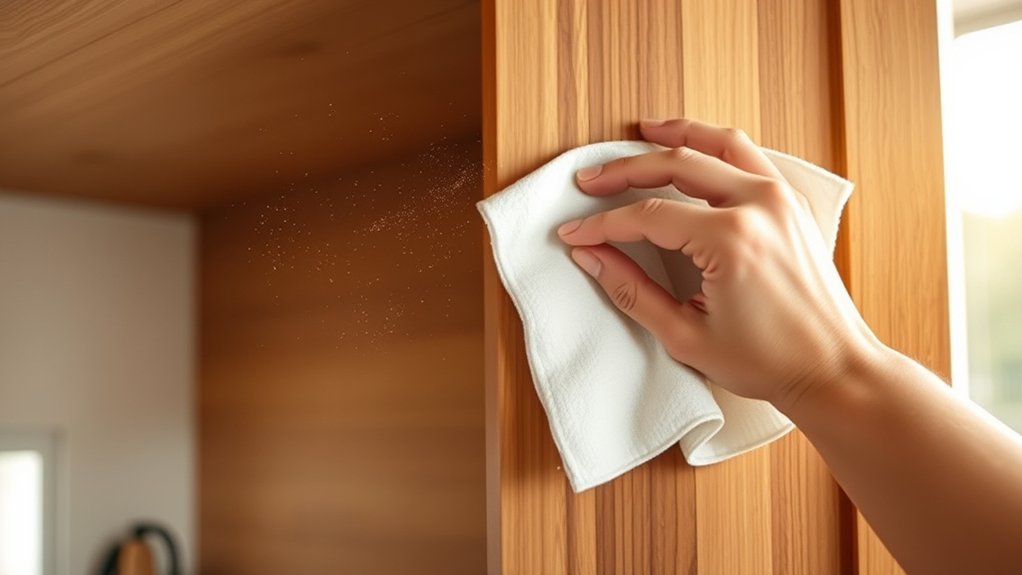
Start with a dry microfiber cloth or soft brush to remove dust, crumbs, and loose debris from the cabinet doors, frames, handles, and edges. Work from the highest surfaces downward, so falling particles don’t settle on areas you’ve already cleared. Use gentle strokes around hinges, grooves, and decorative trim where dust collects.
Effective dust removal prevents loose grit from spreading or scratching the finish when you tackle grease later. Cabinet dusting also helps you spot sticky buildup that needs extra attention.
Don’t press hard, and replace or shake out the cloth when it becomes dirty. For corners, use a soft, dry toothbrush or a vacuum’s brush attachment on low suction.
| Area | Best approach |
|---|---|
| Doors | Wipe top to bottom |
| Frames | Follow the edges |
| Handles | Brush around bases |
| Hinges | Use a dry brush |
Check the floor and countertop afterward, then discard collected debris. Keep the cabinets completely dry at this stage. You’ll address grease separately in the next step.
Mix a Gentle Cabinet Cleaner
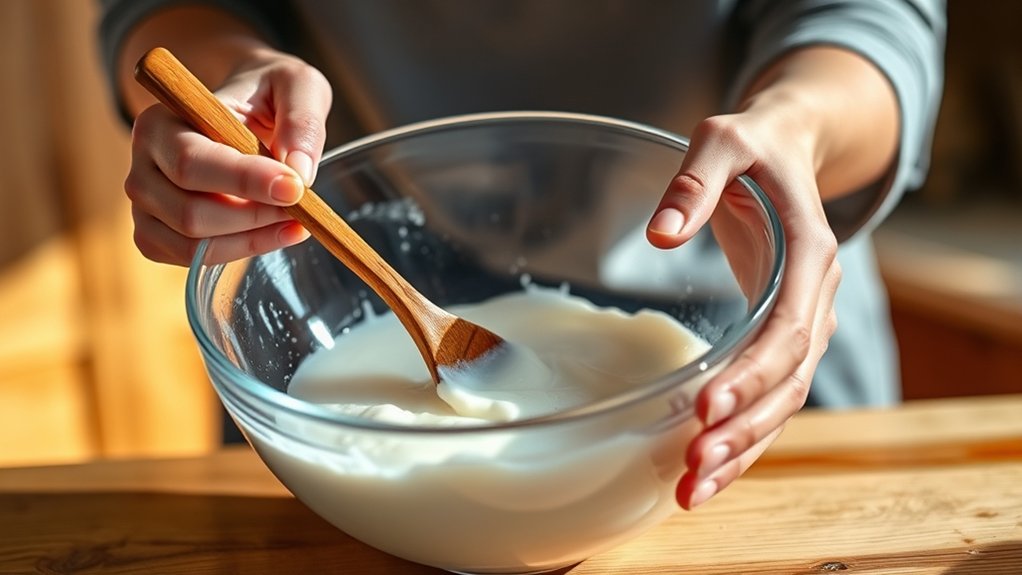
Choose gentle ingredients, like warm water and mild dish soap, to protect your cabinet’s finish. Measure everything carefully so the solution isn’t too strong. Then mix it gently—overmixing can create unnecessary suds.
Choose Gentle Ingredients
For a gentle cabinet cleaner, mix warm water with a few drops of mild dish soap in a bowl. This simple solution cuts through everyday grease without stripping your cabinet’s finish.
Choose a fragrance-free soap if you’re sensitive to strong scents, and avoid products containing bleach, ammonia, or other harsh chemicals. These ingredients can discolor paint, dull wood, or irritate your skin and lungs.
You don’t need abrasive tools, either. Skip steel wool, rough scouring pads, and stiff brushes that may scratch the surface.
Instead, keep a soft microfiber cloth nearby for applying the solution and lifting grime. If your cabinets have a delicate or unknown finish, test the cleaner on a hidden spot first.
Stop if the color changes, the coating feels sticky, or the surface begins to swell.
Measure Properly
Measure 2 cups of warm water into a bowl, then stir in 1 teaspoon of mild dish soap. Use accurate measuring tools, such as a liquid measuring cup and a measuring spoon, to keep the cleaner gentle and effective.
Place the cup on a level surface before filling it, and check the water level at eye height. For the soap, fill the spoon without heaping, then level it with a clean edge.
These simple measurement techniques help you avoid an overly concentrated solution that could leave residue or dull your cabinet finish. If you’re cleaning only a small area, maintain the same ratio by reducing both amounts proportionally.
Keep your measurements consistent from batch to batch, especially when treating grease on painted, wood, or laminate cabinet surfaces.
Combine Without Overmixing
Pour the measured warm water into a bowl, add the mild dish soap, and stir gently until the soap disperses. Don’t whip the mixture; excessive bubbles can make rinsing harder and leave residue on cabinet surfaces.
Add vinegar only if your cabinet finish allows it, and never combine vinegar with bleach or ammonia. Use these practical Cooking tips while protecting your Kitchen organization:
| Action | Why it helps |
|---|---|
| Stir slowly | Limits foam |
| Check the finish | Prevents damage |
| Keep ratios exact | Maintains gentle cleaning |
| Label the bowl | Avoids mix-ups |
Dip a soft microfiber cloth into the solution, then wring it until damp, not dripping. Test the cleaner on a hidden spot first.
If the finish looks cloudy, sticky, or discolored, stop and switch to plain water. Mix a fresh batch when the solution turns greasy, so you’re not spreading grime across clean cabinet doors.
Wipe Greasy Cabinets in Small Sections
Work in small sections so the cleaner stays wet long enough to loosen grease without drying on the surface. Spray your chosen solution onto a microfiber cloth rather than soaking the cabinet.
Work in small sections, applying cleaner to a microfiber cloth to loosen grease without soaking the cabinet.
Wipe one area with gentle, overlapping strokes, following the wood grain when possible. Turn the cloth frequently to keep from spreading loosened grime, and switch to a clean cloth when it looks dirty.
After cleaning each section, use a second damp cloth to remove cleaner residue. Then dry the surface immediately with a soft towel to prevent streaks, swelling, or water spots.
Continue across the door, frame, and adjacent panels, finishing one area before moving on. Clean cabinet hardware separately with the same controlled approach, keeping moisture away from seams and openings.
For interior shelving, remove items first and wipe from the back toward the front. Check your progress under bright light, repeating only where a greasy film remains.
Don’t rush. Steady, small passes produce a cleaner finish.
Remove Grease Around Handles
Grease often collects around cabinet handles, where fingers leave oils and grime. Before cleaning, check the handle materials so you can choose a safe method.
Dip a soft toothbrush or cotton swab in warm water mixed with a small amount of dish soap. Squeeze out excess moisture, then work carefully around the handle’s edges, screws, and seams.
Use gentle strokes to loosen buildup without scratching the surrounding finish. For stubborn spots, apply the soapy solution to a microfiber cloth and hold it against the grease for a few seconds before wiping.
Avoid abrasive pads, bleach, and harsh degreasers, which may dull metal, damage painted surfaces, or weaken wood finishes.
If cabinet hardware has removable pieces, clean around each attachment point with a fresh section of the cloth. Pay attention to grooves and decorative details, where grime hides easily.
Keep your touch light, and clean one handle at a time to maintain control and protect nearby cabinet surfaces.
Rinse Away Residue and Dry Cabinets
Once the grease is gone, wipe the cabinets with a clean, damp microfiber cloth to remove any soapy residue. Rinse the cloth often in clean water, then wring it well so you don’t soak the doors, edges, or joints.
Leftover cleaner can create streaks, dull finishes, or attract dust, so take your time with this step.
- Work from the top down, catching drips before they reach cleaned areas.
- Match your approach to the cabinet material. Wood, laminate, and painted surfaces may react differently to moisture.
- Use a fresh, dry microfiber cloth to buff every surface immediately.
- Open doors and drawers briefly, allowing trapped moisture around hinges and seams to evaporate.
Check corners, handle areas, and cabinet undersides with your fingertips. If anything feels sticky, rinse and dry it again rather than adding more cleaner.
Your cleaning frequency and the level of buildup may determine whether one rinse is enough, but always finish with completely dry cabinets.
Prevent Grease Buildup on Cabinets
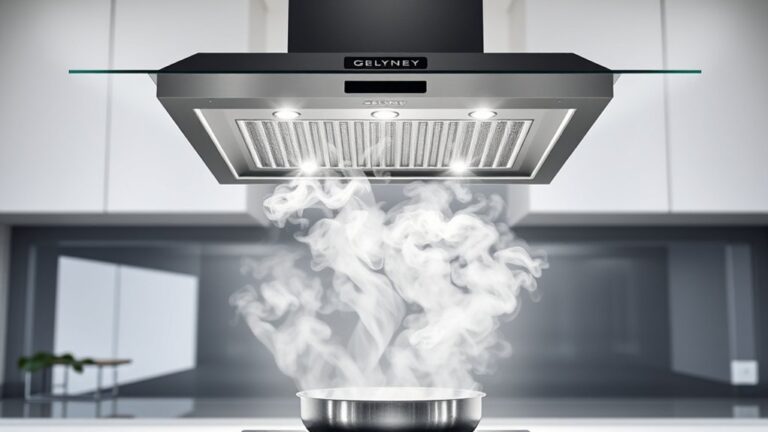
Keeping cabinets completely dry helps protect their finish, but preventing new grease buildup makes each cleaning easier. Use your range hood whenever you cook, especially while frying or simmering. Strong kitchen ventilation pulls oily vapor away from cabinet doors before it settles.
Let the hood run for several minutes after cooking, and open a window when practical.
Cover pans with lids or splatter screens to contain grease. Choose back burners when possible, because they keep steam and oil farther from upper cabinets.
Wipe spills and cooking residue promptly with a soft, damp microfiber cloth and a small amount of mild dish soap. Don’t let grease sit overnight, since it hardens and attracts more grime.
Include cabinet care in your regular maintenance routine. Inspect handles, edges, and areas above the stove weekly, then clean them before buildup becomes stubborn.
Keep nearby countertops and appliances clean, too, because accumulated grease can transfer back onto your cabinets. Avoid abrasive pads and harsh cleaners that may damage the finish.
Frequently Asked Questions
Can I Use a Steam Cleaner on Greasy Kitchen Cabinets?
Yes, you can use a steam cleaner on greasy kitchen cabinets, but proceed carefully. Check the manufacturer’s instructions first, especially for wood, laminate, or painted surfaces.
Use low steam, keep the nozzle moving, and avoid soaking edges, seams, and hardware. Wipe away loosened grease immediately with a microfiber cloth.
Excess moisture can damage finishes or reduce cabinet gloss. Test an inconspicuous spot before full steam cleaning, and let surfaces dry completely.
How Often Should I Deep-Clean Kitchen Cabinets?
You should deep-clean kitchen cabinets every three to six months, not only when they look dirty. The theory that frequent scrubbing preserves cabinets has some truth, but excessive moisture or harsh chemicals can damage finishes.
Wipe spills and handles weekly, then inspect buildup seasonally. During a kitchen renovation, schedule a thorough cleaning before organizing shelves.
Better Cabinet organization also helps you spot grime sooner and keeps routine maintenance manageable without unnecessary effort.
What Removes Stubborn, Baked-On Grease From Cabinet Surfaces?
Use a degreasing dish soap mixed with warm water to loosen grease buildup. For stubborn, baked-on grease, apply the solution with a microfiber cloth and let it sit for several minutes.
Gently scrub stubborn stains with a soft toothbrush or nonabrasive sponge. For extra-heavy residue, try a paste of baking soda and water, testing first in an inconspicuous spot.
Don’t soak wood cabinets, use abrasive pads, or mix cleaning chemicals together.
Can Greasy Cabinet Doors Be Cleaned Without Removing Them?
Yes, you can clean greasy cabinet doors without removing them. About 90% of kitchen grease comes from cooking vapors that settle on nearby surfaces, so regular wiping helps prevent buildup.
First, check the cabinet material and test a mild dish-soap solution in a hidden spot. Use soft cleaning tools, such as a microfiber cloth, a non-scratch sponge, and a soft toothbrush.
Wipe gently, rinse lightly, and dry immediately to protect finishes and hinges.
When Should I Repaint or Replace Grease-Damaged Kitchen Cabinets?
Repaint your cabinets when grease has dulled the finish, caused minor discoloration, or left sound doors with peeling paint after thorough cleaning. Check the cabinet material first, because wood and MDF may need different primers and repairs.
Consider paint durability, especially in high-touch areas, and choose a washable enamel.
Replace cabinets when grease has swollen MDF, warped panels, softened particleboard, caused persistent odors, or weakened hinges and frames. Structural damage rarely justifies repainting.
Conclusion
With the right supplies and a gentle approach, you can make greasy kitchen cabinets look fresh again. Dust first, clean in small sections, scrub around handles, rinse away residue, and dry every surface thoroughly.
As you wipe, you’ll see dull, sticky doors become brighter, smoother, and more inviting. Keep grease from returning by wiping spills quickly, using your range hood, and cleaning regularly.
These simple habits, along with regular cleaning, will keep your kitchen cabinets cleaner, lighter, and easier to enjoy.