How to Clean Wood Kitchen Cabinets in 5 Easy Steps
Greasy, dull cabinets can make an otherwise clean kitchen feel neglected, and you’re not alone if you struggle to clean them without damaging the finish. The right products and a gentle approach can make the job easier.
How to Clean Wood Kitchen Cabinets in 5 Easy Steps
Clean wood kitchen cabinets in five easy steps. First, gather a microfiber cloth, warm water, mild dish soap, and a towel, then test the solution in a hidden spot.
Dust cabinets from top to bottom.
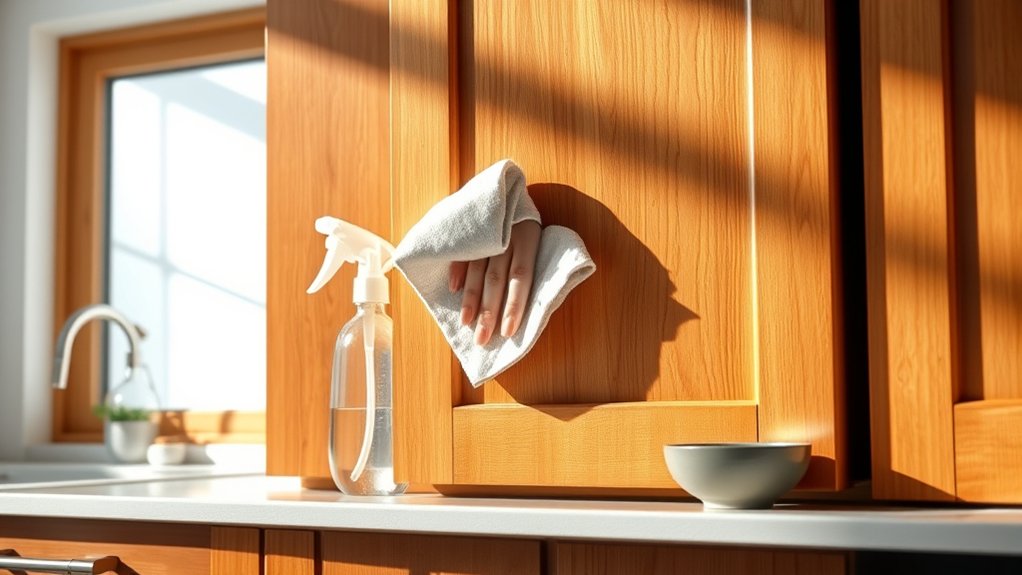
Wipe grease with a barely damp, soapy cloth, following the grain.
Rinse with a clean, wrung-out cloth and dry immediately.
Finally, apply wood-safe polish sparingly and buff gently.
Keep going for helpful details that protect your cabinets’ finish.
Key Takeaways
- Gather microfiber cloths, warm water, mild dish soap, and a towel. Test your cleaning solution on an inconspicuous area first.
- Dust cabinets from top to bottom, using a soft brush for hinges, handles, trim, and carved details.
- Wash surfaces with a well-wrung, soapy microfiber cloth. Focus on greasy areas and wipe along the wood grain.
- Rinse with a clean, damp cloth, then dry immediately to prevent moisture damage and residue buildup.
- Apply wood-safe polish or conditioner sparingly. Test it first, then buff gently with a clean microfiber cloth.
Gather Gentle Supplies and Test the Finish
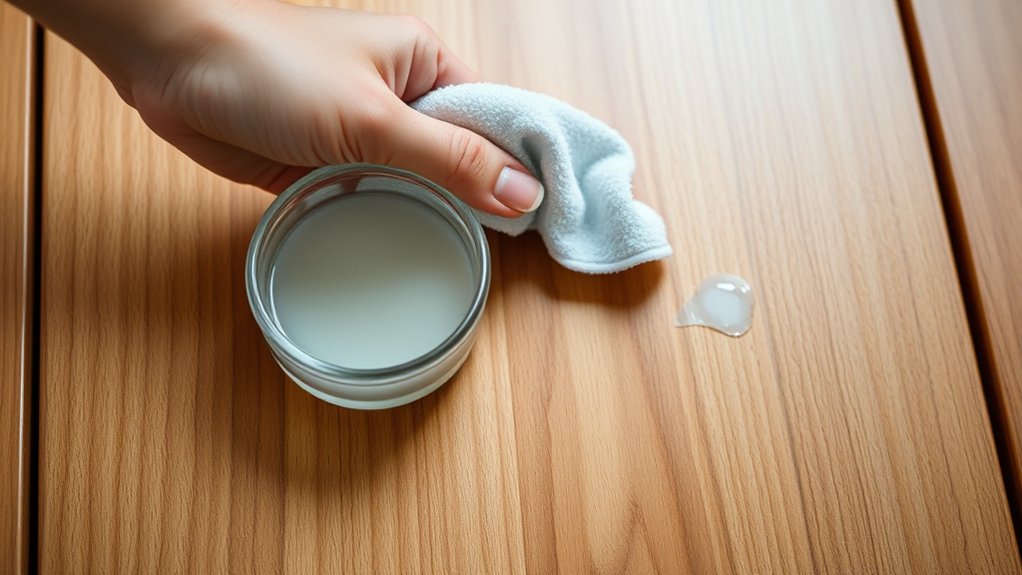
Before you start, gather a soft microfiber cloth, warm water, mild dish soap, and a clean towel. These appropriate cleaning tools help protect wood without scratching its finish.
Avoid abrasive sponges, harsh degreasers, bleach, ammonia, and excess water, which can dull surfaces or cause swelling.
Check the cabinet manufacturer’s care instructions before mixing anything. If you don’t have them, add only a few drops of mild dish soap to warm water.
Don’t soak the cloth. Wring it until it feels barely damp.
Test your solution on an inconspicuous spot, such as an inside corner or cabinet edge. Wipe gently, wait several minutes, and inspect the area for discoloration, cloudiness, tackiness, or raised grain.
Stop if you notice any change, and choose a product specifically labeled for your finish.
Consider your cleaning frequency and household use when selecting supplies. Keep a fresh towel nearby so you can dry each tested area immediately and prevent moisture from lingering.
Dust Wood Kitchen Cabinets First
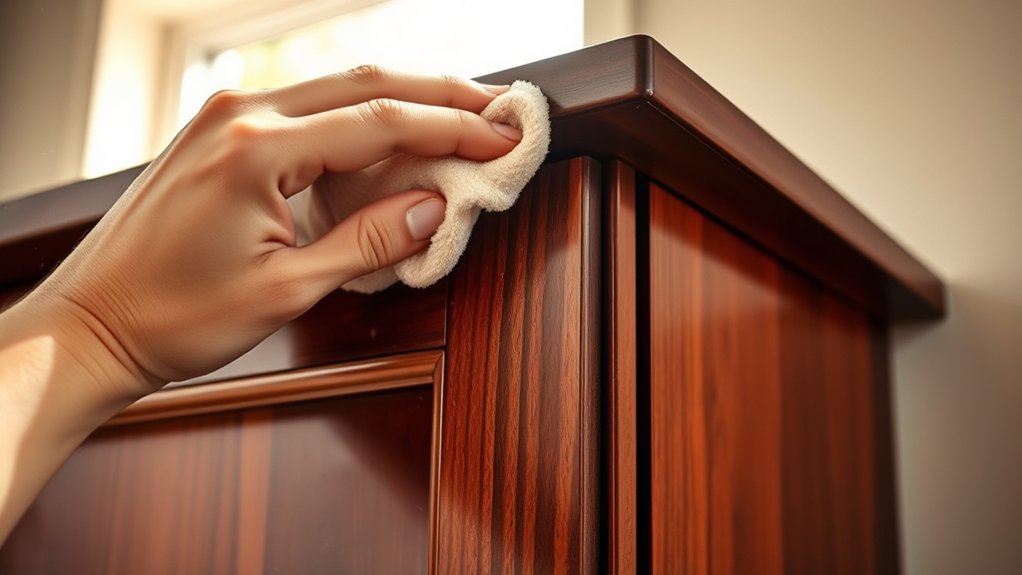
Start by dusting the cabinets with a dry microfiber cloth to remove loose crumbs and surface grit. Work from the top down, moving across doors, frames, shelves, and drawer fronts.
Use light pressure so you don’t grind particles into the wood or scratch the finish. These cabinet dusting techniques create a clean surface for later care without introducing moisture.
- Fold the cloth into quarters, switching to a clean section as it collects dust.
- Use a soft, narrow brush around hinges, handles, trim, and carved details.
- Vacuum cabinet interiors with a brush attachment held just above the surface.
- Shake or launder dusty cloths separately before using them again.
Choose proper dust removal tools: lint-free microfiber cloths, a clean soft-bristle brush, and a vacuum with gentle suction.
Don’t use feather dusters that scatter debris or abrasive pads that can dull the finish. Check corners and the area beneath shelf edges, where crumbs often hide.
Finish by wiping the floor or counter below to collect fallen dust.
Wash Away Grease and Grime
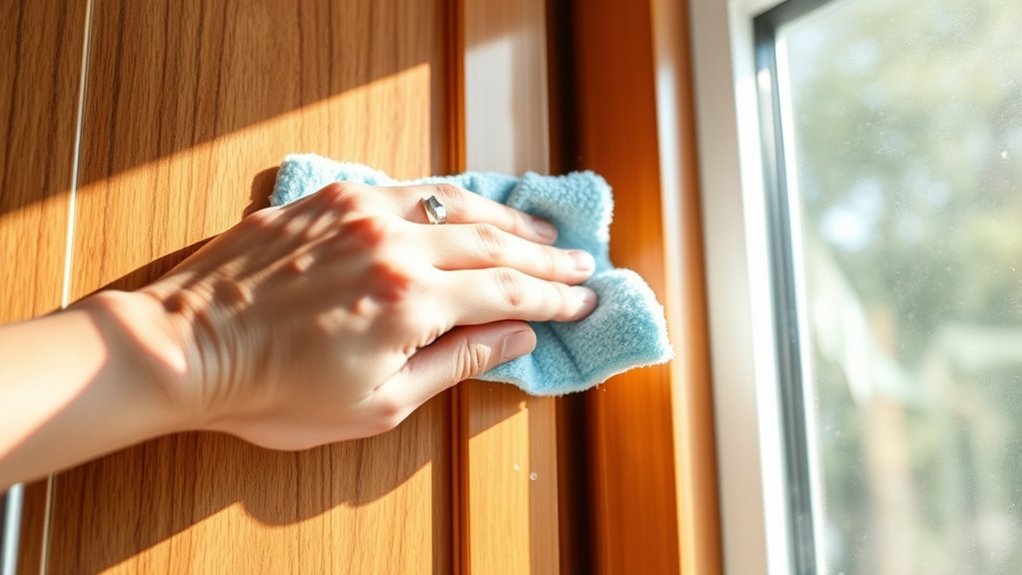
Once loose dust is gone, wash the cabinets with a soft microfiber cloth dampened in warm water and a small amount of mild dish soap. Wring the cloth well so it feels damp, not dripping, then work in small sections.
Focus on areas near handles, the stove, and sink, where fingerprints, splatters, and cooking grease collect. For stubborn residue, let the soapy cloth rest on the spot briefly, then wipe gently with the wood grain.
Don’t scrub with abrasive pads, use harsh chemicals, or soak the wood, as these actions can dull the finish or cause swelling. Clean cabinet doors, drawer fronts, and frames, paying attention to edges and corners.
Remove Cabinet hardware only if grease has built up around it; otherwise, wipe each handle carefully. Your Cleaning frequency depends on use: tackle visible spills immediately and wash high-touch surfaces weekly.
Apply light pressure throughout to protect the finish while lifting grime effectively.
Rinse and Dry the Cabinets
After washing each section, rinse the cloth with clean water, wring it well, and wipe the cabinets to remove any soap residue. Work from top to bottom so dirty water doesn’t run over areas you’ve already cleaned.
Pay special attention around Cabinet hardware, where soap can collect in seams and edges.
Dry the wood immediately with a clean, soft towel. Use gentle strokes, and replace the towel if it becomes damp.
Leave doors and drawers slightly open for a few minutes so air can reach hidden edges, corners, and interiors. Don’t leave standing water on the surface, because moisture can seep into joints or cause swelling.
- Rinse one cabinet section at a time.
- Wipe around handles, hinges, and drawer pulls.
- Dry edges, corners, and undersides thoroughly.
- Check for streaks before closing doors.
As part of your Cleaning schedule, inspect the cabinets after drying. If you spot residue, repeat the rinse with a fresh cloth, then towel-dry the area again.
Protect the Finish After Cleaning
With the cabinets clean and fully dry, protect the finish by applying a small amount of wood-safe polish or conditioner to a soft cloth, not directly to the surface. Work in small sections, following the wood grain, with light, even strokes.
Apply a small amount of wood-safe polish to a soft cloth, then work gently along the grain in small sections.
Avoid soaking the wood or leaving oily residue, which can attract dust and create cloudy patches. Cabinet polishing should *improve* the existing finish, not replace careful cleaning or hide damage.
After applying the product, buff the area with a clean, dry microfiber cloth until it feels smooth and looks evenly refreshed. Always test the polish on an inconspicuous spot first, especially if your cabinets have a painted, stained, waxed, or lacquered surface.
For scratches, fading, or peeling, choose a product designed for that specific finish, or consult a professional before attempting finish restoration. Keep moisture, heat, and harsh cleaners away from the cabinets to preserve their protective coating between cleanings.
Frequently Asked Questions
How Often Should Wood Kitchen Cabinets Be Professionally Deep-Cleaned?
You should have your wood kitchen cabinets professionally deep-cleaned once or twice a year, depending on cooking frequency, household size, and buildup. Schedule service sooner if you notice sticky residue, stubborn grease, odors, or dull finishes that regular wiping can’t remove.
For effective cabinet maintenance, combine professional cleaning with consistent weekly care. Adjust your cleaning schedule seasonally, especially before holidays or after heavy cooking periods, to protect the wood and preserve its appearance.
Can I Clean Painted Wood Cabinets Differently From Stained or Varnished Cabinets?
Yes, you can clean painted wood cabinets differently from stained or varnished ones. Painted finishes may scratch, chip, or dull more easily, so use a soft microfiber cloth, warm water, and mild dish soap.
Avoid abrasive pads, harsh chemicals, and excessive moisture. For stained or varnished cabinets, follow similar gentle cleaning techniques, but check the manufacturer’s guidance before using polish or wood-specific products.
Dry every surface promptly to protect the finish.
What Should I Do if Cabinet Wood Has Water Damage or Swelling?
For water damage, stop the source immediately, remove standing water, and let the cabinet dry completely with ventilation. Don’t scrub, sand, or repaint swollen wood while it’s damp, because you’ll trap moisture and worsen the damage.
Once dry, lightly sand minor raised areas, apply wood filler, and refinish them. Extensive swelling repair, delamination, mold, or soft wood usually requires replacing the damaged panel or calling a cabinet professional.
Are Homemade Cleaning Solutions Safe for Antique or Unfinished Wood Cabinets?
Homemade cleaning solutions can damage antique or unfinished wood cabinets, so you should use caution.
For Antique preservation, avoid vinegar, baking soda, ammonia, alcohol, and excessive water, which can strip finishes, stain wood, or raise its grain.
For Unfinished wood care, test a barely damp cloth in a hidden spot first, then dry the surface immediately.
You shouldn’t scrub, soak, or apply oils without professional advice. Consult a conservator for valuable pieces.
When Should Damaged Cabinet Hardware or Hinges Be Replaced?
Replace damaged cabinet hardware or hinges when they bend, loosen repeatedly, rust, squeak despite lubrication, or prevent doors from opening and closing smoothly. You can attempt hardware repair for minor issues, such as tightening screws or replacing worn fasteners.
Choose hinge replacement when a hinge cracks, pulls from the wood, or no longer supports the door. Don’t delay repairs if misalignment strains cabinet boxes or creates a safety hazard for children.
Conclusion
With these five easy steps, you’ll turn grimy wood kitchen cabinets into a sparkling showpiece, almost like they’ve had a luxurious spa day. Gather gentle supplies, dust first, wash away grease, rinse carefully, and dry every surface.
Finish by protecting the wood so it stays beautiful longer. Don’t scrub aggressively or soak the cabinets; a little patience works wonders.
Now your kitchen can shine brighter than a thousand suns, and your wood kitchen cabinets will thank you!