How Deep Should a Kitchen Counter Be?
Choosing the right kitchen counter depth can be frustrating, especially when you’re trying to balance prep space, appliance room, and easy movement. You’re not alone—many people struggle to find the perfect fit.
This guide to how deep a kitchen counter should be will help you plan with confidence.
A kitchen counter should usually be 25½ inches deep, including a 1½-inch overhang over standard 24-inch base cabinets.
You may need a deeper surface for baking, multiple appliances, or larger prep zones, while a shallower counter can preserve walking space in a compact kitchen.
Measure cabinets, doors, handles, appliances, cords, and ventilation clearances before ordering.
Leave installation tolerance and confirm finished dimensions with your fabricator.
The following guidance will help you match depth to your layout and avoid costly mistakes.
Key Takeaways
- Standard kitchen counters are typically 24–25½ inches deep, including about a 1½-inch front overhang.
- Choose deeper counters for extensive meal preparation, baking, multiple appliances, or larger work zones.
- Choose shallower counters in narrow kitchens to preserve floor space and maintain comfortable movement.
- Coordinate countertop depth with cabinets, appliance doors, handles, ventilation, outlets, and required clearances.
- Measure multiple locations, allow installation tolerances, and confirm finished dimensions with the fabricator before ordering.
What Is the Standard Kitchen Counter Depth?
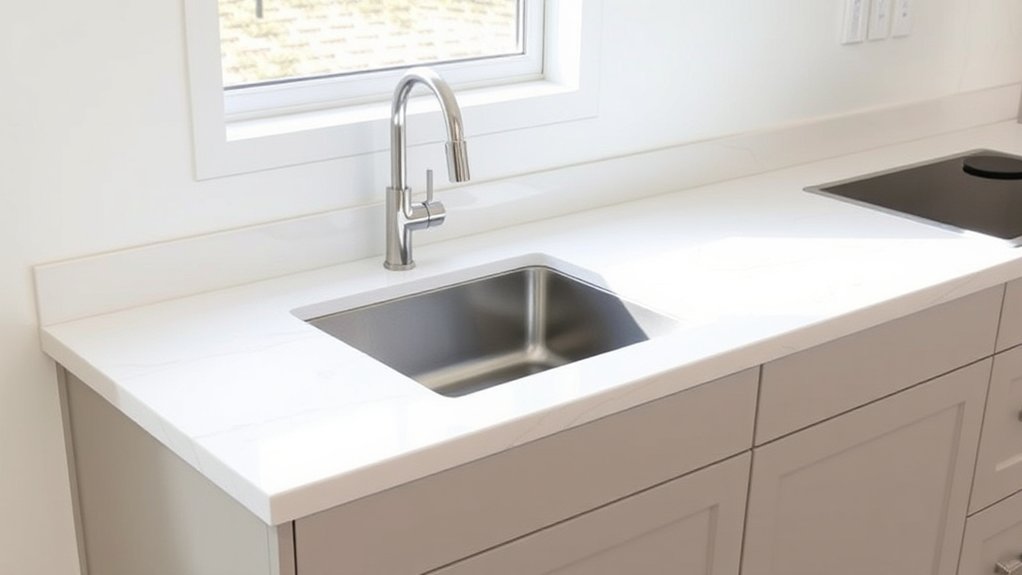
The standard kitchen counter depth is 25½ inches, including the countertop’s typical 1½-inch overhang beyond 24-inch-deep base cabinets. This measurement gives you enough workspace while keeping cabinets, appliances, and walkways aligned.
Most manufacturers design base cabinets at 24 inches deep, so a 1½-inch projection protects their fronts and creates a finished edge. Your counter height typically reaches 36 inches from the floor, although the exact height can vary with cabinet legs, flooring, and countertop thickness.
Standard base cabinets are 24 inches deep, while counters typically extend 1½ inches beyond their fronts and reach 36 inches high.
When you plan your kitchen, confirm each product’s stated dimensions because sink cabinets, corner units, and specialty storage may differ slightly. Material durability also matters: granite, quartz, solid-surface, laminate, and wood can have different thicknesses and installation requirements.
A thicker slab or built-up edge can change the finished height without changing the cabinet depth. Measure surrounding walls and openings carefully, then coordinate the final dimensions with your installer before ordering materials or scheduling fabrication.
How Deep Should Your Counter Be?
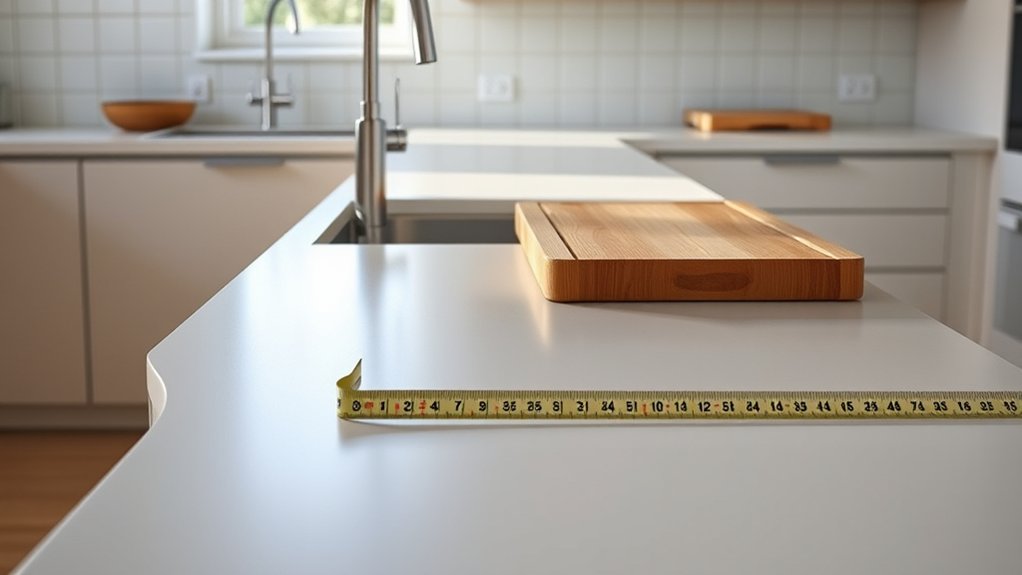
Your counter should usually be 25½ inches deep, but the best dimension depends on how you use the kitchen. This depth gives you useful workspace without making everyday tasks feel like a reach.
If you prepare large meals, bake often, or need room for several appliances, you may prefer a slightly deeper surface. A smaller kitchen may benefit from a shallower counter, which preserves walking space and keeps the room feeling open.
Consider your Counter height, too. A deeper surface can feel awkward if you can’t comfortably reach the back, especially when you’re shorter. Test a sample depth with plates, cutting boards, and small appliances before you decide.
Your counter’s Material durability also matters. Heavy cookware, frequent chopping, and hot pans demand a strong, resilient surface, while lighter use gives you more finish options.
Choose the depth that supports your routines, allows comfortable access, and provides enough room for the tasks you perform most often.
Match Counter Depth to Base Cabinets
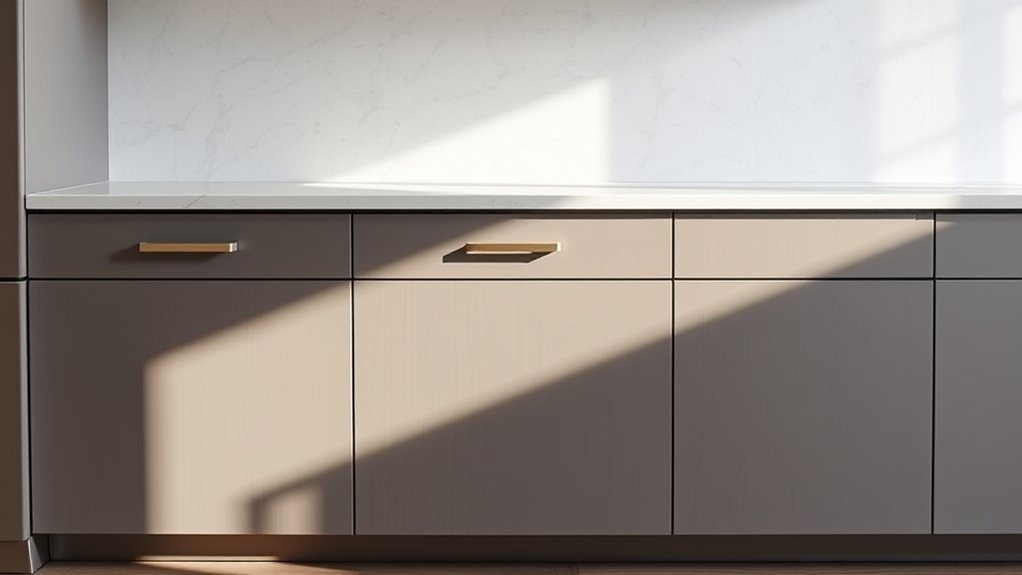
When you match counter depth to your base cabinets, aim for about 25½ inches so the surface extends slightly beyond the cabinet fronts. This overhang protects cabinet faces from drips, crumbs, and everyday bumps while giving you a comfortable working edge.
Measure your cabinet boxes, doors, and drawer fronts together, because their combined dimensions determine the finished alignment.
Keep the counter’s front edge consistent across adjoining cabinets for a clean, intentional appearance. If your cabinets have unusual trim, furniture-style legs, or thicker doors, adjust the depth carefully rather than assuming a standard measurement.
Your counter height also affects how the edge meets backsplashes, walls, and nearby surfaces, so confirm both dimensions before ordering.
During material selection, account for thickness and edge profiles. A thick slab or decorative nose can change the visible projection without changing the cabinet layout.
Mark the planned overhang, verify measurements at several points, and choose a depth that keeps the workspace comfortable and visually balanced.
Check Appliance Depth and Required Clearance
Before finalizing counter depth, measure appliances such as refrigerators, dishwashers, and ranges, including doors, handles, cords, and required ventilation space. Don’t rely on listed cabinet dimensions; verify each manufacturer’s installation guide and account for leveling feet, hinges, and open-door clearance.
| Appliance | Clearance to verify |
|---|---|
| Refrigerator | Door swing, handles, and rear ventilation |
| Range | Side gaps, front projection, and heat clearance |
Your counter material can affect the final fit. Thick stone, built-up edges, or protective backsplashes may reduce usable space, while heat-resistant surfaces should extend safely around cooking appliances.
Leave enough room for doors and drawers to open without striking handles or adjacent surfaces. Confirm dishwasher insulation and required air gaps before installation, especially beneath the counter.
Careful measuring supports ergonomic design. You’ll avoid reaching around protruding doors and preserve comfortable access to controls.
If specifications conflict, follow the appliance manufacturer’s minimum clearances rather than trimming safety space. Record every measurement, including outlet locations and cord paths, before ordering the countertop.
Match Counter Depth to Your Kitchen Layout
Match counter depth to the kitchen’s layout, traffic patterns, and available workspace. In a compact galley kitchen, a standard 25-inch depth may preserve a comfortable walkway while still giving you room to prepare meals.
An island can use a different depth, depending on seating, storage, and circulation around it.
Use this quick layout check:
- Galley: Choose a shallower surface when opposing counters leave limited passage space.
- L-shaped: Keep corners accessible, and align depth with nearby cabinets for a continuous work zone.
- Island: Allow enough depth for drawers, overhang, and movement without crowding surrounding cabinets.
Consider counter height alongside depth. A taller surface can change how far you comfortably reach, while a lower one may improve access for shorter users.
Your material selection also affects usable dimensions because stone, wood, and laminate may require different support or edge treatments.
Mark the proposed footprint with painter’s tape, then test door swings, stools, and walking routes before ordering.
When Is a Deeper Counter Worth It?
A deeper counter gives you more prep space for cooking and baking. It can also improve appliance clearance, so you won’t have to crowd the wall or the front edge. Plus, you’ll have more storage space for bulky cookware and other kitchen essentials.
Improved Prep Space
Deeper counters can be worth it when you regularly need more room to spread out ingredients, set down appliances, or organize multiple tasks at once. You’ll gain a wider landing zone for cutting boards, mixing bowls, and serving dishes, making meal preparation feel less cramped.
Consider these benefits:
- Separate work zones: Keep washed produce, chopped ingredients, and finished dishes organized without overlap.
- Flexible staging: Leave frequently used tools nearby while preserving clear space for active preparation.
- Easier cleanup: Group scraps, containers, and utensils in one area before loading the dishwasher.
Before choosing extra depth, check your counter height and walking clearance so the workspace remains comfortable. Also consider material durability, since a larger surface may receive more daily wear.
Choose deeper counters when improved organization and smoother preparation matter more than conserving floor space.
Better Appliance Clearance
Larger counters give countertop appliances more room without forcing them against the wall or into your main prep area. A deeper surface can keep your toaster, blender, or coffee maker stable while leaving space to work in front.
Measure each appliance, including cords and open lids, before choosing a size. Also check counter height: extra depth won’t help if you can’t comfortably reach controls.
| Appliance | Recommended depth | Clearance tip |
|---|---|---|
| Toaster | 24–25 inches | Leave space behind vents |
| Coffee maker | 25–26 inches | Allow room to fill the reservoir |
| Stand mixer | 26–30 inches | Check bowl and head movement |
Choose deeper counters when daily appliances crowd your workspace or sit dangerously near an edge. Balance clearance with material durability, since heavier equipment and frequent use demand a strong, well-supported surface.
Confirm nearby walkways remain comfortable before committing.
Added Storage Capacity
Once your appliances have enough clearance, extra counter depth can also create useful storage space. A deeper worktop gives you room to keep frequently used items behind your main prep area, reducing cabinet crowding.
Before extending the surface, consider:
- Small appliances: Place a toaster, mixer, or coffee maker at the back while preserving front workspace.
- Open shelving: Add shallow shelves beneath an overhang for trays, cookbooks, or everyday dishes.
- Deep drawers: Choose cabinets that use the added depth for pots, pans, and bulky equipment.
Check that the new dimensions won’t obstruct walkways or doors. Your counter height should remain comfortable for chopping and mixing, even if you increase depth.
Also, include material selection in your plan. Heavier stone may require stronger support.
A deeper counter is worthwhile when it improves organization without sacrificing movement or usability.
When Is a Shallower Counter Better?
A shallower counter can be the better choice when your kitchen is narrow, your workspace needs are modest, or you want to preserve a clear walkway. You’ll gain easier movement without sacrificing everyday prep space. It also suits compact appliances, small households, and minimalist designs.
| Situation | Benefit | Visual effect |
|---|---|---|
| Narrow kitchen | More floor space | Open walkway |
| Light cooking | Less unused surface | Clean appearance |
| Small appliances | Easier reach | Tidy work zone |
| Tight corner | Better access | Fewer collisions |
Consider Counter height alongside depth. A comfortable height can make a reduced surface feel more usable, especially when you chop, serve, or eat there.
Your Material selection matters, too. Durable, low-maintenance surfaces help a smaller counter handle frequent use.
Choose a shallower design when circulation and accessibility matter more than expansive landing space. You’ll create a kitchen that feels balanced, efficient, and easier to navigate, particularly near entrances, islands, or seating areas.
This approach also keeps visual bulk under control without compromising essential function.
How to Measure Kitchen Counter Depth
With your ideal depth in mind, measure from the wall behind the counter to the front edge, keeping the tape straight and parallel to the floor. Measure in several places because walls and cabinets may not align perfectly. Record the largest measurement, then allow room for the counter’s overhang beyond the cabinet fronts.
- Check the cabinet depth separately, measuring from the back panel to the front frame.
- Note obstacles, including backsplashes, trim, appliances, outlets, and uneven walls that could affect installation.
- Confirm the finished dimensions with your fabricator before ordering the countertop.
Measure from floor to work surface to verify Counter height, especially if you’re replacing cabinets or adjusting supports. Mark the wall and cabinet edges clearly, and measure diagonally if the layout isn’t square.
Consider Material options, since stone, laminate, and wood may require different edge treatments or overhang support. Keep every measurement in the same units, and label each one so your installer can interpret the plan quickly.
Choose the Right Kitchen Island Counter Depth
Choose a standard island depth that fits your kitchen’s layout and cooking needs. Make sure there’s enough clearance around the island for comfortable movement and to open doors easily. If you want seating or extra storage, leave room for the additional counter depth they require.
Standard Island Depths
Standard kitchen island depths typically range from 24 to 48 inches, depending on whether you need a prep surface, seating, or both. Choose a depth that matches your cooking habits and available floor space without sacrificing usability.
- 24 inches: A compact island suits narrow kitchens and provides room for light preparation, small appliances, or extra storage.
- 36 inches: This versatile depth gives you a comfortable work surface while preserving a streamlined footprint.
- 42–48 inches: A deeper island supports generous preparation space, drawers, and seating when you add an overhang.
Consider your Counter height before selecting stools or planning comfortable tasks. Your Material options, such as quartz, butcher block, or granite, can also affect the finished dimensions and visual weight.
Measure appliances, cabinetry, and walkways carefully so your island functions as intended.
Clearance Around Islands
Plan at least 36 inches of clearance around an island so you can open cabinet doors, move comfortably, and work without blocking nearby appliances. Increase that space to 42 inches in a busy one-cook kitchen, or 48 inches where two people regularly pass and prepare food.
Measure from the island’s countertop edge to opposing counters, walls, or appliances—not from the cabinets alone. Your Counter height also affects comfort: a taller surface may need extra room for movement and appliance access.
Check door and drawer swings before finalizing the island location, and account for handles that project beyond cabinet faces. Choose finishes with suitable material durability for frequent traffic, but don’t let appearance reduce functional clearance.
| Clearance | Best use |
|---|---|
| 36 inches | Minimum walkway |
| 42 inches | Comfortable cooking zone |
| 48 inches | Two-cook workflow |
Seating And Storage
Once you’ve allowed enough room to move around the island, determine how much countertop depth you need for seating and storage. For casual seating, plan at least 15 inches of overhang so your knees fit comfortably. A deeper island may improve comfort, but it can shrink walkways and require stronger support.
- Seating: Choose 24–30 inches of counter depth per stool, including the overhang.
- Storage: Add cabinets or drawers beneath the worktop, accounting for plumbing, appliances, and legroom.
- Construction: Match countertop materials and installation techniques to the island’s size and weight.
Stone surfaces often need brackets beneath extended overhangs, while lighter materials may require less reinforcement. Before ordering, confirm cabinet dimensions, stool height, and support placement. You’ll get a more functional island when seating, storage, and structural needs work together.
Avoid Cabinet, Appliance, and Clearance Mistakes
To avoid cabinet, appliance, and clearance mistakes, coordinate your countertop depth with the cabinets and appliances beneath it before installation. Standard base cabinets usually measure 24 inches deep, while a finished countertop often extends to 25 or 25½ inches.
Coordinate countertop depth with cabinets and appliances to ensure proper fit, clearance, and comfortable kitchen movement.
Confirm your cabinet specifications, door swings, drawer pulls, and appliance dimensions before ordering material. Check refrigerators, ranges, and dishwashers for required clearances and ventilation.
A deeper counter can interfere with an open door, block a walkway, or leave an appliance sitting too far behind adjacent cabinets. Maintain enough space for comfortable movement, especially near islands, corners, and seating areas.
Your counter height also affects usability and appliance alignment. Account for flooring, cabinet legs, and the countertop thickness when setting the finished height.
During material selection, ask your fabricator about seams, overhang limits, wall irregularities, and support requirements. Measure twice, create a detailed plan, and leave installation tolerances so the finished counter fits cleanly without restricting access, operation, or future repairs.
Frequently Asked Questions
What Materials Are Best for Kitchen Countertops?
You’ll find the best kitchen countertop materials depend on your budget, style, and cooking habits. Quartz offers excellent Material durability, low maintenance, and many designs. Granite provides natural beauty, heat resistance, and unique patterns, though you’ll need periodic sealing.
Solid surface works well for seamless, repairable installations, while butcher block adds warmth but requires regular oiling. Consider Countertop thickness, edge details, stain resistance, and installation costs before choosing your surface.
How Much Does Countertop Installation Typically Cost?
You’ll typically pay $40–$100 per square foot for countertop installation, including labor, with total costs often ranging from $1,500 to $5,000.
Material choice, project size, sink cutouts, demolition, edge profiles, and your location affect the final price. Compare multiple quotes and ask what each includes.
Discuss pricing strategies, such as bundling fabrication and installation. Confirm the installation timeline, since templating, fabrication, and fitting may take one to three weeks.
Can Existing Countertops Be Refinished Instead of Replaced?
Yes, you can often refinish existing countertops instead of replacing them, depending on their material and condition. Refinishing works well for laminate, wood, concrete, and some solid-surface counters with minor damage.
It won’t fix severe cracks, swelling, or structural problems. Compare Countertop material alternatives before choosing, and weigh Refinishing vs. replacing costs, durability, appearance, and labor.
A professional can assess your counters and recommend the most practical option for your kitchen.
How Do You Maintain and Clean Different Countertop Surfaces?
You’ll keep countertops gleaming with the right routine. For laminate, wipe spills promptly with mild soap and water; avoid abrasive pads.
Clean granite and quartz with a pH-neutral cleaner, and skip vinegar on stone. Use cutting boards and trivets to protect countertop durability.
For marble, reseal periodically and remove acidic spills quickly. Stainless steel needs a soft cloth, following its grain.
Check manufacturer guidance to preserve stain resistance, and never leave standing water.
What Countertop Edge Profiles Are Available?
You’ll find countertop edge profiles ranging from simple eased and square edges to rounded bullnose, beveled, ogee, and waterfall styles. Choose an edge that matches your kitchen’s design, maintenance needs, and safety concerns.
Your countertop thickness affects the profile’s appearance, especially with laminated or mitered edges. Popular edge finishing options include polished, honed, leathered, and matte treatments.
You’ll want to compare samples before selecting a profile that complements your cabinetry and backsplash perfectly.
Conclusion
Choose a counter depth that fits your cabinets, appliances, and cooking habits—not just the standard.
For most kitchens, a 25½-inch countertop works well with 24-inch base cabinets while preserving a comfortable overhang.
If your layout feels tight, a shallower surface can improve movement. If you’re designing an island, add enough depth for seating and storage.
For example, a 30-inch island may suit a narrow kitchen better than a bulky 42-inch one. Measure twice, then plan carefully to determine how deep your kitchen counter should be.