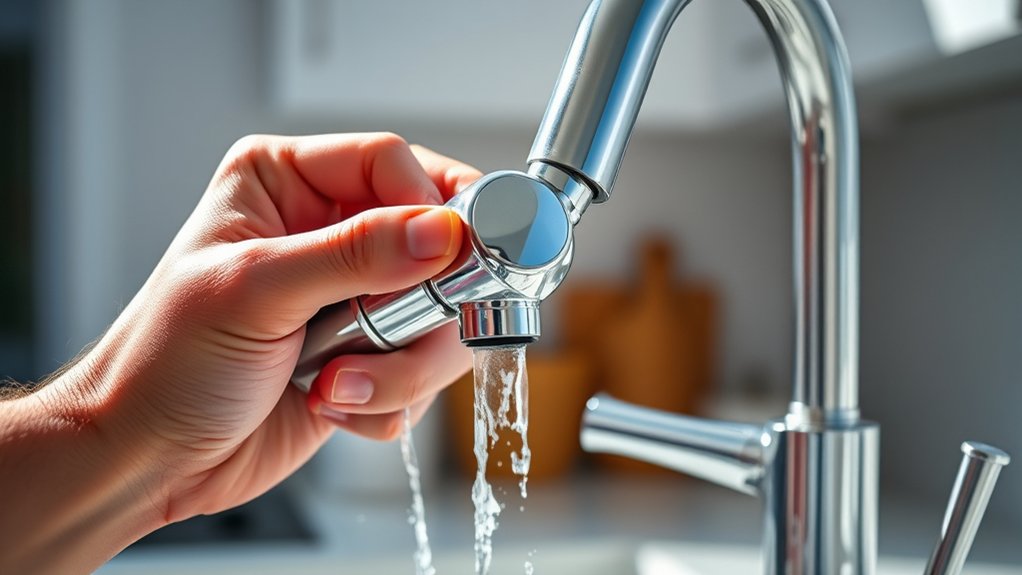
How to Remove an Aerator From a Kitchen Faucet in 7 Easy Steps
A clogged or stubborn faucet aerator can make your kitchen sink spray unevenly, slow the water flow, or splash everywhere. You’re not alone—many people struggle with removing one without scratching the faucet or losing tiny parts.
This guide to how to remove an aerator from a kitchen faucet walks you through the process safely. You’ll learn what tools to use, how to loosen a stuck aerator, and how to clean and reinstall it properly.
Identify the aerator at the faucet tip, then cover the drain and gather pliers, a cloth, and a flashlight. Protect the finish with the cloth before turning the aerator counterclockwise by hand.
If it’s stuck, use wrapped pliers, gentle heat, or penetrating oil. Remove and rinse the screen, brush away deposits, and check the washer.
Reinstall the washer and aerator, hand-tighten, then test for leaks and even flow. The steps below explain each part in detail.
Key Takeaways
- Identify whether the faucet has a standard, recessed, or cache aerator before choosing the correct removal tool.
- Cover the faucet finish and drain with soft cloths, then support the faucet while working.
- Turn the aerator counterclockwise by hand; use padded pliers only if it is too tight.
- For stuck aerators, warm the threads or apply penetrating oil before trying again gently.
- Inspect, clean, and replace damaged washers or screens, then reinstall snugly and check for leaks.
Find the Aerator Type on Your Faucet
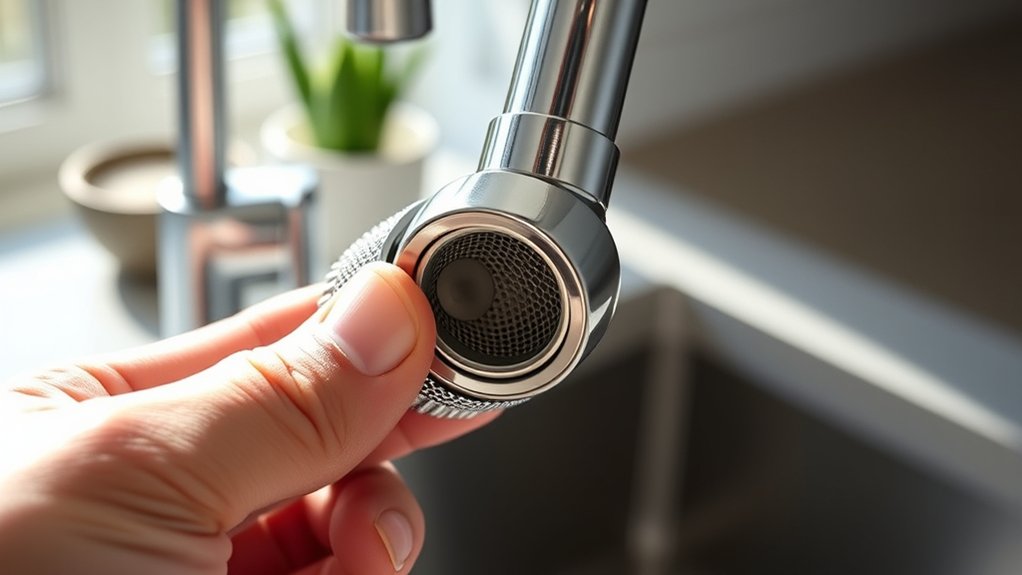
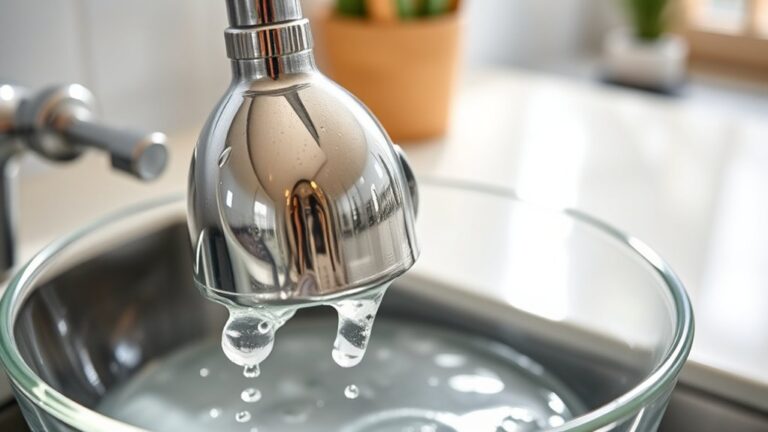
Before you remove the aerator, identify which type your kitchen faucet has. Check the spout’s tip and look for a small screen housed inside a metal ring.
Most models use a standard, threaded aerator that screws onto the outside of the spout. If you can’t see threads, your faucet may have a recessed aerator installed inside the spout.
Some modern faucets also use cache aerators, which sit deeper and require a specific insert design.
Compare the visible shape, ring size, and thread location with your faucet’s manual or manufacturer information. Don’t assume every replacement fits, because faucet compatibility depends on thread dimensions, housing style, and the aerator’s diameter.
Pull-down and pull-out faucets may use specialized aerators designed for their spray heads, while older faucets often use universal sizes.
Identifying the correct style first helps you understand how the aerator attaches and prevents damage when you remove it. Note whether the screen appears fixed, recessed, or externally threaded before proceeding.
Gather Tools to Remove the Aerator
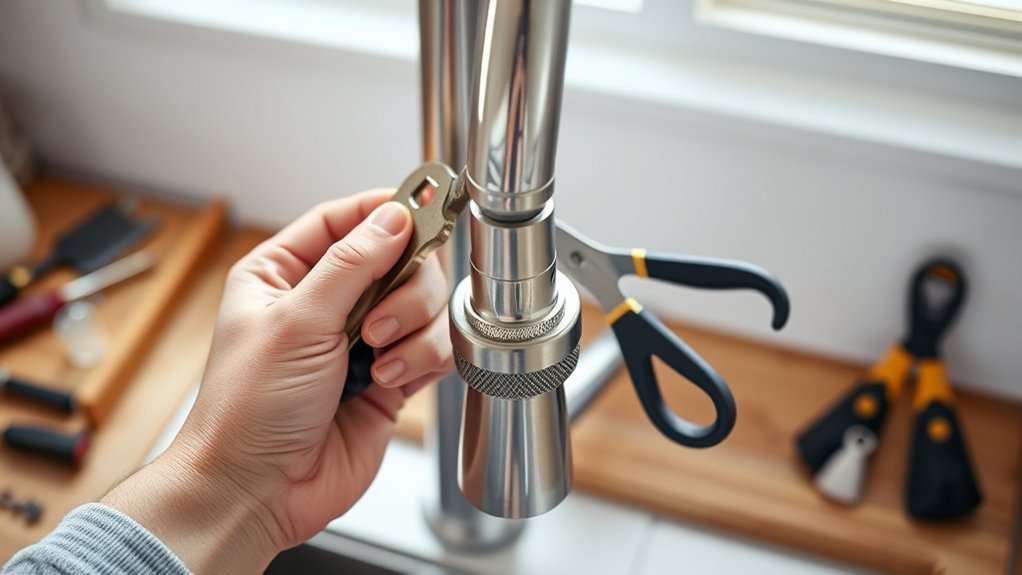
Gather an adjustable wrench or pliers, a cloth, and a flashlight to remove the aerator safely. Wear protective gloves and eyewear to protect your hands and eyes. Clear the area around the sink, plug the drain, and keep your tools close by.
Identify Required Tools
To remove a faucet aerator, you’ll need an adjustable wrench, a soft cloth, and possibly pliers or an aerator key. Choose a wrench that fits the aerator’s flats without excessive play, since the correct size helps prevent slipping.
Keep the cloth nearby to wrap around the faucet or fitting while you loosen the part. If the aerator sits inside the spout, use needle-nose pliers carefully, or select a key designed for that insert style.
Check your faucet manual if you’re unsure which tool matches the component. Understanding basic plumbing terminology helps you identify the spout, threads, gasket, and screen.
Aerator manufacturing varies, so some models use recessed housings, cache aerators, or specialty keys. Gather a small container for removed parts, and confirm every tool works smoothly before you begin.
Choose Protective Gear
Wear safety glasses to protect your eyes from splashes and loosened mineral deposits, and use thin work gloves for a better grip. Choose protective gear that lets you feel the aerator while shielding your skin and eyes during removal.
Protective gloves should fit snugly, provide enough flexibility to handle a wrench, and resist slipping on wet metal. Safety glasses should sit securely without blocking your view of the faucet’s threads.
- Select nitrile-coated gloves for grip and light protection.
- Choose impact-resistant safety glasses with side coverage.
- Replace damaged gear before beginning the task.
Avoid bulky gloves that make small parts difficult to handle. Remove rings or bracelets that could catch on the tool or faucet.
Keep your sleeves fitted around your wrists, so they don’t interfere with your grip. With suitable gear on hand, you’ll work more confidently and reduce the risk of minor injuries.
Prepare a Workspace
Before you begin, clear the sink area and place a towel over the drain to keep small parts from falling in. Gather an adjustable wrench, pliers, a soft cloth, an old toothbrush, and a small bowl.
You’ll use the bowl to hold the aerator, washer, and any other small pieces. Keep cleaning supplies, such as white vinegar and a clean brush, nearby to remove mineral buildup after you detach the aerator.
Arrange everything within easy reach so you won’t need to leave the faucet unattended. Review basic safety precautions before starting: turn off the faucet, dry the surrounding surface, and protect the finish with a cloth between the wrench and fixture.
If the aerator is difficult to see, use a flashlight to inspect its edges and identify the correct removal method.
Protect the Faucet Finish
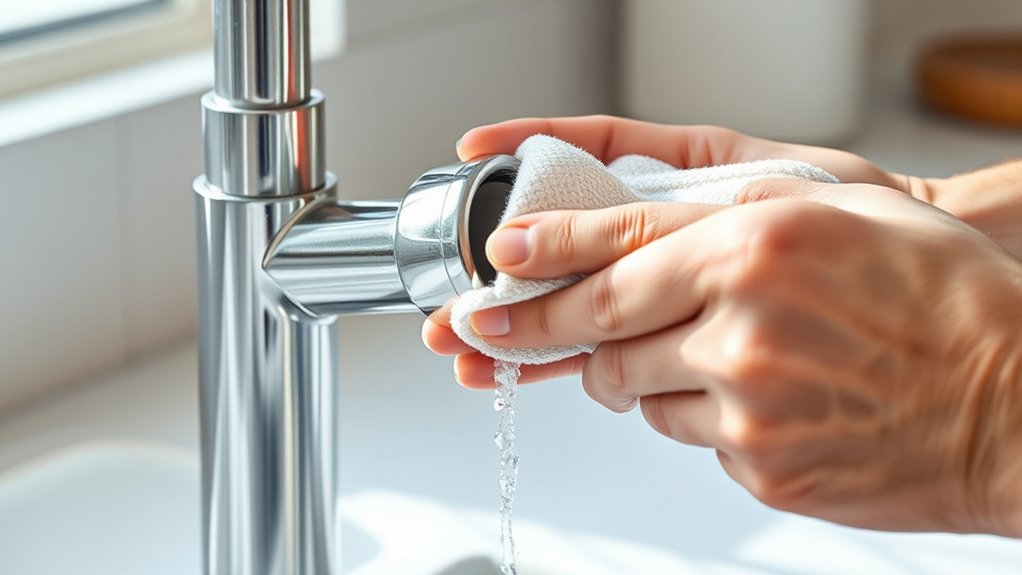
Protect the faucet’s finish by gathering a soft cloth, painter’s tape, and a rubber pad. Before loosening the aerator, cover the faucet base with the cloth and secure it with painter’s tape. Avoid using abrasive tools, which could scratch the surface.
Gather Protective Materials
Gather a soft cloth, painter’s tape, and a pair of adjustable pliers before loosening the aerator. Choose materials that reduce scratching and help you maintain a firm, controlled grip.
Prepare these items:
- Soft cloth: Wrap it around the aerator to cushion the metal and prevent tool marks.
- Painter’s tape: Keep several strips ready to protect the faucet’s finish where the pliers may contact it.
- Protective gloves and safety goggles: Wear gloves for a steadier grip, and use goggles to shield your eyes from splashes or loose debris.
Select pliers with adjustable jaws that fit the aerator without excessive pressure. Check that the cloth is clean and free of grit, since trapped particles can leave fine scratches.
Keep every item within reach, but don’t position tools against the faucet yet. This preparation lets you work carefully and confidently.
Cover the Faucet Base
Cover the faucet base with a clean soft cloth, then secure it with a few strips of painter’s tape to keep the pliers from scratching the finish. Wrap the cloth evenly around the base, leaving the aerator accessible.
Press the tape only against the cloth or nearby protected areas, and don’t cover the faucet opening. This barrier helps preserve polished, brushed, or painted surfaces while you loosen the aerator.
Check the faucet design before positioning your grip. Some bases have curves, seams, or delicate decorative coatings that need extra coverage.
Identify the aerator materials, such as plastic, chrome-plated metal, or stainless steel, because they may require different pressure during removal. Keep the faucet steady with your free hand, and make sure the cloth doesn’t slip.
A secure cover protects the finish and gives you confidence as you work.
Avoid Abrasive Tools
Before loosening the aerator, avoid abrasive tools such as files, sandpaper, or metal brushes, which can scratch the faucet’s finish. Even light pressure may leave permanent marks around the spout.
Skip abrasive cleaning products, too; their gritty particles can dull polished chrome, stainless steel, or brushed finishes. Instead, protect the surface while you work:
- Wrap the aerator and nearby spout with a soft microfiber cloth.
- Use a plastic-jawed wrench or padded adjustable wrench for extra grip.
- Apply gentle, steady pressure rather than forcing a stuck fitting.
If mineral buildup prevents removal, soak the aerator area with white vinegar and wipe it clean before trying again. Don’t clamp bare metal with pliers, since metal damage can create dents, scratches, or visible tool marks.
Inspect the finish afterward, and stop if the fitting resists excessively.
Remove the Kitchen Faucet Aerator
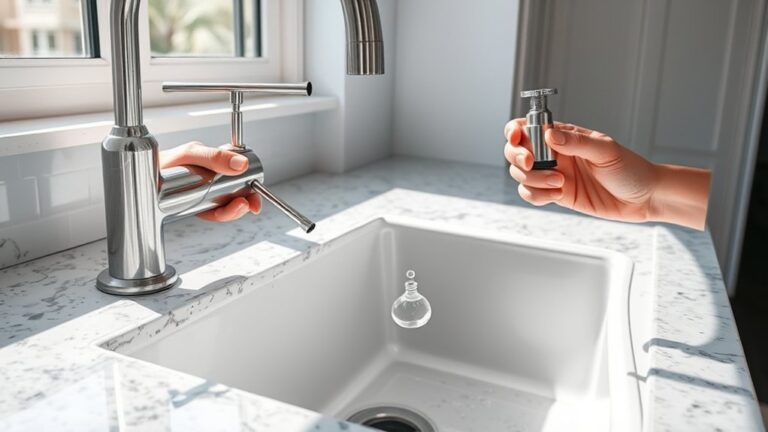
To remove the kitchen faucet aerator, unscrew it counterclockwise by hand while supporting the faucet spout with your other hand. Keep your grip gentle and steady to protect the finish and internal connections.
Place a towel over the drain before you continue, so small parts won’t disappear into the plumbing.
Once the aerator loosens, turn it until you can lift it away from the spout. Keep the gasket, screen, and housing together, and note their order for reassembly.
Rinse each removable piece under running water, then inspect the screen for mineral buildup or trapped debris. Wipe the spout threads with a clean cloth before reinstalling the parts or choosing an Aerator replacement.
Check that the gasket sits flat, then thread the aerator clockwise by hand. Tighten it only until snug.
This simple Faucet maintenance task helps preserve water flow and prevents leaks around the spout. Run the faucet briefly and check the connection for drips.
Free a Stuck Faucet Aerator
If the aerator won’t loosen by hand, protect the faucet finish with a soft cloth and use adjustable pliers for extra grip. Turn the aerator counterclockwise while holding the faucet steady. Apply firm, even pressure rather than squeezing hard, which could crush the threaded housing.
For stubborn buildup, warm the threaded area with a hair dryer for a minute. Expansion can help break the grip. You can also apply penetrating oil around the seam, wait several minutes, and try again. Keep oil away from the faucet opening and surrounding surfaces.
- Wrap the aerator in rubber or a thick cloth for added traction.
- Use a basin wrench if pliers can’t reach the fitting securely.
- Stop if the faucet body begins twisting, then call a plumber.
Once removed, match the old part before buying an Aerator replacement. Reinstall the fitting by hand, then tighten gently with pliers. Run the faucet briefly to confirm normal Water pressure and ensure the connection doesn’t leak.
Clean the Screen and Check for Damage
With the aerator removed, rinse the screen under running water and brush away mineral deposits with an old toothbrush. Hold it toward a light to spot clogged openings, rust, cracks, or bent edges.
This filter inspection helps you decide whether cleaning is enough or replacement is necessary. For a closer water flow analysis, compare the screen’s condition with the symptoms you noticed before removal.
| Finding | Recommended action |
|---|---|
| Loose grit or scale | Brush and rinse thoroughly |
| Torn or corroded mesh | Replace the screen |
| Warped frame or missing parts | Replace the aerator |
Gently clear stubborn deposits with a wooden toothpick, taking care not to enlarge the holes. Don’t use a metal pick or harsh abrasive, which can damage the mesh and affect performance.
Inspect the aerator’s housing and rubber washer as well. Look for splits, flattening, or heavy buildup.
Set clean parts on a towel and let them dry completely before handling them further. Discard any piece that remains damaged, severely corroded, or impossible to clean.
Reinstall the Aerator and Test It
Once the parts are clean and dry, place the rubber washer inside the aerator and screw it onto the faucet by hand. Don’t force the threads; proper aerator installation should feel smooth and secure. If the aerator won’t catch, stop and inspect the threads, washer, and faucet compatibility before trying again.
- Tighten the aerator gently with pliers wrapped in a soft cloth. Turn only until snug to avoid damaging the finish or crushing the washer.
- Open the faucet slowly and watch the connection. Check for drips around the aerator and confirm water flows evenly through the screen.
- If water sprays sideways, remove the aerator and reseat the washer or clean the screen again.
Let the water run for several seconds to flush out loosened debris. A steady stream indicates success.
If leaking continues, replace the washer or aerator. Avoid thread sealant unless the manufacturer specifically recommends it, because the washer creates the necessary watertight seal. Wipe the faucet dry when testing ends.
Frequently Asked Questions
Can a Faucet Aerator Affect Water Pressure?
Yes, a faucet aerator can affect water pressure and water flow. A clogged or damaged aerator restricts the outlet, making your stream seem weak, while a clean, properly rated aerator can improve the stream’s feel without increasing your home’s actual pressure.
Some models also balance performance with filtration efficiency, though excessive filtering may reduce flow. Remove and rinse the screen, check for mineral buildup, and replace the aerator if cleaning doesn’t restore normal flow.
How Often Should a Kitchen Faucet Aerator Be Replaced?
You should replace your kitchen faucet aerator every one to two years, or sooner if you notice reduced flow, uneven spray, leaks, or persistent mineral buildup. Water quality and usage can affect how often it needs replacing.
Try cleaning the aerator first. Remove the screen, soak it in vinegar, and rinse away debris. If deposits remain, the threads look damaged, or cleaning doesn’t restore flow, install a new aerator to maintain efficient, clean water delivery.
Are Faucet Aerators Universal Across Different Faucet Brands?
No, faucet aerators aren’t universal across brands. Think of each faucet as a different doorway: some accept the same key, while others require a special one.
Check faucet compatibility by matching the aerator’s thread size, gender, and diameter. Aerator types also vary, including standard, cache, swivel, spray, and flow-restricted models.
You’ll usually find measurements in your faucet’s manual, on the manufacturer’s website, or by comparing the old aerator directly.
Can a Missing Aerator Cause Water Splashing?
Yes, a missing aerator can cause water splashing. Without this small screen, your faucet’s water flow leaves the spout in a less controlled stream, creating uneven pressure and splashing around the sink.
You’ll often notice a harsh, scattered stream instead of a smooth one. Replace the aerator with a compatible model to restore proper flow.
If splashing continues, check the faucet tip, water pressure, and supply lines for debris or damage.
When Should a Professional Plumber Replace a Faucet Aerator?
Call a professional plumber when your faucet aerator behaves like a clogged gatekeeper: cleaning no longer restores steady flow, the screen has corroded, threads won’t grip, or water continues splashing and spraying.
Rely on Plumber expertise if you can’t identify the correct size or material, especially with hidden damage or unusual fittings.
For Replacement timing, replace it promptly when wear affects performance, sanitation, or water efficiency. A plumber can install the right model securely.
Conclusion
With the aerator clean and secure, turn on your kitchen faucet and watch the water flow smoothly again. If the stream looks even and steady, you’ve successfully cleared this tiny bottleneck.
Keep the screen free of mineral buildup, and your faucet will keep performing like a well-tuned instrument. If the aerator remains damaged or stubborn, replace it rather than forcing it.
Following these steps for how to remove an aerator from a kitchen faucet can help your faucet pour cleanly for years.