How to Measure a Kitchen Sink in 3 Easy Steps
Choosing the right kitchen sink can feel surprisingly difficult, especially when measurements, cabinet space, and countertop cutouts all need to match. You’re not alone—many homeowners struggle with getting accurate dimensions and avoiding costly installation mistakes.
This guide explains how to measure a kitchen sink in three easy steps, so you can compare products confidently and choose a sink that fits your space.
Key Takeaways
- Identify the sink type and measure its outside length, width, and depth, including the rim where applicable.
- Measure the cabinet’s interior width, depth, and available height beneath the countertop.
- Measure the countertop opening at its narrowest width and front-to-back depth.
- Record the faucet and accessory-hole number, spacing, and diameter, plus the countertop thickness.
- Verify the measurements against the manufacturer’s template, checking clearances for installation, plumbing, and disposal.
How to Measure Your Kitchen Sink
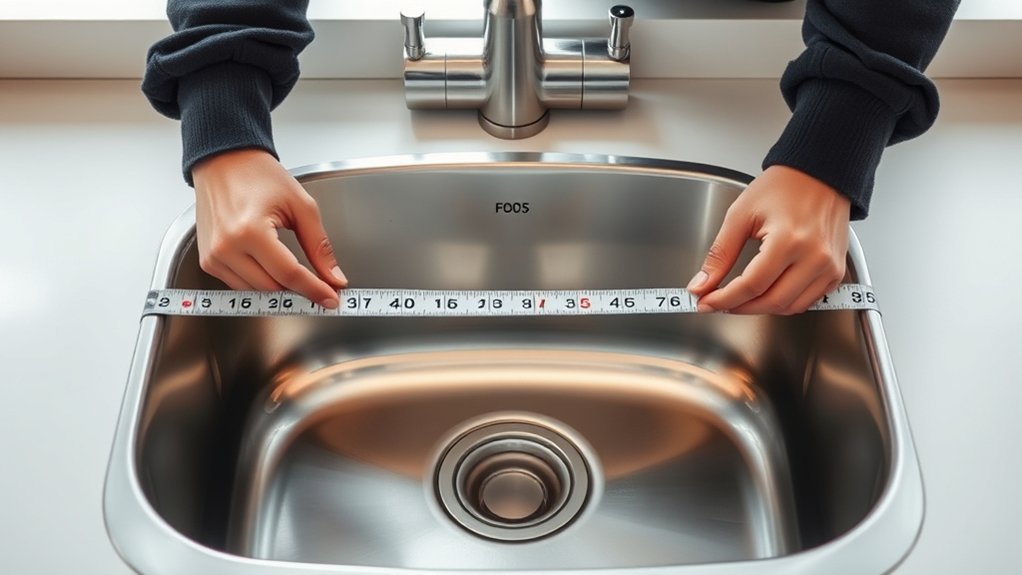
Measure your kitchen sink before shopping for a replacement or planning a new countertop cutout. Start by identifying the sink type: drop-in, undermount, farmhouse, or integrated. Each style requires different measurements and installation considerations.
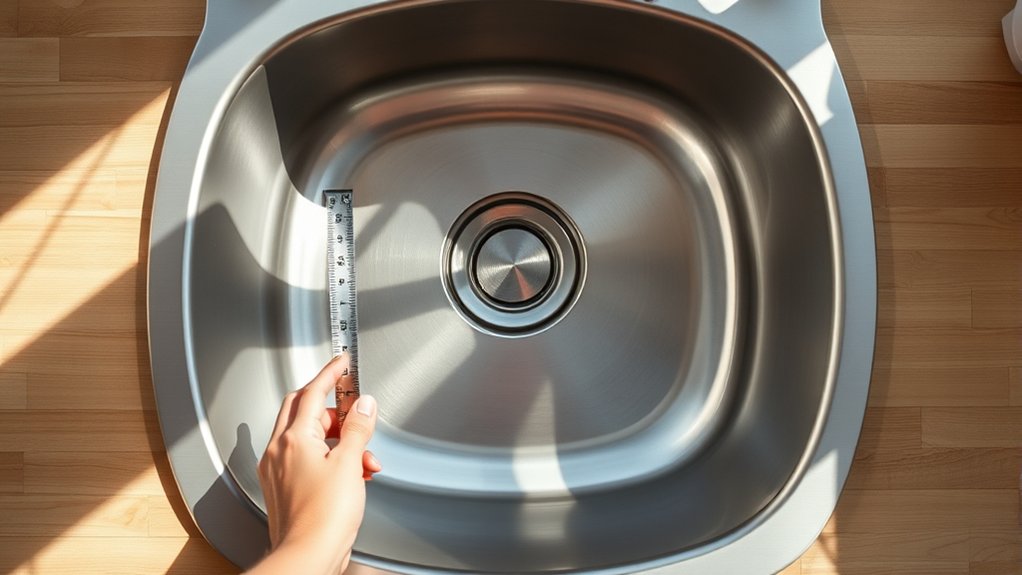
Use a tape measure to record the sink’s overall length, width, and depth. Measure from the outside edges, including the rim when applicable. For an undermount sink, measure the basin itself and note the rim configuration.
Measure length, width, and depth from the appropriate edges, noting the rim configuration for accurate sink replacement planning.
Record the number, spacing, and diameter of faucet holes, soap-dispenser holes, and accessories. This information helps you confirm faucet compatibility before you buy.
Also note the sink material, such as stainless steel, porcelain, composite granite, or fireclay. Material affects weight, durability, cleaning needs, and installation requirements.
Photograph the sink and label each measurement for easy reference. Keep your notes nearby while comparing manufacturer specifications, and verify every dimension against the product’s technical drawing before placing your order.
Don’t rely on nominal size alone. Manufacturers’ dimensions can vary considerably.
Measure the Cabinet and Countertop Opening
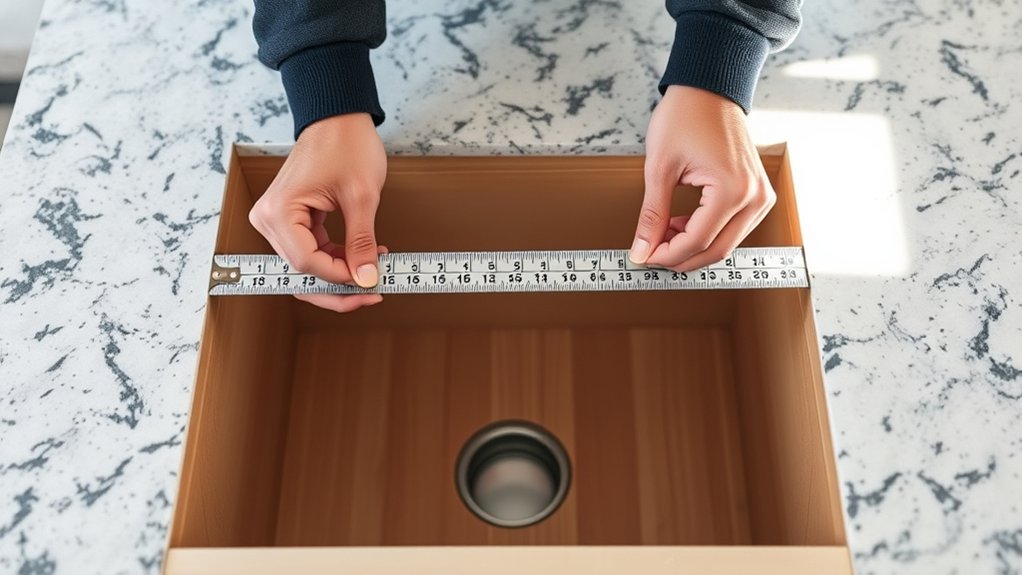
Before choosing a replacement sink, check the cabinet and countertop opening to guarantee the new model will fit. Open the cabinet doors and measure the inside width from side to side.
Record the front-to-back depth, then measure the available height beneath the countertop. Note plumbing, drawers, braces, and disposal equipment that could restrict installation.
Measure the countertop opening at its narrowest points, including width and depth. Don’t assume the opening matches the cabinet’s exterior dimensions.
Check countertop thickness, since it affects hardware reach and installation space. Also measure faucet clearance behind the opening, allowing room for the faucet base, handles, backsplash, and wall.
| Measurement | How to check | Why it matters |
|---|---|---|
| Cabinet width | Measure inside edges | Confirms available room |
| Opening depth | Measure front to back | Prevents contact with plumbing |
| Countertop thickness | Measure slab edge | Helps verify hardware reach |
Write down every measurement and compare them with the sink’s installation specifications before purchasing. Recheck each dimension to catch errors.
Check Fit for Drop-In, Undermount, or Farmhouse Sinks
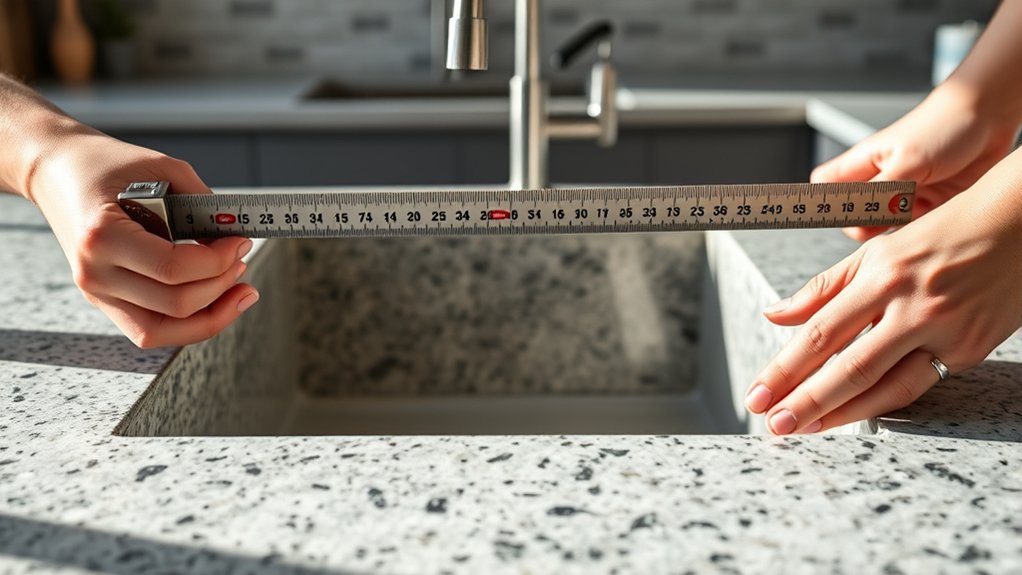
With the cabinet and countertop dimensions recorded, match them to the sink’s installation style. For a drop-in sink, compare the manufacturer’s cutout template with your opening.
Confirm the rim will cover the edges and that the cabinet can support the basin. For an undermount sink, measure the exact cutout requirements, including corner radius and reveal.
The countertop must provide enough solid material around the opening for secure clips and a sealed edge. For a farmhouse sink, check the cabinet width, front rail, and required support frame.
You may need to remove or modify the cabinet face, so measure the apron height carefully before ordering. Account for material considerations, such as stone, laminate, or solid wood, because each requires different cutting and sealing methods.
Review the sink’s installation tips and template, then verify faucet, drain, plumbing, and disposal clearances. Don’t rely on nominal sink dimensions; use the actual specifications to prevent costly fitting problems.
Frequently Asked Questions
How Often Should You Replace a Kitchen Sink?
You should replace your kitchen sink when it develops persistent leaks, deep cracks, severe rust, stains you can’t remove, or structural damage. With proper care, sinks commonly last 15 to 30 years, depending on the material and installation quality.
Don’t wait for failure if repairs keep recurring or the sink no longer suits your needs. During replacement, choose a durable material and confirm the new model fits your countertop.
What Materials Are Most Durable for Kitchen Sinks?
Stainless steel, fireclay, cast iron, and granite composite are among the most durable kitchen sink materials. The best choice depends on your budget, style, and maintenance preferences.
Stainless steel resists stains and impact, while fireclay and cast iron handle heat but may chip or weigh more. Granite composite hides scratches and offers excellent toughness.
Durability also depends on thickness, finish quality, installation, and daily care. Choose the material that best matches your cooking habits.
How Do You Remove Stains From a Kitchen Sink?
Treat your sink like a blank canvas: gentle care can restore its shine without erasing its finish. For effective Stain removal, rinse away debris, then sprinkle baking soda over the marks. Scrub gently with a soft sponge and warm water.
For stubborn stains, apply diluted white vinegar briefly, then rinse thoroughly. These Cleaning tips help prevent damage: avoid steel wool, harsh bleach, and abrasive powders. Dry the surface afterward to prevent water spots.
Can You Install a Garbage Disposal in Any Sink?
No, you can’t install a garbage disposal in any sink. Check sink compatibility first: the sink must have a standard drain opening, usually 3.5 inches, and sturdy mounting hardware.
Some farmhouse, bar, ceramic, or unusually thin sinks may require adapters or extra support. You’ll also need enough cabinet space, a compatible electrical connection, and proper plumbing.
If your sink lacks these features, choose another model or hire a professional for safe installation and leak prevention.
What Sink Accessories Make Kitchen Cleanup Easier?
You’d think kitchen cleanup gets easier by adding more stuff—because nothing says “simple” like useful clutter. Sink organizers corral sponges, brushes, and soap, keeping your counter clear.
Faucet attachments, such as pull-out sprayers or filtered-water adapters, help you rinse dishes and produce efficiently. Add a sturdy drying rack, a drain strainer, and a compost bin to streamline prep.
Choose rust-resistant, easy-to-clean accessories, and you’ll spend less time scrubbing.
Conclusion
With three simple measurements, you can choose a kitchen sink that fits confidently. Measure the cabinet, the countertop opening, and the sink’s installation requirements.
Confirm the dimensions for a drop-in, undermount, or farmhouse model before you buy. Check the width, depth, and clearance against the manufacturer’s specifications to avoid installation surprises.
Measure carefully, shop wisely, and install your new kitchen sink confidently. It will look right, work well, and last for years.