10 Easy Steps to Clean Your Kitchen Sink Drain
A slow or smelly kitchen sink drain can make everyday cleanup frustrating, and you’re not alone—many people struggle with stubborn buildup and recurring clogs. The right tools and methods can make the job easier, so this guide shares practical products and steps to help you clean your kitchen sink drain.
To clean your kitchen sink drain, gather gloves, baking soda, vinegar, dish soap, a plunger, brush, bucket, and cloth. Remove standing water and visible debris, then scrub the stopper.
Slowly flush the drain with hot water. Add half a cup of baking soda and vinegar, cover for 10–15 minutes, and rinse.
Test the flow and plunge if needed. For stubborn clogs, clean the P-trap.
Regularly avoid grease and scraps to prevent odors and blockages. More helpful details follow.
Key Takeaways
- Remove standing water and visible food, grease, hair, or debris from the sink and drain opening.
- Take out the stopper, scrub it with dish soap and a toothbrush, then reinstall it securely.
- Pour baking soda and vinegar into the drain, cover it for 10–15 minutes, then flush with hot water.
- Use a plunger over the drain while covering the overflow opening to loosen stubborn blockages.
- For persistent clogs, clean the P-trap, check for leaks, and prevent recurrence with a drain strainer.
Gather Supplies to Clean Your Kitchen Drain

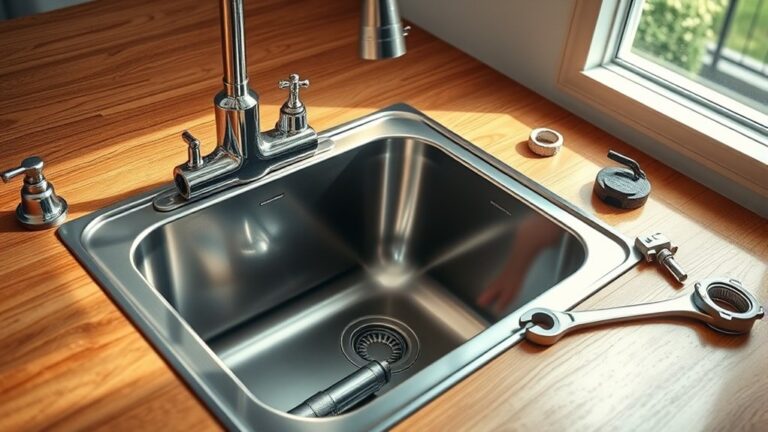
Before you begin, gather rubber gloves, dish soap, baking soda, white vinegar, a sink plunger, an old toothbrush, and a clean cloth. Add a small bucket or bowl to catch water, plus a flashlight for better visibility beneath the sink.
Keep paper towels nearby for quick spills, and use a plastic scraper to lift residue without scratching surfaces. Choose a nonabrasive sponge if your sink has a delicate finish, such as porcelain or copper.
Organize everything on the counter so you won’t need to search with wet hands. Protect nearby Kitchen decor, including wooden boards, fabric items, and decorative containers, by moving them away from the work area.
Check that your gloves fit securely and that your plunger seals the drain opening. These supplies support simple Drain maintenance and help you work efficiently.
Don’t mix vinegar with bleach or commercial cleaners, since dangerous fumes can result. Once your materials are ready, you can begin cleaning safely.
Check the Clog Before You Start

Look for signs of a clog, such as slow drainage, standing water, or unpleasant odors. Once you notice a problem, check the drain opening, trap, and nearby pipes to find its source. Then gather the right tools for the blockage, such as a plunger, drain snake, or bucket.
Identify Drain Symptoms
A slow-draining sink, standing water, gurgling sounds, or unpleasant odors can signal a partial or complete clog. Before you begin cleaning, observe what your sink is telling you. These clues help you judge the problem’s severity and choose a safe response.
- Slow drainage: Water lingers but eventually disappears, suggesting buildup that restricts flow.
- Standing water: A full basin often indicates a more serious blockage that needs prompt attention.
- Gurgling: Bubbling or gulping noises may mean trapped air is struggling to pass through debris.
- Drain odor: Sour or rotten smells can come from food particles, grease, or stagnant water.
Notice rusty discoloration, leaks, or a metallic smell, too. These signs may point to pipe corrosion, so avoid harsh chemicals that could worsen damage.
If symptoms appear suddenly or return frequently, wear gloves and prepare to inspect the drain carefully. Don’t mix cleaners, and keep children away from the work area.
Locate The Clog
Start by locating where the blockage sits. Run a small amount of water and watch how it drains. If water pools immediately around the strainer, the clog likely sits near the drain opening.
If the basin empties slowly but steadily, buildup may lie farther down the pipe. Check whether one sink bowl drains normally while the other backs up. That pattern can point to a blockage in the shared connecting pipe.
If both bowls fill, the obstruction may sit beyond the trap or in the main drain line. Don’t keep adding water, since you could cause an overflow.
Note unusual sounds, odors, or water movement in nearby fixtures. This quick inspection supports effective Drain troubleshooting and helps with Clog prevention by revealing where residue collects before you begin.
Gather Necessary Tools
Gather a few basic tools before tackling the clog: rubber gloves, a flashlight, a bucket, a plunger, and a drain snake. These items help you inspect the drain safely and remove simple blockages without damaging your sink.
Place the bucket beneath the trap to catch standing water, then shine the flashlight into the opening. Look for food scraps, grease, or objects that may explain the slow drainage.
Your toolkit should include:
- Adjustable pliers for loosening the trap
- A stiff brush for scrubbing buildup
- A small cup for removing standing water
- A cloth for wiping spills and sealing connections
Protect your hands, and don’t force tools against delicate pipes. Thoughtful kitchen design can improve access around the sink, while regular appliance maintenance helps prevent debris from entering the drain.
Keep everything nearby before you begin.
Remove Standing Water and Drain Debris
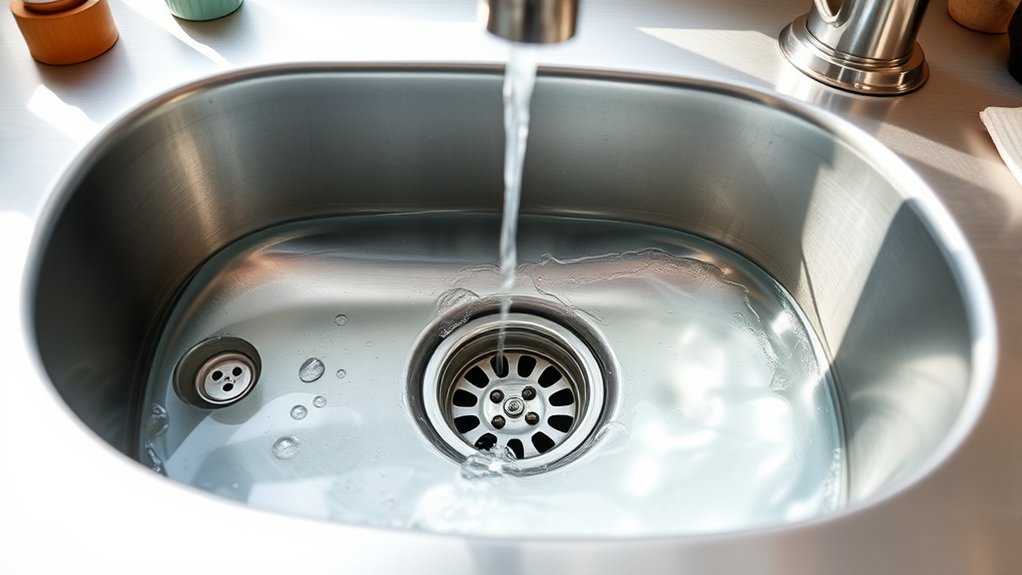
First, remove any standing water from the sink with a cup or small container, then wipe the basin dry with a cloth. Put on rubber gloves before handling anything inside the drain.
Use a paper towel to gather food scraps, grease, hair, and other visible debris around the drain opening. Place the waste in a sealed bag rather than pushing it deeper into the pipes.
If residue clings to the surface, loosen it gently with an old toothbrush or a small plastic brush. Avoid metal tools, which can scratch fixtures and contribute to Pipe corrosion.
Don’t pour harsh chemicals into a partially blocked drain. They may damage plumbing and create dangerous fumes.
Remove nearby sponges or dishcloths so they don’t fall into the opening. Wipe away grime around the rim, where buildup can cause Drain odor.
Keep the area clear and dry, but don’t take out the stopper yet. That comes in the next step.
Take Out and Scrub the Stopper
With the drain opening clear, remove the stopper so you can clean beneath it. Use stopper removal instructions that match your sink’s design.
Lift a pop-up stopper straight up, or twist the knob and pull gently. For a drain strainer stopper, rotate it counterclockwise until it releases.
If it resists, don’t force it. Check for a retaining clip or pivot rod underneath.
Place the stopper on a clean towel, then inspect its underside for slime, hair, and trapped food.
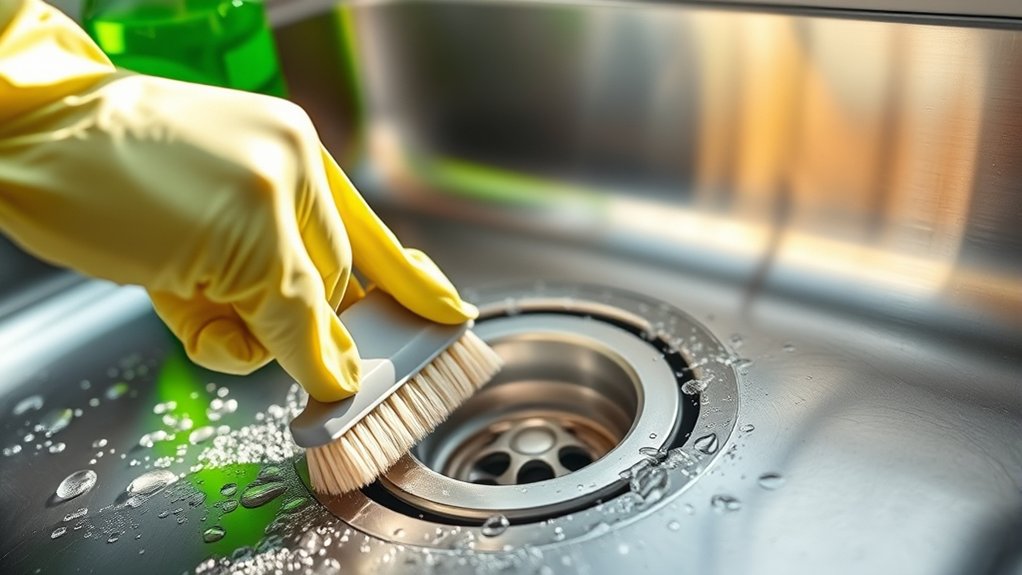
Use an old toothbrush and dish soap to loosen buildup. Scrub around the rim, hinge, and small openings with short, firm strokes.
- Wear rubber gloves to protect your hands.
- Use a cotton swab for narrow crevices.
- Rinse the stopper with clean, cool water.
- Wipe the drain collar before replacing it.
Dry the stopper, check that its parts move freely, and reinstall it securely. Test its fit by opening and closing it several times.
Flush Loose Grease With Hot Water
Boil water safely in a kettle or pot, keeping your hands and face away from the steam. Then, slowly pour the hot water down the drain to loosen and flush away the grease. If your pipes are plastic, use hot tap water instead of boiling water.
Boil Water Safely
Heat a kettle or pot of water until it reaches a rolling boil, then carefully carry it to the sink. Before handling it, follow these boil water precautions to protect yourself and your plumbing. Use safe boiling techniques every time:
- Keep the handle turned inward to prevent accidental knocks.
- Wear oven mitts and use both hands when lifting a heavy pot.
- Walk slowly, keeping the container level and away from your body.
- Keep children and pets away from the sink and your path.
Set the pot down on a stable, heat-resistant surface if you need a pause. Don’t pour boiling water into a cold glass or porcelain sink, since sudden temperature changes can cause cracks.
Let the faucet run briefly with cool water first if the basin feels cold. Check that your drain opening remains clear and accessible before proceeding.
Flush Grease Away
Once the sink and drain have warmed slightly, pour the hot water slowly into the opening to loosen and flush away grease. Work in small pours rather than dumping everything at once, which helps protect older pipes and prevents splashing.
The heat melts soft residue clinging to the drain walls, while the flow carries it toward the main line. If you notice slow drainage, pause briefly between pours so the water can penetrate stubborn Grease accumulation.
Don’t rely on boiling water alone if your plumbing contains delicate plastic components; use very hot tap water instead. Afterward, run the faucet for a minute to rinse the passage thoroughly.
This simple step can reduce Fat buildup and help prevent unpleasant odors. Wipe the sink basin clean when you’ve finished.
Add Baking Soda to the Drain
Pour about half a cup of baking soda directly into the drain, spreading it evenly around the opening. Let it settle for several minutes so it can reach residue clinging to the pipe walls.
This simple step uses baking soda benefits, including gentle deodorizing and mild abrasion, without scratching your sink or exposing you to harsh cleaners.
For best results, keep these points in mind:
- Use fresh, dry baking soda for stronger cleaning power.
- Push powder toward the drain with a dry spoon.
- Leave the drain undisturbed while the powder works.
- Wear gloves if your skin feels sensitive.
Baking soda can loosen small particles, soften lingering odors, and prepare the drain for the next cleaning step.
Its alkaline nature also supports helpful chemical reactions when you combine it with compatible household ingredients later.
Don’t pack the powder tightly into the opening, because it needs contact with the buildup.
If your drain contains standing water, remove as much as possible first. This allows the baking soda to remain concentrated on the problem area.
Pour in Vinegar and Rinse
Next, add about half a cup of white vinegar to the baking soda, pouring it slowly as the mixture fizzes. Cover the drain with its stopper or a small plate, and let the reaction work for 10–15 minutes.
Slowly pour in vinegar, cover the drain, and let the fizzing reaction loosen buildup for 10–15 minutes.
This fizzing action helps loosen grease, food particles, and mild buildup clinging to the pipe walls. Vinegar benefits include deodorizing the drain and helping dissolve mineral residue without harsh chemicals.
Remove the cover and prepare hot water for rinsing. Pour it gradually down the drain, using several steady pours instead of flooding the opening at once.
These Rinsing techniques help carry loosened debris through the pipes while reducing splashing. If your sink has a removable strainer, rinse it separately and wipe away any remaining residue before replacing it.
Wipe the surrounding basin with a damp cloth to remove foam or droplets. Keep the area clear and avoid mixing vinegar with bleach or commercial drain cleaners, which can create dangerous fumes.
Test the Drain and Try a Plunger
Check the water flow to see if the drain clears properly. If it’s still slow, fill the sink basin with enough water to cover the plunger’s cup. Then place the plunger over the drain and pump it firmly to loosen the blockage.
Check Water Flow
Run the faucet briefly to see how quickly the water drains. Watch the Drainage speed and note whether water swirls, rises, or disappears smoothly.
If the flow seems slow, check the Water pressure by opening the faucet fully. Weak pressure can make drainage appear worse than it is.
If water still lingers, try a plunger:
- Remove the drain stopper and clear visible debris.
- Add enough water to cover the plunger’s rubber cup.
- Press the cup firmly over the opening.
- Pump vigorously several times, then lift it to check flow.
Repeat the plunging process if necessary, using steady, controlled strokes. Listen for gurgling, which may signal trapped air or a partial blockage.
Once water runs freely, briefly run the faucet again to confirm consistent drainage. Don’t force the plunger if the drain fixture shifts.
Fill Sink Basin
Fill the sink basin with a few inches of water, then lift the stopper to test how quickly it drains. Watch the water level and note whether it moves steadily or lingers.
This simple check helps you spot a developing blockage and guides your next cleaning step. For effective sink maintenance, repeat the test after removing visible debris from the stopper and drain opening.
If the water drains slowly, add enough for a firm seal around the drain. Position a plunger over the opening, ensuring the cup sits beneath the water.
Keep the overflow opening covered with a damp cloth so pressure stays focused. Press gently at first to avoid splashing.
Don’t force the handle or use harsh chemicals. Stop if water backs up into another basin, and investigate the shared drain before continuing.
Plunge the Drain
With the drain opening covered by water, center the plunger over it and press down firmly to create a seal. Use steady, forceful strokes to drive water through the pipe, then lift the plunger quickly to release pressure.
Repeat the plunge technique 10 to 15 times, keeping the seal intact. Listen for gurgling, and watch whether the water level drops. If the drain remains slow, try again before using a chemical cleaner.
- Remove the stopper or strainer first.
- Block the overflow opening with a damp cloth.
- Choose a flat-cup sink plunger for a tight seal.
- Rinse the drain with hot water afterward.
Different plunger types suit different jobs. A flange plunger works best for toilets, while a cup plunger fits kitchen sinks.
Don’t force the handle if water splashes excessively. Once water drains freely, run hot tap water for a minute to flush loosened debris.
Open the P-Trap for Stubborn Clogs
For stubborn clogs, remove the P-trap—the curved pipe beneath the sink—to clear debris that plunging can’t reach. Place a bucket beneath the trap to catch trapped water, then loosen both slip nuts by turning them counterclockwise.
If they’re tight, use adjustable pliers, but protect the fittings with a cloth. Lower the curved section carefully and empty its contents into the bucket.
Rinse the P-trap with hot water, then scrub its interior with a bottle brush or flexible cleaning tool. Check the connected tailpiece and wall pipe for remaining buildup, removing debris gently without forcing it deeper.
Reassemble the trap, ensuring each washer sits correctly and each nut threads evenly. Tighten the connections by hand, then give them a slight additional turn with pliers.
Run water slowly and inspect every joint for leaks. This hands-on approach supports effective stubborn clog removal and practical p trap maintenance when plunging doesn’t solve the problem.
Prevent Future Drain Odors and Blockages
Prevent future drain odors and blockages by flushing the sink with hot water for a minute after washing dishes, especially when grease or food residue is present. This simple habit supports odor prevention by moving away particles before they decay. Don’t pour cooking oil, coffee grounds, flour, or fibrous scraps down the drain; collect them and discard them properly.
Flush drains with hot water after washing dishes, and keep grease, grounds, flour, and fibrous scraps out.
For reliable blockage prevention, follow these habits:
- Scrape plates into the trash or compost before rinsing them.
- Use a drain strainer, and empty it after every meal.
- Run cold water while using the garbage disposal, then continue for 30 seconds afterward.
- Clean the stopper and drain opening weekly with dish soap and a small brush.
You can also deodorize the drain monthly with baking soda followed by warm water. Avoid mixing cleaning products, and don’t rely on harsh chemical drain cleaners, which may damage pipes.
If odors or slow drainage return despite regular care, inspect the P-trap or contact a plumber promptly.
Frequently Asked Questions
Can I Clean My Kitchen Sink Drain Without Using Chemical Drain Cleaners?
Yes, you can clean your kitchen sink drain without chemical drain cleaners. Start by removing visible debris, then flush the drain with boiling water.
Pour half a cup of baking soda followed by half a cup of vinegar, cover the opening, and wait 15 minutes. Rinse with hot water.
These natural remedies offer simple DIY solutions for mild clogs. If water remains backed up, use a plunger or drain snake, and call a plumber for stubborn blockages.
How Often Should I Deep-Clean My Kitchen Sink Drain?
You should deep-clean your kitchen sink drain once a month to keep unpleasant surprises at bay. For effective Drain maintenance, flush the drain weekly with hot water and remove food particles from the strainer daily.
Increase your Cleaning frequency if you notice slow drainage, odors, or gurgling sounds. A gentle monthly scrub with baking soda and vinegar can freshen the pipe without harsh chemicals.
If problems persist, call a professional before buildup worsens.
Are Commercial Enzyme Drain Cleaners Safe for Septic Systems?
Yes, most commercial enzyme drain cleaners are generally safe for septic systems because they use bacteria and enzymes rather than harsh chemicals. Still, check the label for septic-system compatibility, follow dosage instructions, and avoid products containing bleach, acids, or solvents.
Consider chemical safety for your household, pets, and plumbing. For lower environmental impact, choose biodegradable formulas, prevent grease buildup, and use warm water and a drain strainer regularly to reduce treatment frequency and waste.
What Should I Do if My Kitchen Drain Still Smells After Cleaning?
Why let a stubborn rotten-egg cloud hover over your kitchen? If your drain still smells after cleaning, flush it with boiling water, then pour in half a cup of baking soda followed by one cup of vinegar. Cover the opening for 15 minutes and rinse thoroughly.
Check the P-trap for trapped food or sludge, and clean it if needed. For persistent odors, use enzyme treatment and improve odor prevention with regular drain deodorizing.
When Should I Call a Professional Plumber for a Clogged Kitchen Drain?
Call a professional plumber when your kitchen drain stays clogged after plunging, drain cleaning, or using a safe enzyme treatment. You should also seek help if water backs up repeatedly, multiple fixtures drain slowly, sewage smells persist, or you notice leaks, flooding, or unusual gurgling.
Treat overflowing wastewater as a plumbing emergency and shut off nearby water sources. Ask for a cost estimation before work begins, and avoid harsh chemical cleaners that may damage pipes.
Conclusion
With these 10 easy steps, you can turn a sluggish kitchen sink into a clear, fresh-smelling drain without calling a plumber. Start gently, work methodically, and stop if you meet a stubborn blockage or leak.
Think of maintenance like brushing your teeth: a few minutes now prevents bigger problems later. In fact, monthly drain cleaning can help keep grease and food buildup from becoming a costly clog.
Keep your supplies handy, and your sink will keep working smoothly. Follow these steps for effective kitchen sink drain cleaning.