10 Steps to Sharpen Kitchen Knives With a Rod
Dull knives can make even simple meal prep feel frustrating, and many home cooks struggle to keep their blades sharp. The right sharpening rod can make the process easier, safer, and more consistent.
In this guide, we’ll walk through 10 steps to sharpen kitchen knives with a rod.
Choose the right rod: medium ceramic for sharpening, fine ceramic for finishing, or steel for light honing.
Clean and dry your knife, then inspect it for damage.
Secure the rod on a non-slip surface.
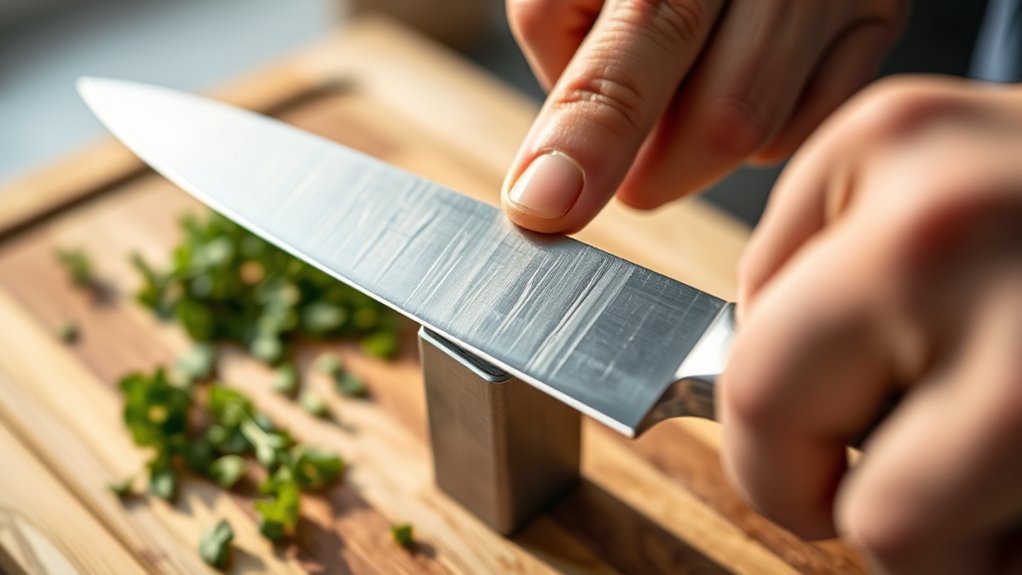
Hold the blade at 15–20 degrees per side, starting at the heel.
Draw it smoothly toward the tip with light pressure.
Repeat evenly on both sides, following the tip’s curve.
Check for and remove the burr, then wash, dry, and store the knife safely.
More detailed guidance follows.
Key Takeaways
- Choose a rod suited to your knife, such as ceramic for harder Japanese steel and steel for softer European knives.
- Clean and inspect the knife, then secure the rod on a stable, non-slip surface.
- Hold the blade at a consistent 15–20° angle and draw it from heel to tip with light pressure.
- Repeat equal strokes on both sides, gradually lifting the handle to sharpen the tip without twisting.
- Remove the burr with a few gentle finishing passes, then clean, dry, and safely store the knife and rod.
Choose the Right Rod for Your Knife
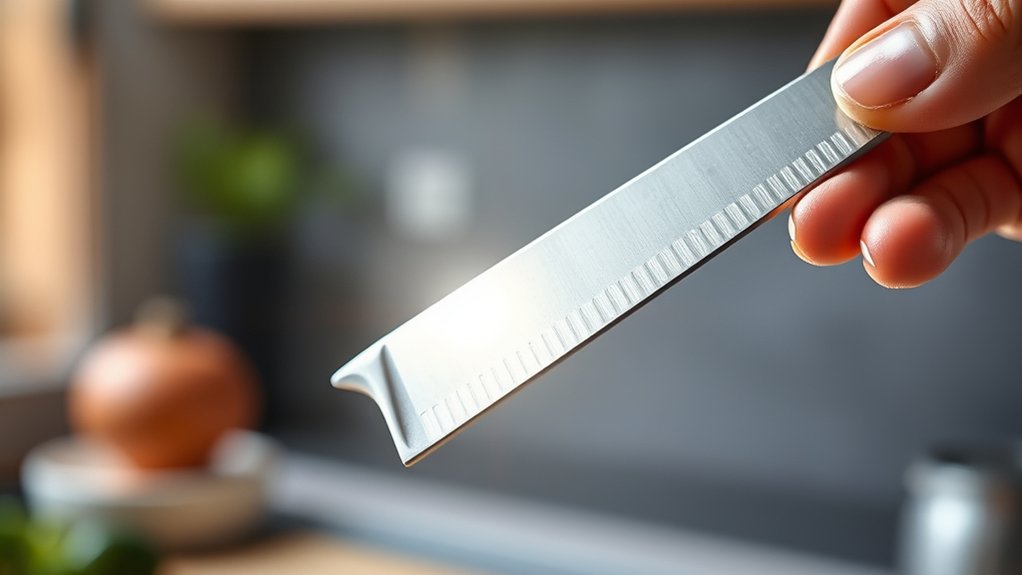
Choose a rod that matches your knife’s steel and condition. For routine maintenance, select a medium-grit ceramic rod. It realigns a slightly misaligned edge while removing minimal metal, making it suitable for most stainless-steel kitchen knives. Choose a fine ceramic rod when you want a gentler finishing pass.
Consider the rod material carefully. Chrome-plated steel rods offer durability and light honing, but they may not suit thin, hard blades. Diamond-coated rods remove more metal and work quickly on very dull edges, so use them sparingly. Avoid aggressive diamond surfaces if your knife has a delicate, brittle, or highly polished edge.
Check knife compatibility before you begin. Softer European-style knives generally tolerate steel rods, while harder Japanese knives often benefit from ceramic.
Match the rod’s diameter and length to your control needs, too. A comfortable handle and adequate working surface help you maintain consistent contact and angle during each stroke.
Clean and Check Your Knife
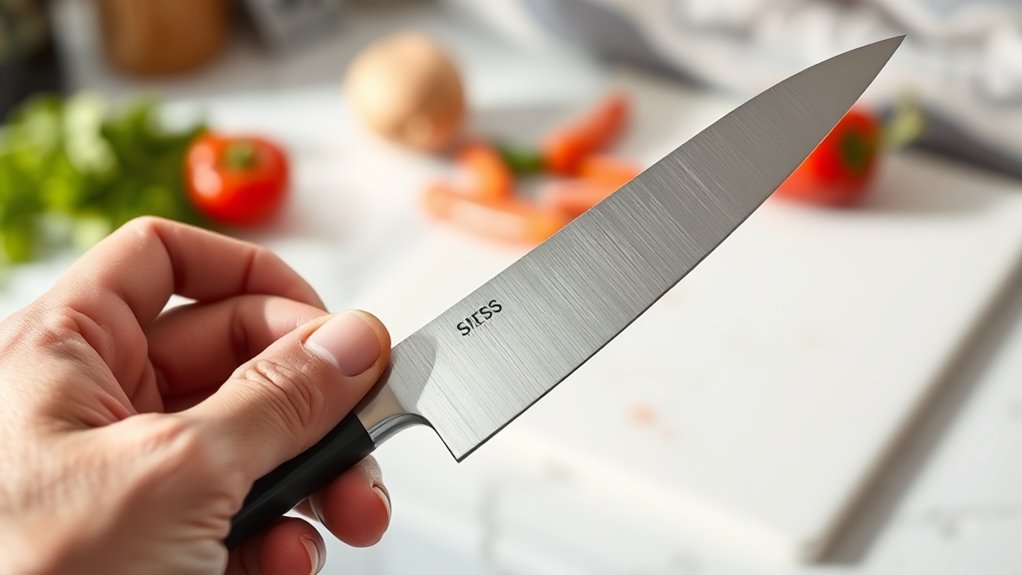
Once you’ve selected the right rod, clean the knife with warm water and mild dish soap, then dry it completely. A clean blade gives you a clearer view of its edge and prevents food residue from interfering with sharpening.
Don’t put the knife away wet. Moisture can encourage rust, especially near the handle or bolster.
Inspect the blade under bright light before using any sharpening tools. Look for chips, bends, deep scratches, or loose handle parts.
A small burr or dull section is usually manageable, but serious damage may require professional repair. Run a clean fingertip carefully along the spine, not the edge, to check for debris or rough buildup.
Use this quick inspection checklist:
- Confirm the blade is clean and dry.
- Check for chips or cracks.
- Examine the handle and bolster.
- Wipe the rod clean before use.
Good knife maintenance starts with this simple check. It helps you work safely and protect your equipment.
Set the Right Sharpening Angle
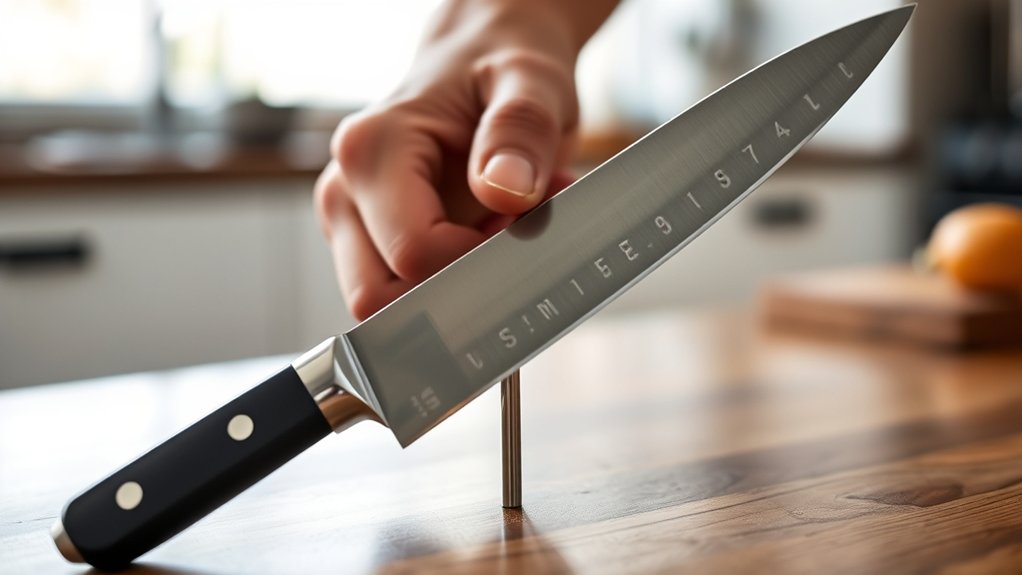
Set the rod at the angle that matches your knife’s edge, typically about 15–20 degrees per side for a Western-style blade. Hold the spine that far above the rod, then keep that position consistent as you sharpen.
Japanese blades may need a narrower angle, while sturdy outdoor knives often suit a wider one. Check the manufacturer’s guidance when available.
| Knife type | Suggested angle |
|---|---|
| Western chef’s knife | 15–20° per side |
| Japanese kitchen knife | 10–15° per side |
| Heavy-duty utility knife | 20–25° per side |
For accurate angle measurement, use an angle guide, coin-sized spacer, or folded paper reference.
You can also color the edge with a marker. Light contact should remove ink evenly along the bevel.
If ink remains at the shoulder, lower the spine slightly. If it disappears from the very edge only, raise it.
These sharpening techniques help you match the existing bevel rather than create an uneven secondary edge. Relax your wrist and practice the position before making full strokes.
Secure the Rod Safely
Secure the rod on a stable surface so it won’t shift as you sharpen. Hold the handle firmly, and keep your fingers protected and away from the blade’s path.
Choose a Stable Surface
Choose a solid, level countertop with enough room to work, then place a damp towel beneath the sharpening rod’s base to prevent slipping. Your kitchen countertop should remain clear, dry, and well lit so you can position the rod without bumping nearby items.
A Non slip mat can add another layer of stability, especially on smooth stone or laminate surfaces. Check the setup before you begin:
- Set the rod’s base flat against the towel or mat.
- Keep the rod away from the counter’s edge.
- Remove loose utensils, dishes, and cords.
- Test the base with gentle pressure to confirm it won’t slide.
If the surface wobbles, relocate your work area or use a sturdier counter. Don’t sharpen near water, clutter, or heat sources.
A secure foundation helps you maintain consistent contact and protects your countertop.
Grip the Handle Firmly
Once the rod’s base sits firmly on the towel or mat, wrap your dominant hand around the handle with a relaxed but controlled grip. Keep your wrist straight, and position your thumb and fingers so you can guide the rod without squeezing excessively.
A proper grip lets you maintain steady pressure while keeping the handle from shifting during each sharpening stroke. Check that the handle feels secure before you begin; if it slips, pause and reposition the rod on the stable surface.
Hold the rod upright, aligning it with your working area so you can move the knife smoothly along its length. Good knife balance starts with a stable rod, so avoid leaning the handle or allowing it to wobble.
Keep your shoulders relaxed, and adjust your stance until the rod feels natural to control.
Keep Fingers Protected
Keep your fingers behind the rod’s guard or handle so the blade can’t slide toward them during a stroke. This simple habit supports finger safety and gives you better control.
Maintain steady hand positioning: hold the handle firmly, keep your thumb and fingers wrapped around it, and place your other hand behind the knife’s heel. Never grip the blade or reach across its path.
Before sharpening, check that the rod’s handle and guard are secure and that your hands are dry.
Use these precautions:
- Keep your fingertips behind the guard.
- Hold the rod at a comfortable angle.
- Move the knife away from your body.
- Stop if your grip or stance feels unstable.
Work slowly, using light pressure. Keep your free hand clear of the edge, and don’t rush repeated strokes.
A secure setup helps you sharpen confidently without sacrificing control or safety.
Place the Knife at the Rod’s Base
Hold the honing rod firmly in your non-dominant hand with its tip pointing down on a stable cutting board. Keep your wrist steady and position the knife in your dominant hand. Rest the heel of the blade against the rod’s base, just above the guard. This starting point gives you control and prepares the entire edge for consistent honing.
Check the blade alignment before you begin. Hold the knife so its edge meets the rod at a narrow angle, typically about 15 to 20 degrees per side. Don’t press the blade into the metal. Use light contact and maintain a relaxed grip. Keep your fingers behind the guard, away from the edge.
Make sure the rod stands securely and remains clean. A smooth surface supports proper rod maintenance and prevents debris from affecting contact. Pause if the knife shifts, the rod wobbles, or the angle feels uncertain. Set both tools correctly before moving to the next step.
Draw the Blade Along the Rod
Starting at the rod’s base, draw the knife downward and toward you in one smooth motion, guiding the edge from heel to tip across the rod. Keep light, steady pressure; let the rod refine the edge rather than forcing the blade against it.
Maintain consistent blade alignment by holding the knife at the same angle throughout the stroke. Your honing technique should feel controlled, quiet, and deliberate.
Focus on these details:
- Keep your wrist firm and your elbow relaxed.
- Move at a slow, even pace from heel to tip.
- Watch the edge travel across the rod without twisting.
- Use enough pressure to maintain contact, not enough to scrape.
As the tip reaches the rod’s lower section, finish the motion smoothly and lift the blade away. Avoid abrupt stops, which can round the edge or disturb your control.
Stay balanced and keep your fingers safely behind the knife’s spine. A consistent path matters more than speed, so concentrate on precision during every pass.
Repeat the Motion on Both Sides
After completing one pass, repeat the same motion on the knife’s opposite side, matching the angle, pressure, and pace you used before. Keep your wrist steady, and guide the blade from heel to edge without forcing it against the rod.
Use the same number of passes on each side so you remove metal evenly and maintain a centered edge.
After every few strokes, pause and inspect the bevel under good light. You’re looking for a consistent, clean line rather than shiny spots or rough patches.
If one side feels noticeably different, reduce your pressure and adjust your angle before continuing. Balanced work supports reliable blade maintenance and helps prevent an uneven edge.
Keep alternating sides until the edge feels uniform from the heel through the main cutting section. Wipe away metal particles with a clean cloth, then test sharpness carefully on paper or a soft vegetable.
Consistent sharpening techniques produce better results than speed or heavy pressure.
Follow the Curve Around the Tip
As you reach the blade’s tip, gradually lift the knife’s handle so the edge follows the rod’s curve instead of digging into it. Keep the same sharpening angle you used along the main edge, but let your wrist and elbow move naturally. Don’t twist the blade or press harder as you round the tip; light, controlled contact protects its point.
Use these habits to guide the motion:
- Slow your stroke as the tip approaches the rod’s end.
- Raise the handle smoothly, not abruptly.
- Keep your fingers behind the knife’s spine for safety.
- Match the motion on the opposite side.
Good knife ergonomics will help you stay balanced and consistent. Hold the rod securely with its handle below your hand, and keep the knife’s path predictable.
If your sharpening tools include a ceramic or tapered rod, follow its contour gently rather than forcing the blade straight. Practice the movement with an unpowered hand first, then sharpen with short, deliberate strokes.
Check the Edge and Remove the Burr
Once you’ve finished both sides, wipe the blade and check the edge for a burr—a thin, raised strip of metal along one side. During this edge inspection, gently drag a fingertip from the spine toward the edge, never along it. You may feel a slight wirelike ridge on one side.
That ridge shows the rod has reached the edge, but you must remove it before cutting.
For burr removal, make a few feather-light passes with the rod on the side opposite the burr. Keep the same angle, use minimal pressure, and move from heel to tip.
Then switch sides and make one or two equally gentle passes to center the edge. Avoid repeated strokes, which can recreate or weaken the burr.
Check again with your fingertip and by looking along the edge under good light. The blade should feel smooth on both sides, with no snagging or visible wire.
If a burr remains, repeat the alternating light passes carefully.
Clean, Dry, and Store the Knife
With the burr removed, wash the knife by hand with mild dish soap and warm water, then dry it immediately with a clean towel. Don’t leave the blade soaking, because prolonged moisture can stain steel and loosen the handle.
Wipe both sides and the spine, then inspect the edge for remaining residue or moisture.
For reliable knife maintenance, follow these storage steps:
- Place the completely dry knife in a blade guard, knife block, or drawer insert.
- Keep the edge away from other utensils to prevent dulling and accidental cuts.
- Store the knife where children can’t reach it, supporting kitchen safety.
- Avoid tossing it loosely into a drawer, even if the drawer looks organized.
Never put a sharpened knife in the dishwasher. Heat, detergent, and contact with other items can damage the edge and handle.
After storage, clean and dry the sharpening rod as directed by its manufacturer. A dry, protected knife stays sharper longer and remains ready for your next meal.
Frequently Asked Questions
Can a Sharpening Rod Repair a Chipped or Severely Damaged Knife Edge?
No, a sharpening rod can’t repair a chipped or severely damaged knife edge. It only realigns and lightly refines an intact edge.
For small chips, you’ll need a coarse whetstone or file to remove enough metal, then progressively finer abrasives to restore the bevel. Large chips or cracks may require professional grinding or replacement.
Include this repair in your knife maintenance routine to protect performance and extend tool longevity through careful, consistent sharpening.
How Often Should Kitchen Knives Be Sharpened With a Sharpening Rod?
You should use a sharpening rod every few uses, typically once weekly for frequently used kitchen knives. For lighter use, monthly maintenance may suffice.
Your ideal sharpening frequency depends on cutting volume, knife steel, and technique. If your blade feels dull, slips on food, or struggles with paper, hone it immediately.
Regular knife maintenance keeps the edge aligned, while sharpening removes metal. Don’t overuse a rod when honing no longer restores performance.
What Safety Gear Should You Use While Sharpening Kitchen Knives?
Wear protective gloves and safety goggles while sharpening kitchen knives to shield your hands and eyes from slips, sparks, or tiny metal particles. Choose cut-resistant gloves that fit snugly rather than loose fabric that could catch on the blade.
Keep your other hand behind the knife’s edge, and sharpen on a stable, non-slip surface. You don’t need specialized clothing, but secure loose sleeves, tie back long hair, and maintain focused control throughout.
Can Serrated Knives Be Sharpened Effectively With a Sharpening Rod?
Yes, you can sharpen a serrated blade effectively with a sharpening rod, but you’ll need a tapered, fine-grit rod designed for its individual teeth. Think of it as giving each edge a little attention rather than forcing one tool to do every job.
Match the rod’s diameter to each serration, and make a few gentle strokes from the flat side outward. For consistent edge maintenance, avoid sharpening the scalloped side.
When Should You Replace a Sharpening Rod?
Replace your sharpening rod when it develops grooves, bends, cracks, or a visibly worn surface that no longer contacts your knife evenly. You should also replace it if sharpening takes longer, leaves inconsistent edges, or produces unexpected scratches.
Match the replacement to your blade material and preferred sharpening angle. If you’re unsure, compare its performance with a new rod.
Don’t wait until damage forces you to compensate with excessive pressure or poor technique.
Conclusion
With the right rod and a steady hand, you can restore your kitchen knife’s bite in minutes. Choose the proper tool, hold a consistent angle, and guide each stroke safely from base to tip.
Check for a burr, then clean and dry the blade before storing it. Don’t rush the process—practice makes perfect.
Soon, you’ll slice with greater control, confidence, and pride. With these steps to sharpen kitchen knives with a rod, everyday meal prep can become a pleasure.