How to Clean Kitchen Cabinets in 7 Simple Steps
Greasy fingerprints, stubborn splatters, and dull cabinet doors can make your kitchen feel less clean than it really is. You’re not alone—many people struggle to remove buildup without damaging the finish, especially when choosing the right cleaning products.
To clean kitchen cabinets in seven simple steps, choose a microfiber cloth, warm water, and mild dish soap. Empty cabinets and remove loose dust. Mix a small amount of cleaner, then test it on a hidden spot.
Wipe doors, drawers, and interiors gently, following the grain. Remove grease and clean hardware separately. Dry every surface immediately, leave cabinets open briefly, and apply an approved conditioner if needed.
Continue for detailed tips that protect your cabinets’ finish.
Key Takeaways
- Empty cabinets and drawers, remove dust and crumbs, and inspect hardware for damage or looseness.
- Mix warm water with a few drops of mild dish soap, then test it on an inconspicuous area.
- Wipe doors, drawers, and cabinet frames with a damp microfiber cloth, working from top to bottom.
- Clean corners, seams, and hardware with a soft toothbrush or cloth, avoiding excessive moisture and abrasive tools.
- Dry every surface immediately, leave cabinets open briefly, and replace items only after everything is fully dry.
Choose Supplies That Won’t Damage Cabinets
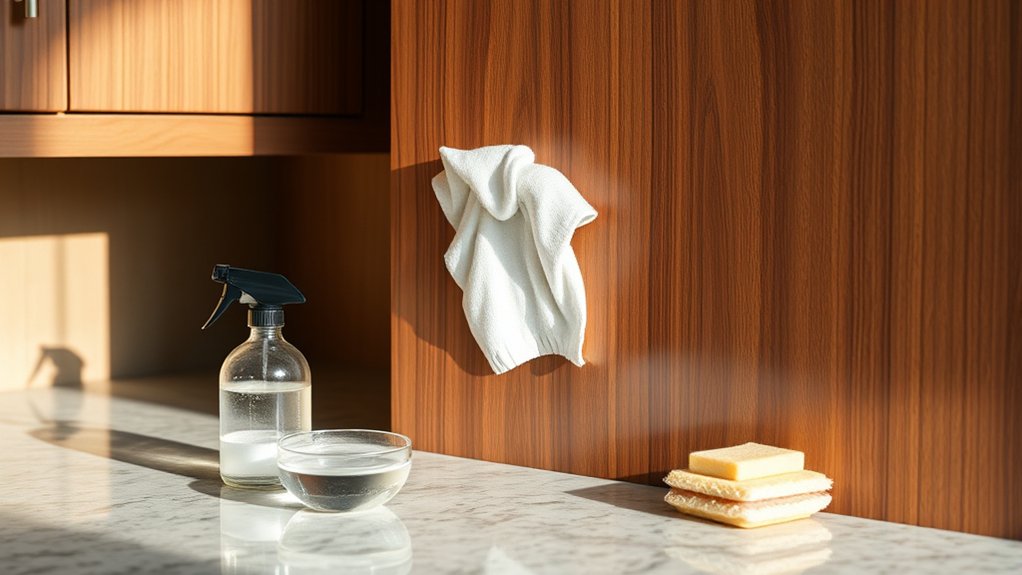
Choose gentle supplies to protect your cabinets’ finish while removing grease and grime. Start with a soft microfiber cloth that won’t scratch wood, laminate, or painted surfaces.
Keep warm water and a small amount of mild dish soap nearby for routine cleaning. The solution should feel slippery, not heavily sudsy, because excess soap can leave a dull film.
Use warm water with a little mild dish soap; avoid excess suds that can leave a dull film.
For Eco friendly options, mix equal parts water and white vinegar only when your cabinet manufacturer allows it. Vinegar can harm natural stone nearby and may affect some finishes, so test any solution on an inconspicuous spot first.
For Chemical free alternatives, use a damp microfiber cloth to lift light residue, then dry the surface immediately.
Skip abrasive sponges, scouring powders, bleach, ammonia, and furniture polish unless the care guide specifically recommends them. Avoid soaking cloths or spraying directly onto doors; moisture can seep into seams and damage wood.
Read the manufacturer’s instructions before choosing any cleaner for your cabinets.
Empty Cabinets and Remove Loose Dust
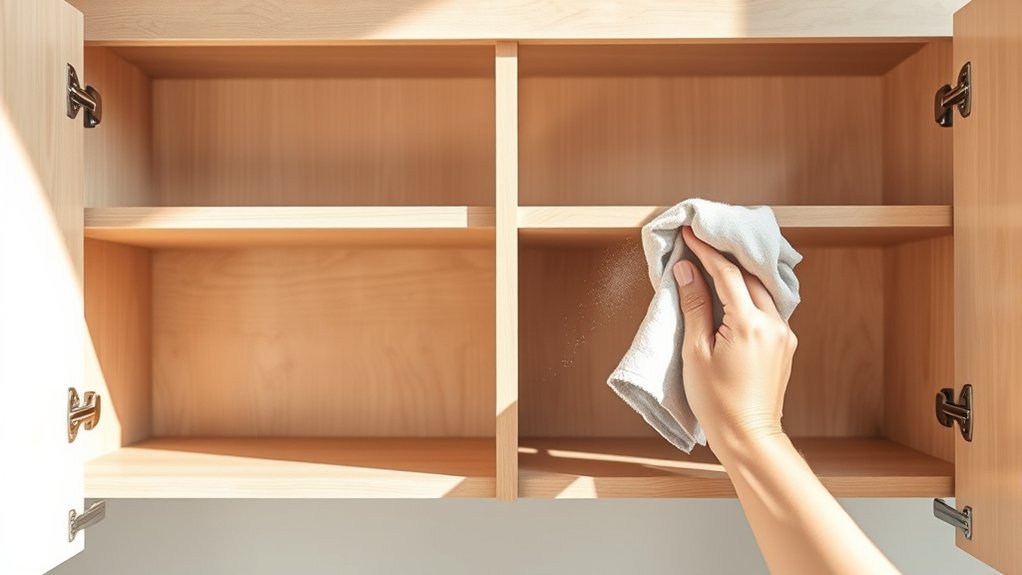
Start by emptying each cabinet so you can reach every surface. Then remove loose dust and crumbs with a soft, dry cloth or a vacuum attachment.
Empty Cabinet Contents
Empty the cabinets completely, placing dishes and other items on a clean, protected surface as you work. Group similar pieces together so you can return everything efficiently later.
Keep fragile dishes away from edges, and don’t stack heavy cookware where it could fall or cause damage. As you remove each item, check its condition and set aside anything chipped, expired, duplicated, or rarely used.
This process gives you a clear starting point for better Cabinet organization. Measure available space if you’re considering new Storage solutions, such as shelf risers, bins, or drawer organizers.
Label temporary groups when necessary, especially if several people share the kitchen. Leave cabinet doors open while you work, and keep counters clear enough to handle items safely.
Avoid replacing anything until cleaning is complete.
Remove Loose Dust
With the cabinets empty, use a vacuum’s brush attachment or a dry microfiber cloth to remove crumbs, dust, and loose debris from shelves, corners, and hinges. Work from the top down, so falling particles don’t resettle on cleaned areas.
Gently run the cloth along door edges, drawer frames, and hardware, where grime often collects. This dry Dust removal step supports effective Surface preparation before you apply any cleaner.
- Sweep the vacuum brush across each shelf in slow, overlapping passes.
- Fold the microfiber cloth to expose a clean section as dust transfers.
- Use a soft, dry toothbrush around hinge plates, seams, and tight corners.
Don’t skip cabinet tops or the narrow gaps beneath shelves. If you find sticky residue, leave it for the next cleaning step rather than rubbing harder and spreading it.
Emptying every compartment also helps you spot damaged liners, spills, or expired items before washing surfaces.
Make a Safe Cleaner for Your Cabinet Finish
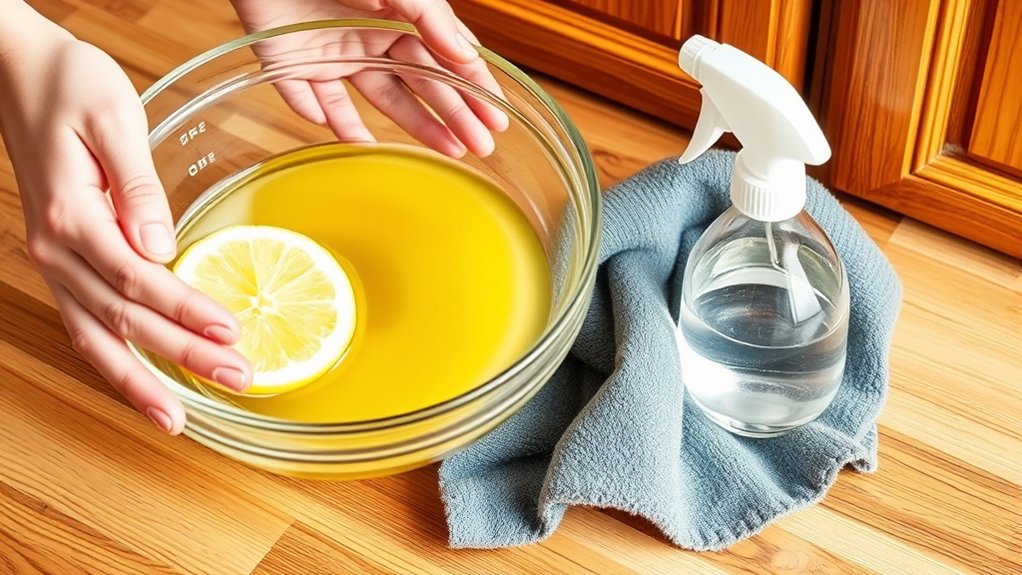
Choose gentle ingredients that won’t damage your cabinet’s finish. Before applying the cleaner more broadly, test it on a hidden spot. Mix only what you need, and if you have any left over, store it safely in a labeled container.
Choose Gentle Ingredients
Harsh chemicals can dull or damage cabinet finishes, so start with a gentle cleaner made from warm water and a few drops of mild dish soap. This simple blend lifts grease without leaving a strong residue or overpowering scent.
Choose Natural ingredients when they suit your finish, but keep in mind that even familiar pantry items can act aggressively. Skip vinegar, bleach, ammonia, abrasive powders, and concentrated degreasers, which may strip color or weaken protective coatings.
Keep your cleaning supplies simple:
- Warm water in a bowl
- Mild, fragrance-free dish soap
- A soft microfiber cloth
Mix only enough cleaner for the task, and don’t saturate the cloth. Gentle solutions help preserve the cabinet’s sheen while making everyday grime easier to remove.
You’ll also avoid unnecessary fumes and keep your kitchen more comfortable during cleaning.
Test Before Applying
Before cleaning the entire cabinet, test your gentle solution on a hidden spot, such as the inside edge of a door. Apply a small amount with a soft cloth, then wait several minutes.
Wipe it away and check for color changes, cloudiness, swelling, or a sticky feel. This surface testing confirms paint compatibility before you risk visible areas.
| Check | What to notice |
|---|---|
| Color | No fading or transfer |
| Finish | No dullness or haze |
| Texture | No swelling or roughness |
| Residue | No tacky film |
If the spot looks unchanged after drying completely, use the solution sparingly on the cabinet exterior. If you notice damage, stop and choose a milder cleaner.
Test each finish separately, especially when your kitchen combines painted wood, laminate, or stained surfaces. Never assume one formula suits every cabinet material.
Mix And Store Safely
Mix a small batch of cleaner suited to your cabinet finish, using warm water and a few drops of mild dish soap for most painted, laminate, or sealed wood surfaces. For unsealed wood, follow the manufacturer’s guidance instead of adding excess moisture.
Never combine cleaners, especially bleach, ammonia, or vinegar, because dangerous fumes or finish damage can result. Wear gloves, ventilate the room, and follow other safety precautions on every product label.
- Use a labeled bowl for the fresh solution.
- Keep a clean microfiber cloth nearby for quick wiping.
- Store bottles away from food storage areas and children.
Mix only what you’ll use that day. If you must save a solution, pour it into a sealed, clearly labeled container and keep it away from heat, sunlight, and food.
Discard cloudy or foul-smelling mixtures promptly, and rinse your tools after cleaning.
Test the Cleaner Before Wiping Cabinets
Test your cleaner on a small, hidden area of the cabinet first to check for discoloration, streaks, or damage. Choose an inconspicuous spot inside a corner or along the lower edge.
Apply a small amount of the diluted cleaner with a soft cloth, then wait several minutes. Wipe the area gently and let it dry completely so you can assess the result accurately.
Look for fading, bubbling, cloudiness, sticky residue, or changes in texture. If you notice any reaction, stop using that product and choose a milder option.
Testing solutions helps you avoid costly damage, especially when cabinets have painted, stained, laminate, wood, or thermofoil surfaces. Check the product label for surface compatibility, and follow its dilution instructions carefully.
Never assume a natural or commercial cleaner is safe for every finish. When the test area remains unchanged, you can proceed with confidence, keeping the cleaner away from incompatible materials and unprotected edges.
Clean Kitchen Cabinet Doors and Drawers
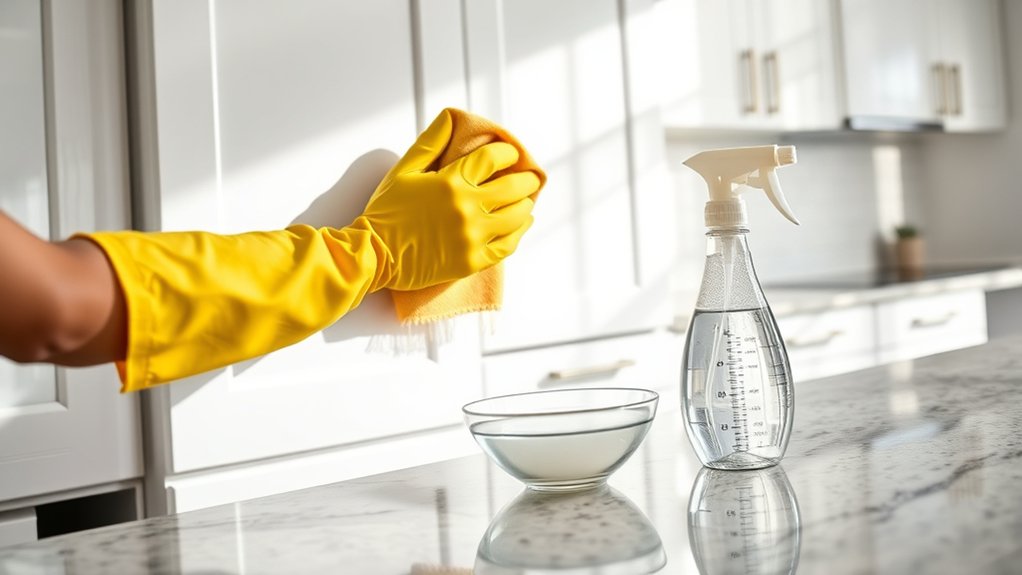
Once the cleaner passes your spot test, remove items from the doors and drawers, then wipe each surface with a soft, damp microfiber cloth. Work from the top down, using gentle, overlapping strokes to lift crumbs and everyday dust.
Don’t soak the wood or let moisture collect along edges, seams, or joints.
- Picture a clean door with an even, fresh-looking finish.
- Imagine smooth drawer fronts without streaks or cloudy patches.
- Notice how bright interiors make stored dishes easier to find.
For detailed trim, use a soft toothbrush or cotton swab lightly dampened with your approved cleaner. Dry every surface with a clean towel before closing the cabinets.
Check corners and drawer tracks for trapped crumbs, but don’t apply excess liquid inside moving parts.
If you notice chipped Cabinet paint, avoid scrubbing that area. Gentle cleaning can help prevent further damage.
Include hardware maintenance in your routine by checking that knobs and pulls remain secure. Don’t remove or deep-clean them during this step.
Let everything air-dry briefly before returning items.
Remove Grease and Clean Hardware
Remove greasy buildup with a small amount of your approved cleaner on a soft microfiber cloth, then wipe cabinet surfaces with gentle, overlapping strokes. Work in small sections, turning the cloth often so you don’t spread oil around.
Never spray cleaner directly onto wood, painted surfaces, or hardware, because excess moisture can seep into seams.
Apply cleaner to a soft cloth rather than cabinet surfaces to prevent excess moisture from seeping into seams.
For removing stubborn stains, let the cleaner sit briefly according to its label, then rub lightly with the grain. Don’t use abrasive pads, harsh solvents, or sharp tools that could scratch the finish.
Test unfamiliar products on a hidden spot first.
Clean knobs, pulls, hinges, and handles separately when possible. Use warm water and mild dish soap on a damp cloth, then wipe away residue with another slightly damp cloth.
Dry each piece immediately with a clean towel to prevent water spots and corrosion.
For polishing hardware, choose a product designed for its specific material, and follow the manufacturer’s directions carefully. Avoid polish on surrounding cabinet surfaces.
Wipe Interiors, Dry, and Protect the Finish
Wipe cabinet interiors with a clean, slightly damp microfiber cloth to collect crumbs and residue, working from the top down. Pay special attention to corners, shelf edges, and the area beneath containers.
Don’t soak the wood or let water pool near seams, joints, or hardware holes. For stubborn spots, use a small amount of mild dish soap diluted in water, then wipe again with plain water.
- Picture a fresh cabinet interior with clean shelves and crumb-free corners.
- See smooth doors without cloudy streaks or greasy fingerprints.
- Notice dry wood that feels clean, not damp or sticky.
Dry every surface immediately with a soft, absorbent towel. Leave doors and drawers open briefly so air can circulate and hidden moisture can escape.
Once everything’s dry, apply a manufacturer-approved conditioner or polish if your cabinet material permits it. Test any product in an inconspicuous area first.
This finish protection helps preserve the color, sheen, and smooth feel without leaving a heavy residue.
Frequently Asked Questions
Can I Clean Cabinets Without Removing the Doors?
Yes, you can clean cabinets without removing the doors. Start by wiping dust and crumbs from every surface, then test mild Cleaning solutions on a hidden spot.
Use a damp microfiber cloth, avoiding excess water around seams and hinges. Clean Cabinet hardware separately with appropriate soap and water, then dry everything thoroughly.
For stuck-on grease, apply a gentle degreaser briefly and wipe it away. You’ll save time while protecting your cabinets’ finish.
How Often Should Kitchen Cabinets Be Professionally Refinished?
You should professionally refinish kitchen cabinets every 8–15 years, depending on their finish, usage, moisture exposure, and visible wear. You may need service sooner if you notice peeling, deep scratches, fading, or damaged surfaces that cleaning can’t restore.
Regular cabinet maintenance, including gentle cleaning and prompt repairs, extends your finish’s life. Build your refinishing schedule around your cabinet material and condition, and consult a professional for an accurate assessment before committing.
What Causes Kitchen Cabinet Finishes to Peel or Crack?
Your cabinet finish can peel or crack when moisture, heat, grease, or harsh cleaners break down its bond. You’ll also see damage if the surface wasn’t cleaned, sanded, or primed properly before painting.
Cabinet material matters: wood expands and contracts, while laminate can resist adhesion. Poor finishing techniques, rushed drying, and thick coats increase failure.
Control humidity, wipe spills quickly, and use compatible products to protect your finish.
Can I Repaint Cabinets After Cleaning Them?
Yes, you can repaint cabinets after cleaning them. Think of preparation as the bridge between a tired finish and a fresh look. Let the surfaces dry completely after the Cleaning process, then lightly sand them to remove gloss and smooth imperfections.
Repair cracks or peeling areas, remove dust, and apply a suitable primer. Once it cures, brush or spray on durable Cabinet paint in thin, even coats for lasting results.
When Should Damaged Cabinets Be Replaced Instead of Cleaned?
Replace cabinets when damage affects their structure, safety, or function rather than their appearance. You shouldn’t rely on DIY cleaning if doors sag, boxes warp, shelves collapse, or hinges can’t hold securely.
Severe water damage, widespread mold, deep cracks, and crumbling particleboard also justify replacement. Consider cabinet material: solid wood may be repairable, while swollen laminate or fiberboard usually isn’t.
If repairs cost nearly as much as new cabinets, replacement makes sense.
Conclusion
With the right supplies and a gentle cleaner, you can make grimy cabinets shine without harming their finish. Empty each cabinet, dust away crumbs, test your solution, and wipe doors, drawers, interiors, and hardware carefully.
Don’t let moisture linger—dry every surface completely to prevent damage. Finish by replacing items neatly and wiping spills as they happen.
With these simple habits, your kitchen cabinets will look fresh and work beautifully for years. Follow these steps to learn how to clean kitchen cabinets safely and effectively.