How to Paint Kitchen Cabinets in 10 Easy Steps
Painting kitchen cabinets can feel overwhelming, especially when you want a fresh look without the cost of a full remodel. You’re not alone—many homeowners struggle with choosing the right paint, preparing surfaces, and achieving a smooth, durable finish.
This guide breaks down how to paint kitchen cabinets in 10 easy steps, from gathering supplies and cleaning every surface to applying primer, painting, and reinstalling the hardware. Follow along for a professional-looking result you can enjoy for years.
Paint kitchen cabinets in 10 easy steps: Gather supplies and choose durable cabinet paint. Label and remove doors, drawers, and hardware. Clean and degrease every surface, then repair dents or cracks. Sand lightly and remove dust. Apply bonding primer and let it dry. Paint cabinet frames in thin coats. Paint doors and drawers, allowing each coat to cure. Smooth drips and imperfections, then reinstall everything carefully. Follow the complete process below for a professional-looking finish.
Key Takeaways
- Remove doors, drawers, and hardware, labeling each piece for accurate reassembly.
- Clean cabinets thoroughly, repair imperfections, and sand surfaces to create a smooth, paint-ready foundation.
- Apply a thin, even coat of bonding primer, then lightly sand rough areas after drying.
- Paint frames, doors, and drawers in thin coats, allowing each layer to dry completely before recoating.
- Inspect for drips, sand imperfections, reinstall hardware, and reattach doors and drawers after the paint fully cures.
Gather Your Cabinet-Painting Supplies
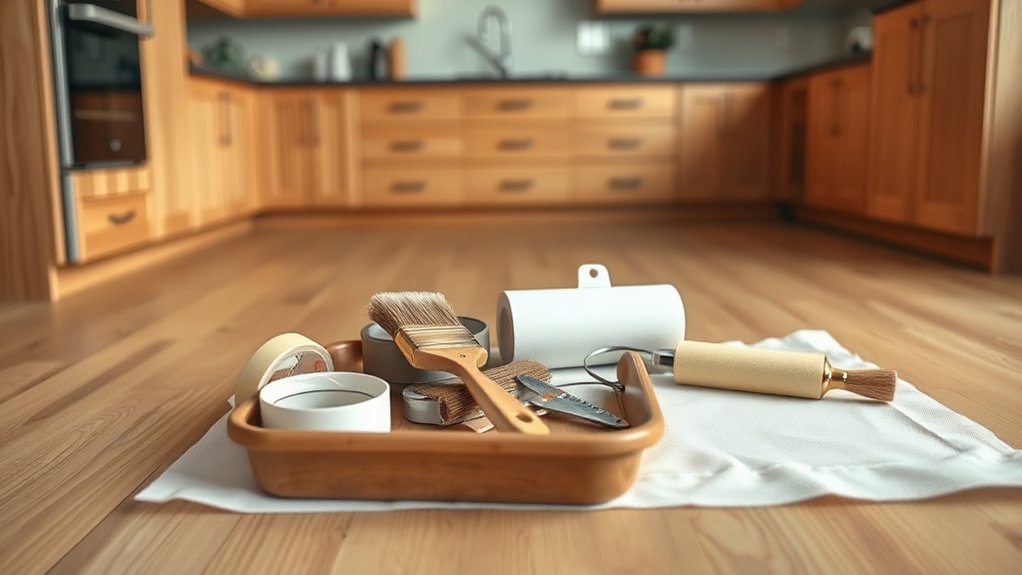
Before you begin painting, gather everything you’ll need to avoid interruptions and keep the project organized. Start with a mild cleaner, degreaser, sponges, and lint-free cloths for preparing cabinet surfaces.
Add medium- and fine-grit sandpaper, sanding blocks, or a deglosser to help primer and paint adhere. Choose a high-quality bonding primer and cabinet paint suited to your kitchen’s humidity and traffic.
Water-based acrylic or alkyd paints usually offer durable results with easier cleanup. Keep angled brushes, small foam rollers, paint trays, stir sticks, and painter’s tape nearby.
A drop cloth, gloves, safety glasses, and a respirator will protect you and your workspace. Use Color coordination to select complementary shades for your walls, counters, and flooring.
During Budget planning, compare product prices and calculate coverage before buying. Quality materials can prevent costly rework.
Label each supply and store everything within easy reach before you start. Avoid opening paint until you’ve confirmed the color and finish.
Remove the Doors, Drawers, and Hardware
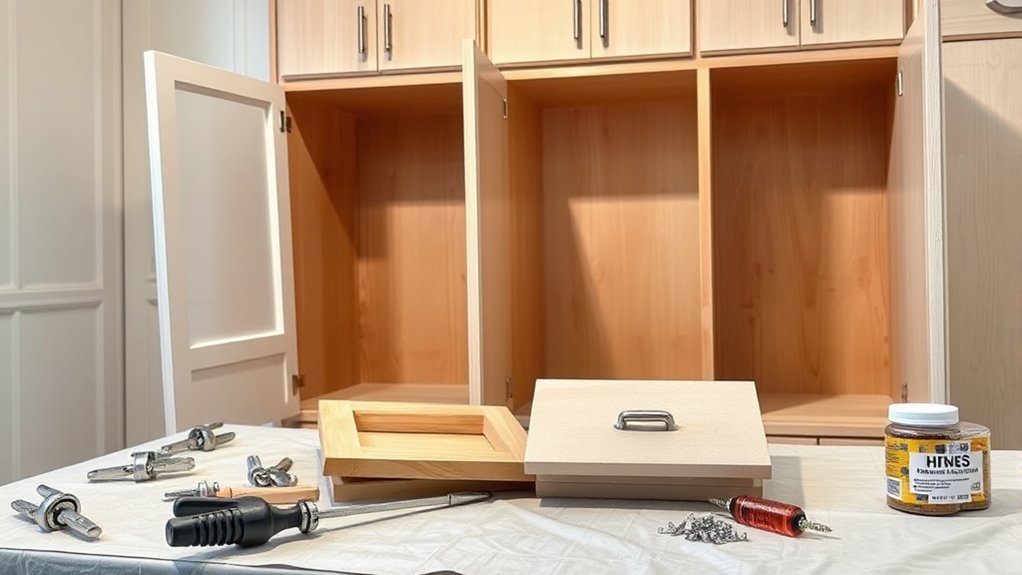
Once your supplies are organized, remove the cabinet doors, drawers, and hardware to make every surface easier to reach. Start by numbering each door and its matching cabinet with painter’s tape or a pencil. This simple step will help you return everything to the correct position later.
For safe door removal, support each door with one hand while you loosen the hinge screws with the other. Place screws and hinges in a labeled bag or container so nothing gets misplaced.
If your hinges have removable pins, pull them carefully and keep the pins with their matching hardware.
Next, slide each drawer out as far as it goes, then lift or press the release tabs according to the drawer-slide design. Set drawers on a protected surface.
Complete hardware removal by unscrewing knobs, pulls, and handles. Store each set together, labeling unusual pieces or noting their original locations for easier reassembly.
Keep all cabinet parts organized throughout the project.
Clean Kitchen Cabinets Thoroughly
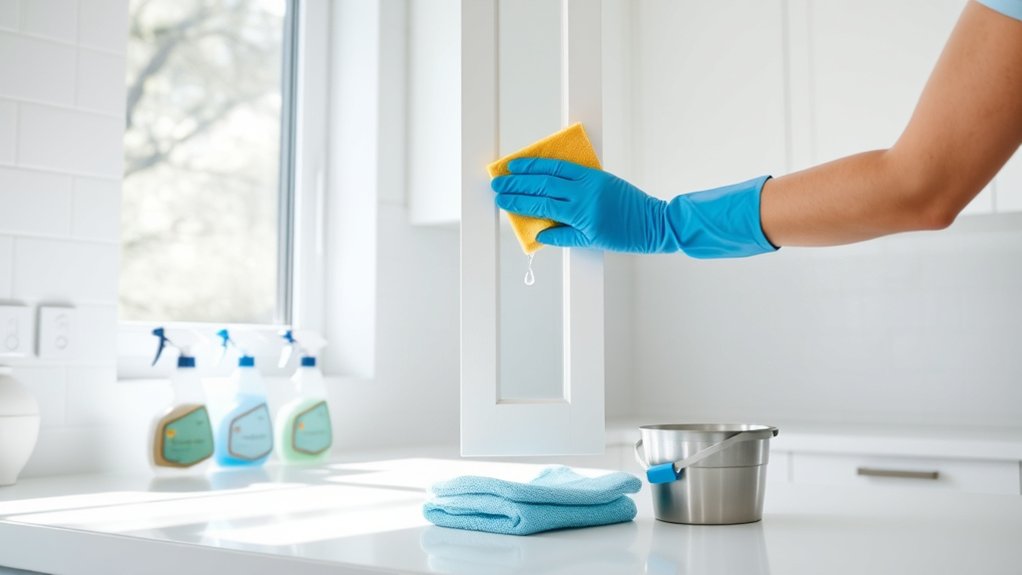
Degrease every cabinet surface thoroughly, since paint won’t adhere well to grease, dust, or cooking residue. Mix a kitchen-safe degreaser with warm water, then wipe doors, drawer fronts, cabinet boxes, edges, and handles’ former locations.
Thoroughly degrease doors, drawers, cabinet boxes, edges, and handle areas so primer and paint can adhere properly.
Follow the product’s directions, and don’t soak wood or let moisture pool near seams. Use a clean cloth to lift loosened grime, changing the water often so you don’t spread residue.
Effective cabinet cleaning supports reliable Surface preparation:
- Work from the top down, catching drips before they settle.
- Use a soft brush for corners, profiles, and tight grooves.
- Rinse with a lightly damp cloth to remove cleaner film.
After washing, dry every piece completely with lint-free towels. Let the cabinets air-dry longer if the room feels humid.
Run your hand across each surface. It should feel clean, dry, and free of slick spots. Keep dust away while everything dries, because particles can interfere with primer later.
Clean your workspace, too, before continuing.
Repair Damage Before You Sand
Before you start sanding, inspect each cabinet for cracks, holes, dents, and other damage. Fill any imperfections with wood filler, let it dry completely, and sand it smooth later. Also, replace any broken hinges, knobs, or pulls so your finished cabinets look great and function properly.
Assess Cabinet Damage
Inspect every cabinet door, drawer front, and frame for damage before you sand. Look closely at edges, corners, hinges, and joints for swelling, looseness, peeling veneer, or water stains.
Identify the cabinet material, because solid wood, MDF, laminate, and particleboard require different repairs and primers. Check whether doors sit evenly and drawers open smoothly.
Test each hinge, slide, knob, and pull for wear, and confirm replacement hardware compatibility before you remove anything.
- Mark damaged areas with removable tape so you won’t overlook them.
- Photograph complicated hinge or hardware locations before disassembly.
- Separate structural problems from surface wear to choose the right repair.
Tighten loose screws, replace broken hinges, and stabilize wobbly frames now. If moisture has caused swelling or soft spots, find and fix the source before continuing.
Don’t sand unstable surfaces. Repairs won’t hold, and your finished paint will fail.
Fill Cracks and Holes
Fill cracks, dents, and old hardware holes after stabilizing the cabinets but before sanding. Clean each damaged area, removing grease, dust, and loose fibers.
Press a suitable wood filler into the opening with a putty knife, slightly overfilling it to allow for shrinkage. For deep damage, apply thin layers and let each layer dry completely.
Once cured, sand the filler flush with the surrounding surface, following the wood grain to prevent visible scratches. Run your fingertips over the repair; you shouldn’t feel a ridge or depression.
Wipe away sanding dust before inspecting under bright light. If the filler sinks or remains uneven, apply another coat and repeat the process.
Smooth repairs help primer and paint adhere evenly, producing a consistent paint sheen across every cabinet door and frame.
Replace Broken Hardware
With cracks and holes repaired, replace broken hinges, pulls, or catches before sanding the cabinets. Remove each damaged piece and save usable screws in a labeled container.
If a screw spins without gripping, insert a wood toothpick with glue, let it dry, and trim it flush before reinstalling the hardware. Check that doors hang evenly and close smoothly; adjust hinges now, not after painting.
If you’re changing the style, measure existing holes carefully before ordering decorative hardware. Matching spacing prevents unnecessary drilling and fresh repairs.
- Choose durable cabinet knobs that suit your kitchen’s use and finish.
- Replace missing screws with the correct length to avoid damaging cabinet frames.
- Keep removed parts together so you can restore or compare placement later.
Once every piece works properly, remove the hardware again, then sand the cabinet surfaces for better primer adhesion.
Sand the Cabinet Surfaces Smooth
Once the filler dries, sand the cabinet surfaces with 120- to 150-grit sandpaper to remove old finish, smooth repairs, and create a clean base for primer. Wrap the paper around a sanding block so you’ll apply even pressure across flat areas. Move with the grain, using steady strokes instead of scrubbing back and forth.
For detailed profiles, use a sanding sponge or fold the paper to reach grooves and corners. Cabinet sanding should dull glossy spots and level uneven patches without cutting deeply into the wood. Don’t oversand edges, or you may round them and create visible gaps.
Wipe the doors, drawer fronts, frames, and shelves with a clean, slightly damp cloth to collect dust. Let every surface dry, then inspect it under bright light. Repeat sanding wherever you see shine, scratches, raised grain, or leftover residue.
Thorough surface preparation helps you achieve a smooth, uniform finish. Vacuum the work area, too, so airborne dust won’t settle on freshly cleaned cabinets.
Choose Cabinet Paint and Primer
Choose a bonding primer made for cabinets, then pair it with a durable acrylic-alkyd or urethane-enriched cabinet paint. Choose products labeled for wood or laminate, depending on your doors, and check the manufacturer’s drying and recoat times.
A compatible primer improves adhesion, while quality paint resists stains, moisture, and daily handling.
Consider these factors before buying:
- Color selection: Bring home sample cards or test pots. Compare shades beside your counters, backsplash, flooring, and natural light before committing.
- Finish types: Satin offers subtle sheen and easy cleaning; semi-gloss reflects more light and withstands frequent wiping. Choose gloss only if you want a high-shine, statement look.
- Product consistency: Select one paint line for doors, drawer fronts, and frames so the color and sheen match. Buy enough for the entire project, preferably from the same batch.
Avoid bargain wall paint, which may chip or remain soft under cabinet use. Read the label, confirm coverage, and choose a color you’ll enjoy seeing every day.
Keep your receipts for potential touch-up purchases later.
Prime the Cabinets for a Durable Finish
After cleaning and sanding, apply a thin, even coat of bonding primer to every cabinet surface, including edges and exposed corners. This primer helps paint adhere and improves finish durability.
Use a quality brush for grooves and a small foam roller for broad, flat areas. Keep the coat smooth. Heavy primer can sag, drip, or hide detail.
Don’t worry about complete coverage in one pass.
| Area | Best approach |
|---|---|
| Flat panels | Use a foam roller |
| Edges | Brush lightly |
| Grooves | Work primer into recesses |
| Exposed corners | Seal thoroughly |
Let the primer dry according to the manufacturer’s instructions, even if it feels dry sooner.
Once cured, inspect each surface under bright light. Lightly sand raised grain or rough spots with fine-grit sandpaper, then remove dust with a clean, lint-free cloth.
Apply a second thin coat only where coverage looks uneven. Avoid touching or handling the primed surfaces until they’re fully cured, so you create a clean, stable foundation for the finish.
Paint the Cabinet Frames in Thin Coats
Paint the cabinet frames in thin, even coats to help prevent drips and brush marks. Let each coat dry completely before applying the next. It may take a little extra time, but your patience will pay off with a smoother, more durable finish.
Apply Thin, Even Coats
Thin, even coats give your cabinet frames a smoother, more durable finish. Before painting, stir thoroughly and check the paint consistency. It should spread easily without dripping or clumping.
Use a quality angled brush, load it lightly, and tap off excess against the can. Apply paint in the direction of the wood grain, overlapping each stroke slightly.
Cover one manageable section at a time, but don’t overwork areas as they begin to set. A thin layer may look uneven at first, but it helps prevent runs, ridges, and visible brush marks.
- Light coats preserve crisp edges and clean frame details.
- Moderate pressure keeps bristles from leaving grooves.
- A small brush helps you reach corners without flooding them.
Inspect the frame from several angles, then smooth obvious imperfections while the paint remains workable.
Allow Proper Drying Time
Once you’ve applied a thin, even coat, give it enough time to dry before adding another. Check the label for recommended drying time, since temperature, humidity, and paint type affect the wait.
Don’t rely on a surface that feels dry; the underlying layer may remain soft. Lightly touch an inconspicuous spot only when the label permits, and avoid pressing or sanding too soon.
Proper paint curing helps prevent dents, peeling, and visible brush marks. Keep cabinet doors and drawers undisturbed while the frames dry, and maintain good airflow without blowing dust onto the finish.
| Condition | What you should do |
|---|---|
| Cool or humid room | Extend the wait |
| Warm, ventilated room | Follow label timing |
Apply the next coat only after the first feels firm and looks evenly dull. Patience gives you a smoother, more durable result.
Paint the Doors and Drawers
With the cabinet doors and drawers clean, dry, and lightly sanded, apply a thin, even coat of paint with a high-quality brush or sprayer. Work in the direction of the wood grain, and keep your strokes consistent.
Paint the edges first, then cover the flat surfaces without overloading your tool. Let the first coat dry according to the manufacturer’s instructions before applying a second coat for full, durable coverage.
Paint edges first, apply thin, even coats to flat surfaces, and allow each layer to dry fully before recoating.
Before painting, label each door and drawer so you’ll return them to their original positions. Keep hardware organized in separate bags, and paint in a well-ventilated area.
- Use color coordination to connect your cabinets with walls, counters, and flooring.
- Explore decorative finishes, such as glazing or subtle distressing, after the base color cures.
- Choose a finish suited to your kitchen’s traffic. Satin and semigloss resist everyday wear and clean easily.
Handle each piece carefully, and avoid touching freshly painted surfaces while they dry.
Fix Drips Before Reassembling Cabinets
Before the paint fully cures, inspect each door and drawer for drips, runs, or pooled paint. Hold every piece under bright light and view it from several angles. If you spot a fresh drip, lightly smooth it with a clean, high-quality brush.
Don’t press hard, or you’ll expose the surface beneath. For dried ridges, let the paint harden completely, then sand the area with fine-grit paper until it feels level. Remove dust with a tack cloth before applying a thin touch-up coat.
Check the edges, corners, and recessed panels carefully, since excess paint often collects there. Maintain proper paint consistency throughout the project. Overly thick paint increases sagging, while overly thin paint can streak.
Use measured coats and avoid overloading your brush or roller. This careful drip prevention gives you cleaner results. Let every corrected spot cure fully before reinstalling hinges, handles, doors, or drawers, so fresh paint won’t stick, dent, or peel.
Frequently Asked Questions
How Long Should Painted Kitchen Cabinets Cure Before Regular Use?
Wait at least 48 hours before regular use, but allow your painted kitchen cabinets to cure for 7–14 days before heavy handling. You can gently open doors and drawers after the initial two days, provided the finish feels dry and firm.
Avoid scrubbing, stacking items tightly, or reinstalling hardware too soon. Cabinet finishing products vary, so follow the manufacturer’s recommended curing time. Proper curing helps prevent sticking, scratches, dents, and premature wear.
Can You Paint Laminate or Thermofoil Kitchen Cabinets Successfully?
Yes, you can successfully paint laminate or thermofoil kitchen cabinets, but you’ll need careful preparation and the right primer. For laminate surface preparation, clean away grease, lightly scuff the finish, and repair loose edges.
Follow Thermofoil adhesion tips by using a high-quality bonding primer and flexible cabinet paint. Apply thin, even coats, and let each coat cure fully.
Don’t paint peeling thermofoil. Replace or reface those doors instead for lasting results.
How Much Does Professional Kitchen Cabinet Painting Typically Cost?
Professional kitchen cabinet painting typically costs you $2,000–$6,000, or about $50–$150 per door and drawer, depending on your kitchen’s size, cabinet condition, finish, and location. Your cost estimation should include preparation, repairs, priming, labor, and materials.
You’ll usually pay more for laminate, thermofoil, intricate designs, or spray finishes. For effective budget planning, request several itemized quotes and confirm whether contractors include hardware removal, cleanup, and warranty coverage.
Should You Paint Cabinet Interiors or Leave Them Unfinished?
Paint your cabinet interiors if you want a polished, cohesive look; leave them unfinished if you prioritize speed, savings, and easy touch-ups. Think of the interior as a hidden stage: painting it gives every shelf a finished backdrop, while bare wood keeps the performance practical.
Coordinating cabinet finishes can improve interior aesthetics, especially with glass doors or open shelving. You’ll also protect surfaces from stains, though preparation and durable, washable paint remain essential.
How Do You Maintain and Clean Newly Painted Kitchen Cabinets?
Maintain newly painted kitchen cabinets by wiping them weekly with a soft, damp microfiber cloth and mild dish soap. Dry every surface immediately to prevent moisture damage.
Don’t use abrasive sponges, harsh chemicals, or excessive water, which can dull or loosen the finish.
Clean cabinet hardware separately, checking screws for looseness. Avoid slamming doors, and handle spills quickly.
Keep matching paint available for paint touch-ups when scratches or chips appear.
Conclusion
With the cabinets painted and fully cured, reinstall the doors, drawers, and hardware, then admire your refreshed kitchen. Take your time during reassembly so everything lines up and opens smoothly.
Keep leftover paint for future touch-ups, and clean your brushes and workspace promptly. Your careful preparation and thin, even coats will help the finish last.
With a little patience, your painted kitchen cabinets can look as polished as a professional makeover, giving you a bright new room without the renovation price tag.