How to Sharpen Kitchen Knives in 5 Easy Steps
Dull kitchen knives can make meal prep frustrating, slow, and even unsafe—and you’re not alone. Many home cooks struggle to restore a clean, sharp edge, so this guide breaks down how to sharpen kitchen knives in five easy steps.
Gather a whetstone, honing rod, cloth, and water, then secure the stone on a towel. Choose the proper method and hold your knife at 15–20° for Japanese blades or 20–25° for Western knives.
Draw each side smoothly from heel to tip with light, even pressure, alternating sides. Hone the edge, wipe it clean, and test it on paper or a tomato.
Avoid rushing, sawing, or over-sharpening. Follow the steps below to sharpen safely and confidently.
How to Sharpen Kitchen Knives Key Takeaways
- Gather a whetstone, honing rod, cloth, water, and stable workspace; secure the stone on a damp towel.
- Choose a suitable sharpening method and maintain a 15–20° angle for Japanese blades or 20–25° for Western knives.
- Draw the blade smoothly from heel to tip with light, consistent pressure, repeating evenly on both sides.
- Hone the edge gently, then wipe and dry the knife before testing it on paper or a tomato.
- Avoid sawing motions, excessive pressure, inconsistent angles, and over-sharpening to protect the blade.
Gather Your Kitchen Knife Sharpening Tools
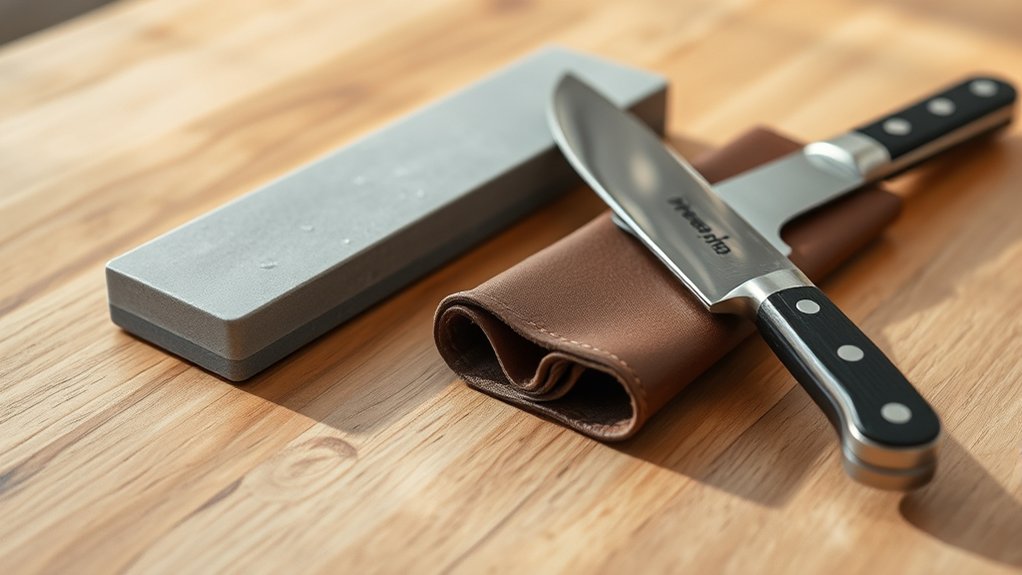
Before you sharpen your knife, gather a whetstone, honing rod, clean cloth, and a bowl of water. Choose a stable, well-lit workspace with enough room to handle each tool comfortably.
Gather your tools and choose a stable, well-lit workspace before sharpening to ensure safe, controlled knife maintenance.
Place a damp towel beneath the whetstone to prevent sliding, and keep the bowl nearby for soaking or wetting the stone, if its instructions require it.
Inspect your knife before beginning. Remove food residue with warm, soapy water, then dry the handle and blade thoroughly.
A clean surface supports effective knife maintenance and helps you spot chips, cracks, or other damage. Don’t use a damaged knife until you’ve had it professionally assessed.
Wear a cut-resistant glove on the hand holding the knife, and keep your fingers away from the edge. Use the honing rod only as directed by its manufacturer.
Store every tool securely when you’re finished. These simple preparations improve sharpening safety and help you work with greater control. Keep a first-aid kit accessible, too, in case you need it.
Choose a Sharpening Method and Angle
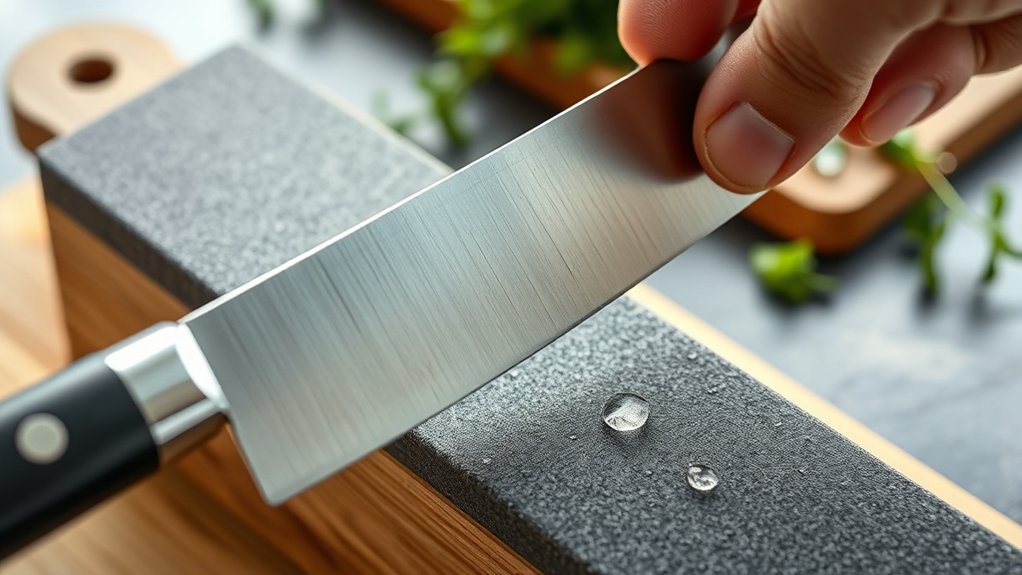
Once your workspace and tools are ready, choose a sharpening method that matches your knife and skill level. A whetstone gives you the most control and suits quality knives, but it requires practice.
An electric sharpener offers speed and consistency, while a manual pull-through model provides a simple option for occasional maintenance. Check the manufacturer’s guidance before choosing either device, especially for specialty blades.
Consider the Blade material as well. Softer stainless steel often responds well to a honing rod and moderate sharpening, while harder steel may benefit from a fine whetstone and a gentler approach.
Ceramic knives require specialized diamond equipment, so don’t use standard steel sharpeners.
Select an angle that fits your knife’s design. Use about 15 to 20 degrees per side for delicate or Japanese-style blades, and 20 to 25 degrees for sturdier Western knives.
Your Sharpening frequency also matters. Frequent light maintenance lets you preserve the existing angle.
Make Even Strokes Along the Blade
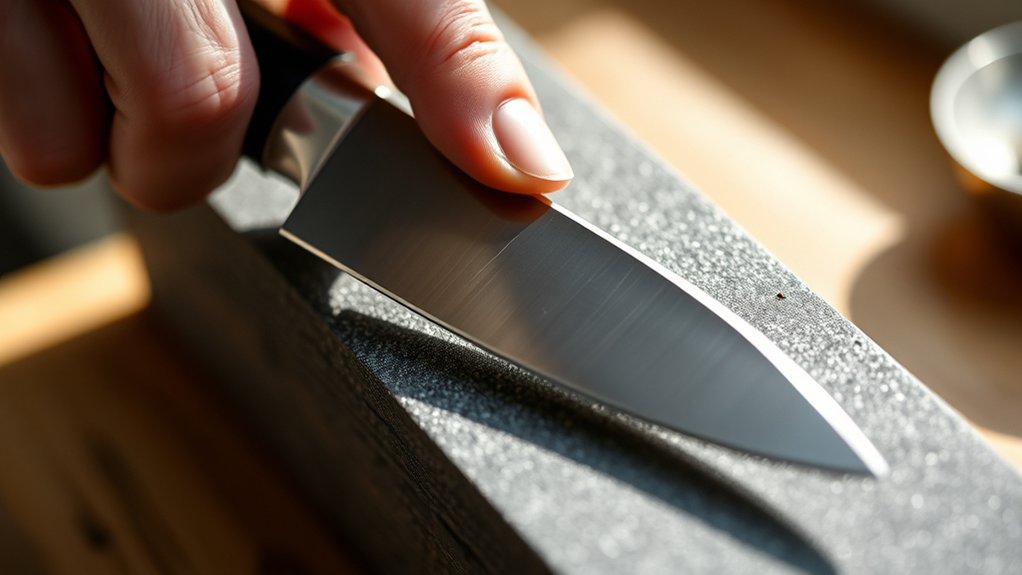
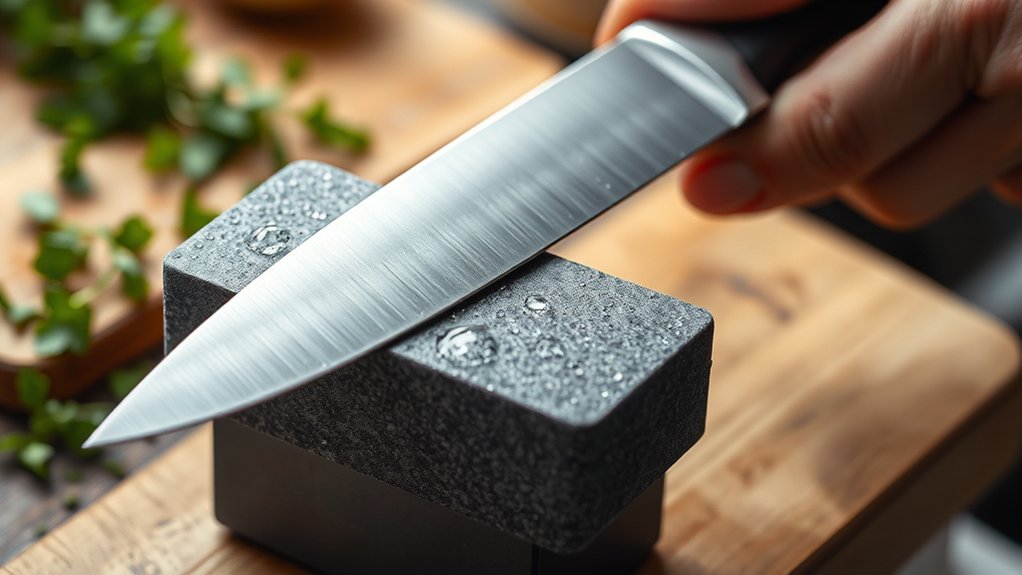
Place the knife’s heel against the abrasive surface at your chosen angle, then draw the blade toward you in one smooth motion until the tip reaches the end. Keep light, steady pressure; don’t press harder near the heel or tip. Lift the blade after each pass rather than dragging it back across the abrasive surface.
Watch your blade alignment throughout every stroke. Keep the edge’s angle consistent, and follow the same path from heel to tip. Alternate sides after a set number of passes, such as five, to remove material evenly.
Count each stroke so you can match the work on both sides. Use controlled movements instead of speed. If the blade catches, skips, or produces uneven marks, reduce pressure and reset your angle.
Maintain stroke consistency by keeping your wrist steady and your arm relaxed. Continue until you’ve made an even number of smooth passes on each side, preserving the knife’s original shape.
Hone, Clean, and Test the Edge
Hone the edge with a few light passes on a honing rod to realign the blade, then wipe it clean with a damp cloth and dry it thoroughly. Keep each pass gentle and consistent, using the rod only to refine the edge rather than remove metal. This simple step supports regular knife maintenance and helps your blade perform smoothly.
Next, inspect the edge under bright light. A clean, continuous line should look even from heel to tip, without visible chips or rough spots.
To test sharpness, carefully slice through a sheet of paper, holding it away from your body. A properly sharpened knife should cut smoothly instead of snagging or tearing.
You can also slice a ripe tomato with minimal pressure. Wash and dry the knife before storing it securely.
Follow basic safety precautions: keep your fingers behind the cutting edge, avoid testing sharpness with your thumb, and never leave the knife loose in a drawer.
Prevent Common Sharpening Mistakes
Avoid common sharpening mistakes by maintaining a consistent angle, using light pressure, and letting the abrasive do the work. Don’t rush strokes or saw back and forth, because uneven movement can create a wavy edge. Instead, guide the blade smoothly from heel to tip, and count strokes on each side to keep sharpening balanced.
Check your sharpener’s instructions before choosing an angle. Different blade materials and knife designs may require different settings, so don’t assume one angle suits every knife. Avoid pressing hard; excessive force can remove too much steel, damage the edge, or wear the abrasive quickly.
Prioritize knife safety by securing the sharpener on a stable surface and keeping your fingers behind the blade’s edge. Don’t sharpen a dirty knife, since debris can interfere with contact. Wipe away metal particles between stages, and stop when the knife cuts cleanly. Over-sharpening wastes material and shortens your knife’s useful life.
Frequently Asked Questions
How Often Should Kitchen Knives Be Professionally Sharpened?
You should professionally sharpen kitchen knives once or twice yearly, though heavy use may require service every three to six months. Think of your knife as a trusted traveler: regular maintenance keeps its path smooth, while neglect makes every journey harder.
Between appointments, use suitable Sharpening tools for light upkeep, and protect edges with smart Knife storage. If cutting feels difficult or the blade slips, schedule sharpening sooner rather than waiting for damage.
Can Sharpening Damage a Knife’s Original Blade Shape?
Yes, sharpening can damage your knife’s original blade shape if you remove too much metal, use excessive pressure, or choose improper equipment.
To protect blade durability, match your sharpening techniques to the knife’s steel, edge angle, and design. Maintain consistent angles, use moderate pressure, and avoid aggressive electric sharpeners unless recommended.
A skilled professional can restore the edge while preserving the profile, especially when your knife has complex geometry or significant wear.
What Should I Do if My Knife Has Rust Spots?
Treat rust spots promptly to prevent deeper corrosion. Wash and dry the knife, then apply a small amount of food-safe oil or rust remover.
Gently scrub the spots with a soft abrasive pad, following the blade’s length rather than rubbing across it. Rinse, dry completely, and apply a thin protective oil layer.
This rust removal method supports blade preservation. Don’t use bleach, steel wool, or harsh chemicals, which can damage the finish.
Are Ceramic Knives Sharpened Differently From Steel Knives?
Ceramic knives require different sharpening techniques than steel knives: they’re much harder but more brittle. About 90% of a ceramic blade consists of zirconium dioxide, giving it exceptional edge retention while increasing chipping risk.
For ceramic vs. steel care, use a diamond-coated sharpener or have a professional sharpen it. Don’t use a standard whetstone or honing rod.
Apply light pressure, maintain the original angle, and stop immediately if you notice cracks or chips.
When Should I Replace a Kitchen Knife Instead of Sharpening It?
Replace your kitchen knife when the blade has deep chips, cracks, bends, or severe rust that sharpening can’t safely remove. You should also replace it if the handle feels loose, split, or slippery, or if the blade has become dangerously thin after repeated sharpening.
For knife safety, don’t keep using damaged equipment. Quality sharpening tools can restore a dull edge, but they can’t repair structural damage or make an unsafe knife reliable.
Conclusion
With the right tools and a steady angle, you can sharpen your kitchen knife in five simple steps. Make even strokes, hone the edge, clean the blade, and test it carefully—not on your finger, but on paper or a tomato.
Avoid rushing or pressing too hard, and your knife will reward you with safer, smoother cuts. Like Excalibur drawn from stone, a well-honed blade makes every kitchen task feel more capable and controlled. Sharpening kitchen knives regularly helps keep them effective and safe.
For a concise overview of sharpening stones and how they work, see Whetstone basics.
Start with a stable setup; How to Sharpen Kitchen Knives becomes clear. Choose your method wisely, How to Sharpen Kitchen Knives guides reliability. Keep angles consistent; How to Sharpen Kitchen Knives rewards patience. Apply light pressure and smooth strokes; How to Sharpen Kitchen Knives prefers control. Alternate sides evenly, How to Sharpen Kitchen Knives ensures balance. Hone after sharpening, How to Sharpen Kitchen Knives keeps edges aligned. Wipe clean and test; How to Sharpen Kitchen Knives confirms readiness. Store tools properly, How to Sharpen Kitchen Knives minimizes accidents. With routine practice, How to Sharpen Kitchen Knives becomes second nature.
For a concise overview of sharpening stones and how they work, see Whetstone basics.
To keep your blades performing at their best, commit to regular maintenance and mindful practice. If you’re wondering exactly How to Sharpen Kitchen Knives, start with a routine that matches your knife type and toolset, then test on paper or a tomato to confirm edge quality. With consistent angles, gentle pressure, and safe handling, you’ll master How to Sharpen Kitchen Knives and extend the life of your favorites. By reviewing the sharpening method, angle, and safety steps, you can return to How to Sharpen Kitchen Knives whenever you notice a dull edge or slower cutting.