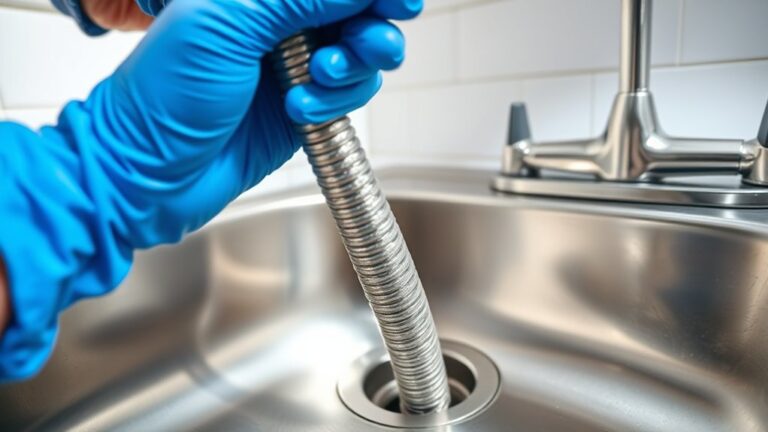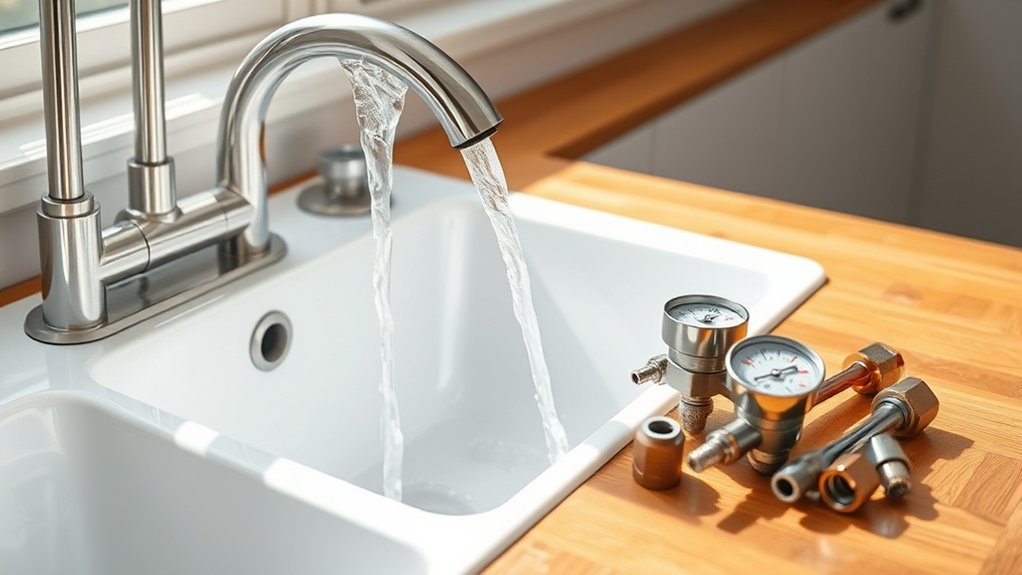
10 Steps to Increase Water Pressure in Your Kitchen Sink
Low water pressure in the kitchen sink can make simple tasks feel frustrating, especially when you’re trying to wash dishes or fill a pot quickly. You’re not alone—many people struggle with weak faucet flow, but the cause is often easy to identify and fix.
To increase your kitchen sink’s water pressure, test other faucets to see whether the problem affects your whole home.
Clean the faucet aerator and spray head, then compare hot and cold flow.
Open both shutoff valves fully, inspect for leaks, and straighten kinked supply lines.
Flush sediment from the faucet lines and check the cartridge or valve for damage.
If pressure remains low, contact a plumber.
The detailed steps below will help you pinpoint the restriction and restore stronger flow.
Key Takeaways
- Check other faucets to determine whether low pressure affects only the kitchen sink or the entire home.
- Ensure both under-sink shutoff valves are fully open, then inspect supply lines for kinks, pinches, or bends.
- Remove and clean the faucet aerator, soaking mineral deposits in vinegar before reinstalling it securely.
- Clean the pull-out spray head, screen, and nozzles to remove debris restricting water flow.
- Compare hot and cold pressure, inspect for leaks, and service or replace the cartridge if cleaning fails.
Test Other Faucets for Normal Pressure
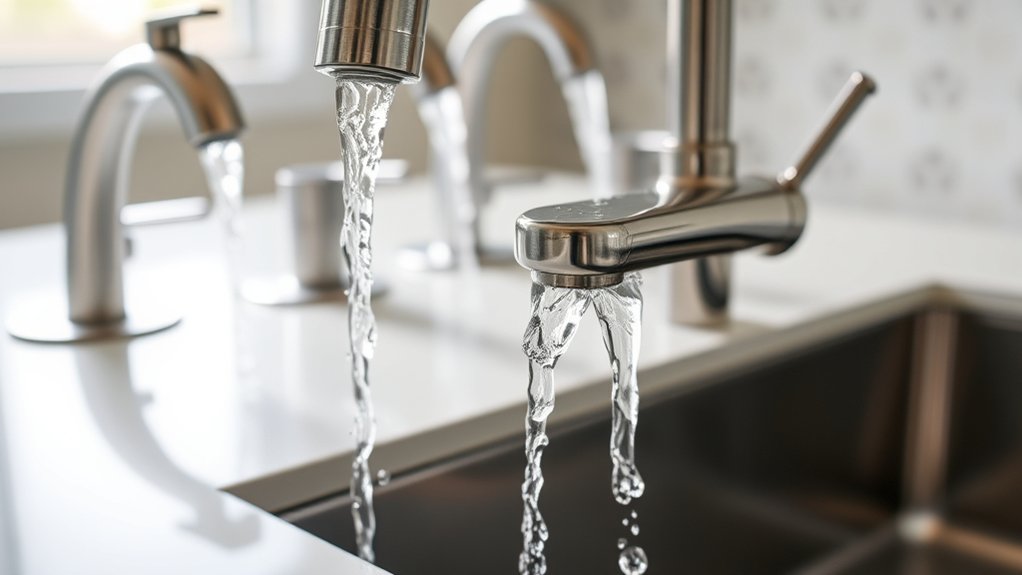
Before adjusting your kitchen sink, check the water pressure at other faucets in your home. Turn on the bathroom, laundry-room, and outdoor faucets one at a time. Compare their flow with your kitchen sink, and note whether each stream stays steady or weakens after several seconds.
If every faucet has low pressure, the issue likely affects your home’s supply rather than the kitchen fixture. Check that your main shutoff valve is fully open, and contact your water provider if pressure suddenly dropped.
A whole-house pressure regulator may also need professional inspection.
If other faucets flow normally, focus your kitchen troubleshooting on the sink’s supply lines, shutoff valves, or faucet. Open both valves completely and look for kinks or leaks beneath the cabinet.
If the faucet remains weak while the lines work properly, Faucet replacement may solve the problem. Addressing the actual cause supports Water conservation by preventing prolonged running and unnecessary repairs.
Record your observations before taking the next step.
Clean the Kitchen Sink Faucet Aerator
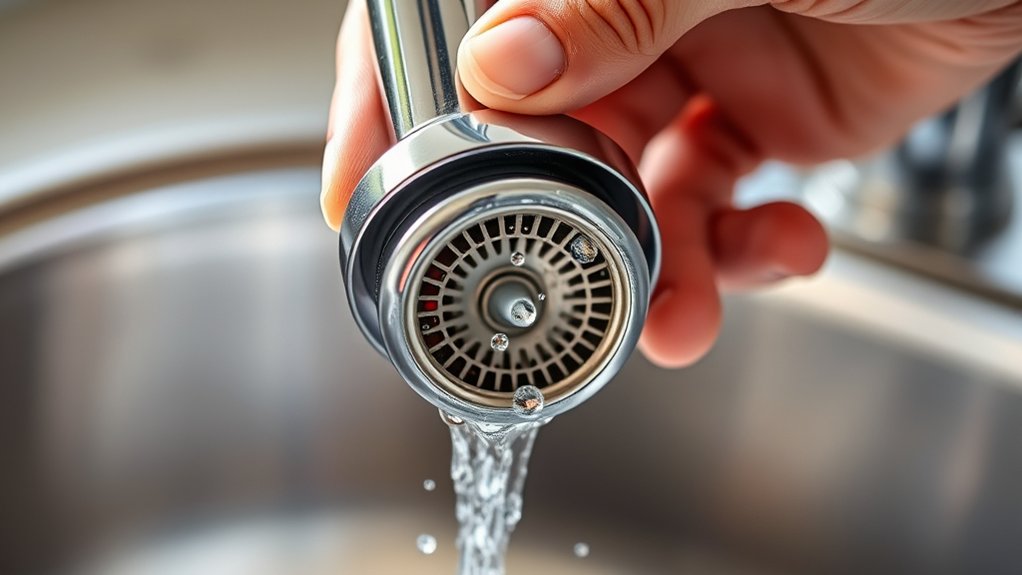
Remove the faucet aerator and check for mineral buildup. Clean away any deposits thoroughly, then reattach the aerator securely. Turn on the water to see whether the pressure has improved.
Remove The Aerator
A clogged faucet aerator can restrict water flow, so unscrew the small screen at the end of your kitchen faucet and inspect it for sediment or mineral buildup. Wrap a cloth around the aerator to protect its finish, then turn it counterclockwise by hand.
If it’s tight, use adjustable pliers gently over the cloth to avoid scratches. Keep the parts together, including the washer and screen, so you can reinstall them correctly.
Set the removed aerator on a clean towel while you examine its condition. Don’t force a corroded piece, since excessive pressure could damage the faucet threads.
If the screen won’t come off or appears damaged, consider Aerator replacement. Before proceeding, note the current stream for a simple Water flow analysis and later comparison after reinstallation.
Clean Mineral Buildup
Two simple cleaning methods can clear mineral buildup from the kitchen sink faucet aerator: soak the screen in white vinegar for 30–60 minutes, then scrub away loosened deposits with an old toothbrush.
For stubborn Mineral deposits, gently work through each opening with a toothpick, taking care not to enlarge or damage the holes. Rinse the screen thoroughly under running water, and inspect it against the light.
If vinegar isn’t available, mix warm water with a small amount of dish soap and scrub the screen carefully. Avoid harsh chemicals that could damage the finish or leave residue in your drinking water.
If deposits return frequently, consider Water softening to reduce hardness minerals entering your plumbing. Clean the aerator periodically, especially if your water looks cloudy or the flow gradually weakens.
Reattach And Test
After cleaning the screen, place it back into the faucet housing and tighten the aerator by hand. Reattach components in their original order, including the gasket, screen, and outer cap.
Don’t use pliers yet; excessive force can damage the threads or finish. Turn on the cold-water supply slowly, then test water flow at full pressure.
Watch for leaks around the aerator and connection.
| Check | What to do | Expected result |
|---|---|---|
| Gasket | Seat it evenly | No dripping |
| Aerator | Hand-tighten firmly | Secure fit |
| Flow | Open faucet fully | Strong, steady stream |
If water still sprays unevenly, remove the aerator and inspect the screen for remaining deposits or misplaced parts.
Rinse it again, reinstall it, and retest. Once flow improves without leaks, wipe the faucet dry and keep the aerator clean during routine maintenance.
Inspect the Faucet Spray Head
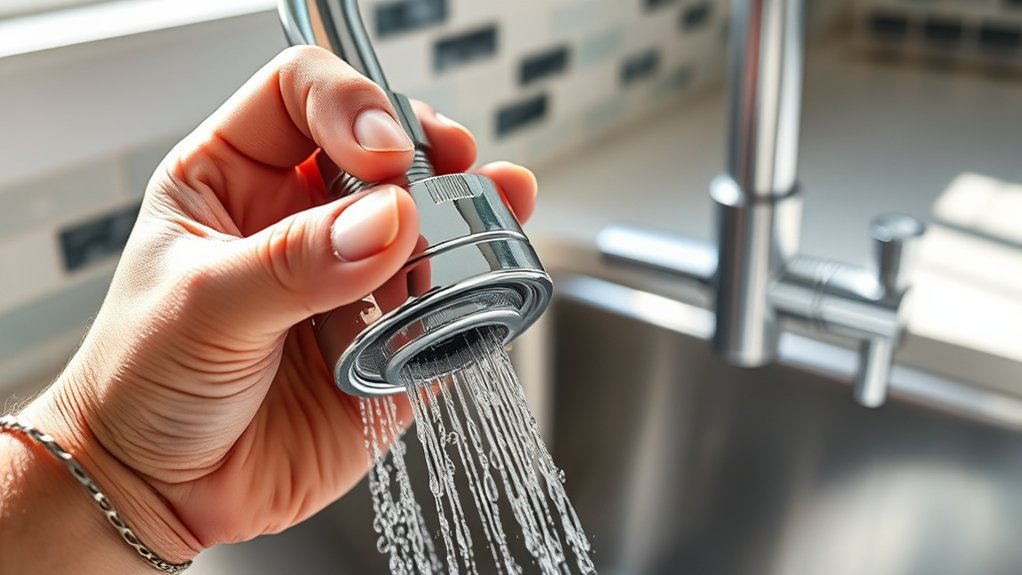
Check the faucet spray head for mineral buildup or debris, which can restrict water flow and lower pressure at the sink. Unscrew the Spray head from the hose or faucet neck, depending on your model. Place a cloth over the connection before turning it counterclockwise so you don’t scratch the finish.
> Check the faucet spray head for debris or mineral buildup that may restrict water flow and reduce sink pressure.
Inspect the screen, rubber nozzles, and small openings for white scale, sand, or other particles. Rinse the head under running water, then gently brush away stubborn deposits with an old toothbrush.
For heavy mineral buildup, soak the Spray head in white vinegar for 30 minutes, rinse it thoroughly, and reinstall it. Don’t poke the nozzles with a sharp object, because you could damage them.
After tightening the connection by hand, turn on the faucet and check the spray pattern. If water flow remains weak, remove and clean the internal aerator or replace the spray head. Confirm that the gasket sits correctly to prevent leaks.
Compare Hot and Cold Sink Pressure
Test the hot water flow first, then check the cold water pressure. Compare the two streams to see whether one performs better. This can help you determine whether the problem is with the water supply or the faucet.
Test Hot Water Flow
Compare the hot and cold water flow by turning each handle fully and watching how quickly the sink fills. Start with the hot handle and let the water run for several seconds, allowing the supply line to clear.
Notice whether the stream reaches a steady, strong flow or remains weak. Check for sputtering, unusual noise, or temperature changes, which can indicate air, mineral buildup, a partially closed shutoff valve, or a problem with the water heater or hot-side cartridge.
Test the hot water at different handle positions to identify where flow drops. Record your observations, including warm-up time and flow strength.
This simple comparison supports efficient Plumbing maintenance and Water conservation by helping you target repairs instead of replacing working components unnecessarily.
Check Cold Water Pressure
Next, turn the cold handle fully open and observe how quickly the sink reaches a steady stream. Let the water run for several seconds, then compare its force with the hot stream you tested earlier.
If cold water flows strongly but hot water remains weak, the issue likely involves the water heater line, hot-side shutoff valve, or sediment near that supply. If both streams feel weak, inspect the main shutoff valve and the cold-side stop valve for partial closure.
Check cold water efficiency by noting whether the stream stays consistent without pulsing or sudden drops. Also consider faucet material: mineral buildup can restrict narrow internal passages, especially in older metal faucets.
Record your observations before cleaning or replacing parts. This will help you identify whether the restriction affects one supply line or both.
Compare Faucet Performance
How do the hot and cold streams behave when you open each handle fully? Compare their flow, strength, and temperature separately.
If cold water runs strongly but hot water trickles, inspect the hot shutoff valve, supply line, or faucet cartridge.
If both sides show weak pressure, check the aerator, screens, and shared supply piping for buildup.
Test each stream with the aerator removed briefly. A stronger flow points to a clogged aerator rather than a plumbing problem.
Faucet design affects performance, since single-handle and pull-down models may use different cartridges and internal passages.
Note whether the issue appears only at this fixture or throughout your home.
A Brand comparison can also help. Some faucets offer better flow rates and more reliable cartridges.
Record your observations before replacing parts or requesting professional service.
Open Both Sink Shutoff Valves Fully
Make sure both shutoff valves beneath your kitchen sink are fully open, since a partially closed valve can restrict water flow and lower pressure at the faucet. Place a towel underneath, then turn each handle counterclockwise until it stops gently. Don’t force a stuck valve; excessive pressure can damage it or its connection.
| Check | What to confirm |
|---|---|
| Cold valve | Handle is fully counterclockwise |
| Hot valve | Handle is fully counterclockwise |
| Connections | No dripping appears |
Open the faucet afterward and check whether the stream improves. If one valve feels unusually tight, closes unevenly, or leaks around its stem, stop and arrange professional service.
A valve may look open while its internal mechanism remains restricted, especially in an older plumbing system. Your water pressure history can help you determine whether the problem started after maintenance or gradually developed.
For a quick plumbing system overview, remember that these valves control supply to the faucet, not pressure throughout your home. Don’t adjust anything else until both valves operate normally.
Straighten Kinked Faucet Supply Lines
Check the supply line beneath your sink for sharp bends or pinches. Gently straighten any kinks, taking care not to twist or crush the line. This can help restore steady water pressure.
Inspect Supply Line Position
A pinched or sharply bent supply line can restrict water flow and reduce pressure at your kitchen faucet. Begin your supply line inspection beneath the sink, where flexible tubes connect the faucet to the shutoff valves.
Follow each line from end to end, checking whether it presses against the cabinet wall, loops tightly, or rests beneath stored items. Make sure the tubing follows a gentle path without sharp angles or unnecessary tension.
Check both hot and cold lines, since one restricted connection can affect the faucet’s performance or create uneven flow. Confirm that each shutoff valve sits in an accessible position and hasn’t shifted against the tubing.
If needed, complete a careful valve adjustment by turning the valve handle fully open, then check whether the line’s position allows steady water delivery.
Remove Kinks Carefully
Once you’ve checked the supply line’s position, straighten any visible kinks that may be limiting water flow. Turn off the faucet and gently reposition the flexible hose beneath the sink.
Don’t twist, crush, or sharply bend it, since restricted tubing can reduce pressure and eventually leak. If the line feels stiff, loosen its connection slightly, adjust the curve, and retighten the fitting by hand before giving it a gentle final turn with a wrench.
Keep the hose away from cabinet edges, cleaning bottles, and stored cookware that could press against it. Avoid hanging items from the line, including anything used for faucet decoration.
Run the faucet afterward and check for steady flow and drips. This simple adjustment supports water conservation by helping your sink deliver water efficiently without unnecessary waste.
Check for Leaks Under the Sink
Check under the sink for dripping or damp connections, since leaks can reduce the water reaching your faucet. Open the cabinet and inspect the supply lines, shutoff valves, faucet connections, and drain pipes.
Run your fingers over each joint, or place a dry paper towel beneath it to reveal moisture. For safer leak detection, turn on the faucet and watch every connection while water flows.
If you find a loose nut, tighten it gently with a wrench. Don’t overtighten, or you could damage the fitting. Replace cracked washers, worn supply hoses, or corroded valves promptly.
Keep a bucket nearby to catch water while you work, and shut off the valve before replacing any part. Check the cabinet floor and walls for stains, swelling, or musty odors, which may indicate a hidden leak.
Pipe insulation can protect exposed lines from condensation, but it won’t repair leaks. Call a plumber if water continues escaping or damage appears extensive.
Flush Sediment From Faucet Lines
Sediment can restrict the small passages inside your faucet and reduce water pressure. To flush the lines, turn off the faucet and remove the Faucet aerator from the spout. Wrap the aerator in a cloth before loosening it with pliers to prevent scratches.
Flush sediment from your faucet aerator carefully to restore water pressure and protect the finish.
Rinse its screen under running water, then soak it in white vinegar for 30 minutes if mineral deposits remain. Use an old toothbrush to clear softened debris, and rinse the part thoroughly.
Next, place a bucket beneath the faucet. Turn on the cold-water supply and briefly open the faucet, allowing water to rush through the line and carry out loose particles.
Repeat with the hot-water supply, keeping your hands clear of splashing water. Reinstall the clean aerator and check the flow.
If Sediment buildup returns quickly, clean the aerator again and consider installing an inline filter. This simple maintenance can restore pressure without damaging your faucet or disturbing its internal components.
Check the Faucet Cartridge or Valve
If cleaning the aerator and flushing the supply lines doesn’t restore flow, inspect the faucet cartridge or valve. Mineral deposits, worn seals, or trapped grit can restrict water even when your supply lines remain clear.
Turn off both shutoff valves, open the faucet, and cover the drain to prevent lost screws.
- Remove the handle according to your faucet’s instructions, keeping each screw and cap in a small dish.
- Pull out the cartridge or valve carefully, then examine its openings, O-rings, and seals for scale, cracks, or distortion.
- Rinse removable parts, scrub buildup with a soft brush, and reinstall them in the same orientation.
Test the handle and water flow after reassembly. If the cartridge looks damaged or cleaning doesn’t improve pressure, install an exact replacement designed for your faucet model.
Proper cartridge inspection can restore smooth flow without replacing the entire fixture. Consider faucet replacement only when the cartridge is unavailable, the body is corroded, or internal damage prevents a secure repair.
Follow the manufacturer’s instructions to avoid leaks.
Call a Plumber for Persistent Pressure Problems
When cleaning the aerator, flushing the supply lines, and servicing the cartridge don’t restore water pressure, call a licensed plumber to diagnose the problem.
A professional can test pressure at the faucet, supply lines, and main shutoff to locate restrictions, leaks, or failing pressure regulators.
You shouldn’t remove walls, alter valves, or adjust a pressure regulator without proper training. Hidden pipe corrosion or a damaged service line may require specialized equipment and permits.
Contact emergency plumbing services immediately if pressure drops suddenly, water appears under cabinets, pipes bang loudly, or you notice flooding.
Shut off the nearest valve while you wait, and avoid using the sink. For a gradual decline, schedule an inspection before the issue worsens.
Your plumber may recommend repairing a leak, replacing old piping, or installing a booster system. Ask for an explanation of each option and its expected cost.
Prompt repairs support water conservation by preventing waste and restoring efficient flow.
Frequently Asked Questions
Can a Whole-House Water Pressure Regulator Affect Kitchen Sink Pressure?
Yes, your whole-house water pressure regulator can affect kitchen sink pressure. If you set it too low, you’ll reduce water flow throughout your home, including at the faucet.
A clogged or failing regulator can also restrict pressure unexpectedly. Check the regulator’s gauge, then adjust it gradually within the manufacturer’s recommended range.
How Does Municipal Water Pressure Influence My Kitchen Faucet’s Performance?
Municipal water pressure directly affects how strongly your kitchen faucet flows. When the city’s water supply delivers high, steady pressure, you’ll usually get faster filling and stronger spray performance.
Low municipal pressure limits flow, even if your faucet works properly. Your home’s pipe diameter, service line condition, and shutoff valves can further reduce pressure through friction or restrictions.
Ask your utility about neighborhood pressure, and consider a pressure gauge to confirm your reading.
Should I Replace My Faucet if Pressure Problems Persist After Troubleshooting?
Replace your faucet only if troubleshooting confirms the supply lines, shutoff valves, aerator, and municipal pressure work properly. Persistent low flow may indicate clogged internal cartridges, damaged seals, or corrosion, making faucet repairs worthwhile when the fixture remains otherwise functional.
However, replacement makes more sense if repairs cost nearly as much as a new faucet, the model is outdated, or leaks accompany weak pressure. Choose a quality, compatible fixture for better performance.
Can a Water Filtration System Reduce Kitchen Sink Water Pressure?
Yes, a water filtration system can reduce kitchen sink pressure. A clogged filter, undersized cartridge, or improperly installed housing can restrict water flow.
Check the filter’s rated capacity, replace it according to the manufacturer’s schedule, and inspect connections for kinks or debris. Filtration effects should remain minimal with proper maintenance.
If pressure stays low after replacing the cartridge, bypass the system briefly to confirm whether it’s causing the restriction before replacing your faucet.
Are Pressure-Boosting Pumps Suitable for Improving Kitchen Faucet Flow?
Yes, you can use a pressure-boosting pump to improve kitchen faucet flow, but verify pump compatibility with your faucet, plumbing, filtration system, and available electrical supply first.
Choose a model rated for potable water and sized for your sink’s demand. Follow installation tips, including installing shutoff valves, a bypass, and a pressure gauge.
Don’t exceed your faucet’s pressure rating. If flow remains weak, check clogged aerators, cartridges, filters, or supply lines before adding a pump.
Conclusion
By working through these steps, you’ll often restore strong, steady water pressure without replacing the entire faucet. Start with simple fixes, such as cleaning the aerator, opening shutoff valves, and checking for leaks.
If sediment or a worn cartridge is causing trouble, careful flushing or replacement may solve it. When pressure stays low or other fixtures are affected, call a plumber.
Don’t let a small drip become a flood. Prompt action can save time, water, and money while helping increase water pressure in your kitchen sink.