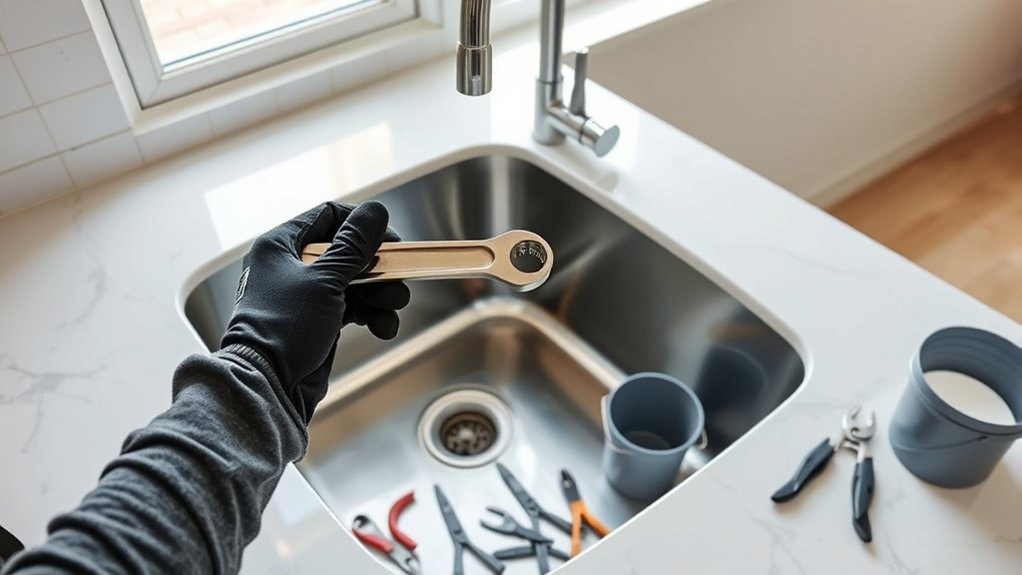
How to Remove Your Kitchen Sink in 10 Easy Steps
Removing a kitchen sink can feel intimidating, especially when hidden clips, stubborn caulk, and tricky plumbing get involved. You’re not alone—many homeowners struggle with knowing where to start and how to avoid leaks or cabinet damage. The right tools and a clear plan can make the job much easier.
To remove your kitchen sink, identify its type and gather a basin wrench, bucket, towels, utility knife, and screwdriver. Protect the cabinet, shut off the water, and open the faucet. Disconnect the supply lines, drain, and P-trap.
Score and cut the caulk, then loosen the mounting clips while supporting the sink. Lift it out carefully, clean away remaining sealant, and cap open pipes. Follow the steps below for helpful details and safety tips.
Key Takeaways
- Gather tools, identify your sink type and material, clear the cabinet, and protect surrounding surfaces with towels or plastic sheeting.
- Shut off hot and cold water, open the faucet to release pressure, and place a bucket beneath the plumbing.
- Disconnect supply lines, remove the P-trap and drainpipe, and cap open plumbing to prevent leaks and odors.
- Score the caulk, support the sink, and remove mounting clips or brackets from underneath.
- Lift the sink carefully, clean away remaining sealant, cap plumbing openings, and inspect for leaks before continuing.
Identify the Sink Type and Mount

Before removing your kitchen sink, identify whether it’s a drop-in, undermount, or farmhouse model. Your sink type determines how it connects to the countertop and cabinet, so inspect its edges and supports carefully.
A drop-in sink rests on the counter’s surface, with a visible rim surrounding the basin. An undermount sink sits beneath the countertop, where adhesive, clips, or brackets secure its rim.
A farmhouse sink extends past the cabinet’s front and may rest on a support frame inside the cabinet.
Check the sink material, because stainless steel, porcelain, composite, and cast iron require different handling. Heavier materials may need additional support before you loosen their connections.
Look beneath the countertop to locate mounting hardware, such as clips, brackets, screws, or support rails. Note how each piece holds the sink in place, and inspect the surrounding sealant for signs of bonding.
Identifying these details helps you understand the removal sequence and prevents damage to your counter, cabinet, or sink.
Gather Tools and Protect the Cabinet
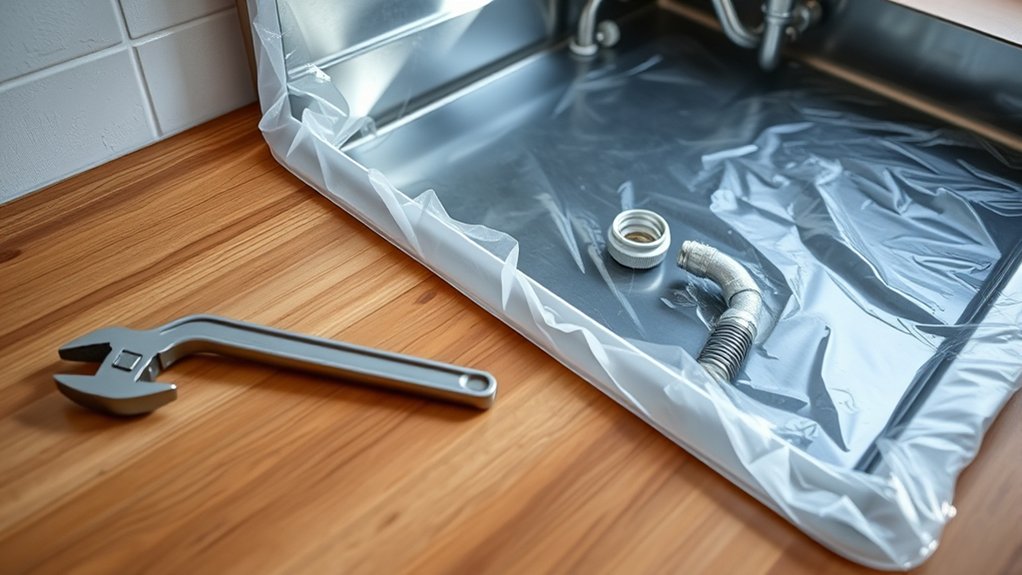
Gather a basin wrench, adjustable wrench, screwdrivers, a utility knife, a bucket, and towels before you begin. Cover the cabinet floor and nearby surfaces with a drop cloth to protect them from scratches, leaks, and debris. Clear the work area, place the bucket beneath the plumbing, and keep your tools within reach.
Essential Tools Checklist
To remove your kitchen sink safely, you’ll need a basin wrench, adjustable wrench, screwdrivers, utility knife, bucket, towels, and a flashlight. Add pliers, a caulk-removal tool, and a small pry bar for stubborn fittings.
Keep a headlamp nearby so you can see connections under the cabinet while keeping both hands free. Prepare labeled bags for screws, clips, and supply-line parts, and keep a marker handy for identifying connections before disassembly.
Check your sink’s construction first: stainless steel, cast iron, fireclay, and composite models may require different handling. Unique sink materials can affect which tools you use and how much force you apply.
Review manufacturer instructions for innovative removal techniques, especially with undermount or heavily sealed installations. Shut off the water, then confirm every tool is within reach before you begin.
Protect Cabinet Surfaces
Once the water is off and your tools are ready, clear everything from beneath the sink and cover the cabinet floor with a plastic sheet or thick towels. This barrier will catch drips, falling hardware, and sealant, helping you protect surfaces during removal.
Keep these materials within reach:
- Plastic sheeting or thick towels
- Painter’s tape
- A shallow bucket
- Absorbent rags
- Utility knife
Fit the covering tightly against the cabinet walls, then use painter’s tape to seal edges without leaving exposed wood.
Place the bucket beneath connections only when you’re ready to disconnect them, and keep rags nearby for immediate spills.
Don’t tape directly over delicate finishes, since removal could lift paint or veneer.
Check that the protective layer stays flat and secure while you work, but don’t begin loosening plumbing or sink fasteners yet.
Prepare the Work Area
Before you disconnect anything, prepare a clear, well-protected workspace around the sink cabinet. Remove cleaners, dishes, and stored items from beneath the sink, then place them away from the work zone.
For effective Work area organization, keep a bucket, adjustable wrench, pliers, screwdrivers, utility knife, towels, flashlight, and gloves within reach. Lay a thick towel or drop cloth inside the cabinet and across the nearby floor to catch water and protect finished surfaces.
Keep a shallow pan ready for residual water in the supply lines and drain. As part of your safety precautions, turn off the water supply valves and clear tripping hazards from the floor.
Open a window or run ventilation if you’ll use strong adhesive remover. Finally, position a bright work light so you can see connections clearly.
Shut Off Water and Clear the Cabinet
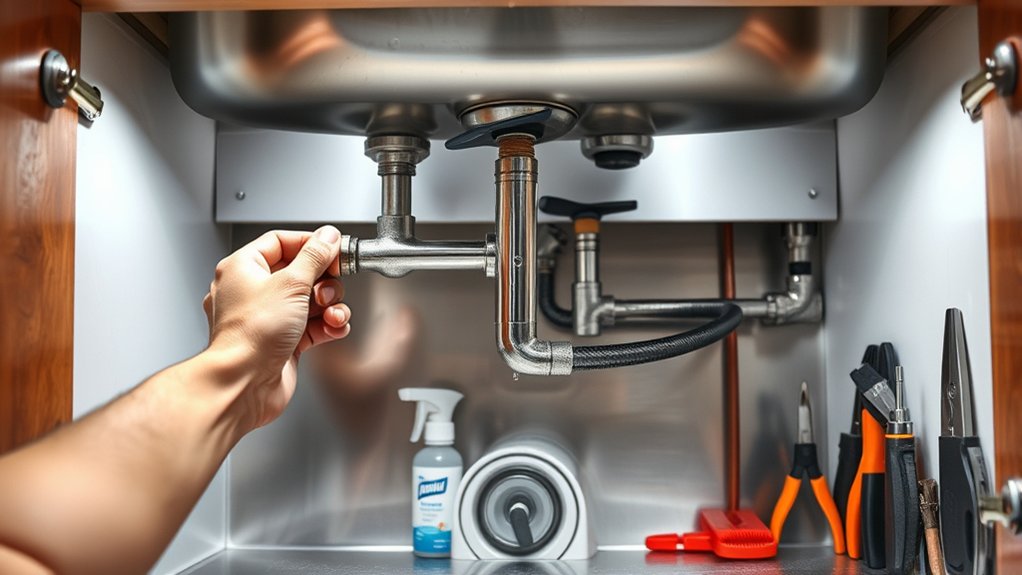
Turn off the sink’s hot- and cold-water supply valves, then open the faucet to release pressure from the lines. This step controls Water pressure and helps prevent surprises during Plumbing maintenance. Keep the faucet open until water stops flowing, then close it.
Clear everything from the cabinet beneath the sink. Remove cleaners, bins, dishes, and stored tools so you have room to work and can spot leaks easily. Place a flashlight inside the cabinet, and protect the base with a towel or shallow pan.
- Take out adjustable shelves if they block access.
- Move nearby items away from the cabinet doors.
- Check the cabinet floor for standing water.
- Wipe up moisture before continuing.
- Keep a bucket and towels within reach.
Don’t begin removing fittings yet. Simply confirm the valves remain closed, the cabinet offers clear access, and the surrounding area stays dry. A tidy workspace reduces damage and makes the next removal steps safer and easier.
Disconnect the Water Supply Lines
With the cabinet clear and the valves closed, disconnect each water supply line from the faucet using an adjustable wrench. Place a small bucket or towel beneath each connection to catch residual water. Turn the wrench counterclockwise while holding the faucet fitting steady with your other hand. This prevents twisting or stressing the faucet and supply tubing.
If a connector won’t loosen, don’t force it. Apply penetrating oil, wait several minutes, and try again. For stubborn corrosion, use locking pliers carefully, protecting nearby surfaces from scratches.
Keep the hot and cold lines separate, and label them if their routing isn’t obvious. Even after shutting the valves, trapped water pressure may remain, so loosen each connection slowly.
Once both lines are detached, inspect the shutoff valves, connectors, and supply tubes for corrosion, cracks, or damaged threads. Wipe everything dry, then perform leak detection by checking for fresh moisture around the valves. Cap open lines if you’ll pause before continuing.
Remove the Drain and P-Trap
Disconnect the drain from the sink, then loosen the slip nuts connecting the P-trap. Place a bucket underneath to catch any water, and carefully remove the trap. Set the parts aside for cleaning or disposal.
Disconnect the Drain
Place a bucket beneath the P-trap to catch any standing water, then loosen the slip-joint nuts by hand or with tongue-and-groove pliers. Keep the bucket centered as you separate the connections.
- Support the drain tailpiece with one hand.
- Turn each nut counterclockwise.
- Slide washers aside without losing them.
- Lower the trap gently into the bucket.
- Plug the open drain temporarily.
Next, disconnect the horizontal drainpipe from the wall fitting. Remove the slip-joint nut, then ease the pipe free.
If corrosion resists, apply penetrating oil and wait several minutes. Don’t force plastic fittings. Keep parts organized for reassembly or disposal.
This step helps protect your cabinet and supports future plumbing maintenance. Once the drain connections are disconnected, inspect the underside of the sink for remaining clips or fasteners before continuing your kitchen design update.
Avoid pulling on attached supply lines or disturbing the faucet connections yet.
Remove the P-Trap
Once the drain connections are loose, remove the P-trap by lowering it carefully into the bucket. Keep the opening upright to prevent trapped water and debris from spilling.
Loosen the slip nuts by hand, then use adjustable pliers only if they resist. Remove the washers, noting their order for reassembly.
Inspect the trap for cracks, buildup, or corrosion. Cap the exposed drainpipe temporarily to block odors.
| Task | Action |
|---|---|
| Catch water | Position a bucket underneath |
| Remove trap | Loosen nuts and washers |
| Check condition | Inspect for damage |
Set the parts aside in a labeled container. If you’re reusing the trap, rinse it outdoors and scrub away residue as part of routine P trap maintenance.
For Drain cleaning, use a small brush rather than harsh chemicals, which can damage fittings. Wipe the connections dry before continuing with sink removal.
Disconnect the Garbage Disposal
Before removing the disposal, shut off power at the circuit breaker and test the switch to confirm it won’t run. Place a bucket beneath the unit, then disconnect the drainpipe and dishwasher hose. Keep a towel nearby to catch residual water.
> Shut off power, test the switch, place a bucket underneath, and disconnect the drainpipe and dishwasher hose.
- Loosen the hose clamp and pull off the dishwasher connection.
- Unscrew the drainpipe coupling from the disposal outlet.
- Support the disposal with both hands before releasing its mounting ring.
- Turn the lower ring counterclockwise, following the manufacturer’s instructions.
- Lower the unit carefully and set it on a padded surface.
If hardwired, remove the cover plate, confirm the wires are dead with a voltage tester, and separate the wire connectors. Cap each house wire securely.
For a cord-connected model, unplug it after confirming the outlet remains de-energized. Photograph connections before disassembly to simplify disposal replacement tips.
Inspect the flange, mounting hardware, and hoses for wear, but don’t disturb the sink’s caulk seal yet. Proper garbage disposal maintenance starts with safe, dry, organized work and careful labeling of every connection.
Cut Through the Sink’s Caulk Seal
Score the caulk line around the sink’s rim with a utility knife. Keep the blade flat against the countertop to avoid damaging the surface, and cut through the sealant carefully. Continue around the entire sink until the caulk releases.
Score the Caulk Line
Use a sharp utility knife to cut through the caulk sealing the sink to the countertop. Keep the blade nearly parallel to the counter, and guide it steadily around the entire rim.
Apply light pressure so you score the caulk without gouging the countertop or sink.
- Start at an accessible corner.
- Follow the seam in one continuous pass.
- Recut spots where caulk remains attached.
- Wipe away loose residue as you work.
- Inspect the rim before lifting the sink.
Wear gloves to protect your hands, and keep your free hand clear of the blade.
For clean caulk removal, choose suitable Sealant tools, such as a fresh utility-knife blade and a plastic scraper.
Don’t pry up the sink yet. First, ensure the visible seal has been fully scored.
A complete cut will make the next removal step easier and reduce stress on the countertop.
Cut Through Sealants
With the caulk line scored, cut through any remaining sealant around the sink’s rim using a sharp utility knife. Keep the blade nearly parallel to the countertop to avoid gouging its surface or scratching the sink.
Work slowly, applying steady pressure rather than forcing the knife through stubborn spots. Different sealant types may require different techniques: silicone often feels rubbery, while acrylic latex may crumble or peel.
Inspect the entire perimeter, including corners and areas beneath the faucet deck, where sealant can remain hidden. For proper cutting, make several shallow passes instead of one deep cut, and replace the blade if it becomes dull.
Wear cut-resistant gloves, keep your free hand away from the blade, and wipe away loose residue. Don’t pry upward until you’ve separated the complete seal.
Release the Sink Mounting Clips
Once the plumbing is disconnected, release the sink mounting clips that secure the basin beneath the countertop. Put on gloves, then inspect the clips from inside the cabinet.
With plumbing disconnected, wear gloves and inspect the underside for sink mounting clips before beginning removal.
Support the sink’s underside with one hand or a temporary prop while you work, but don’t attempt to lift it yet.
For safe mounting clip removal, follow this sequence:
- Locate every clip around the sink’s rim.
- Place a container beneath your work area.
- Loosen each retaining screw with a screwdriver.
- Turn stubborn screws gradually, avoiding stripped heads.
- Remove the clips and set them aside.
Work evenly around the basin rather than fully loosening one side first. If a clip spins, hold its nut with pliers while turning the screw.
For clips bonded by old sealant, gently score nearby residue with a utility knife, keeping the blade away from the countertop finish.
Check corners and rear sections carefully, since hidden fasteners can remain easy to miss. Complete sink support removal only after every clip has detached.
Leave the basin in place for the next step.
Lift Out the Sink Without Damage
After every mounting clip has been removed, lift the sink carefully from below while keeping it level. Ask someone to help support the basin, especially if it’s cast iron or another heavy material.
Press upward evenly from underneath rather than pulling on the rim, which can chip the countertop or bend the sink flange.
Before lifting higher, check for anything still holding the sink in place. Some models use adhesive, brackets, or alternative mounting methods instead of standard clips.
If the basin resists, don’t force it. Gently work around the edge with a plastic putty knife to separate stubborn adhesive without scratching the counter.
Protect the countertop by placing cardboard nearby for the sink’s landing spot. Once the seal releases, raise the sink straight up.
Keep faucets or attached components from catching on the opening. Common sink materials, including stainless steel, porcelain, composite, and cast iron, need different handling, so support fragile finishes carefully.
Set the sink on padding to prevent scratches or cracks.
Remove Caulk and Cap Open Plumbing
Remove any remaining caulk from the countertop opening with a plastic scraper, then wipe away residue with an appropriate cleaner. Careful caulk removal leaves a clean surface for repairs or a replacement sink. Don’t use a metal blade, which can scratch laminate, stone, or another countertop material.
Before handling disconnected lines, confirm both water supply valves remain off. Place a bucket beneath the pipes to catch trapped water, then dry the openings. Install correctly sized Plumbing caps on exposed supply lines, tightening them securely by hand and with a wrench as needed. Don’t overtighten plastic fittings.
- Cover each open pipe with its matching cap.
- Keep the drain opening sealed against odors.
- Check connections for drips before proceeding.
- Wipe away moisture around capped lines.
- Store removed fittings for possible reuse.
If you smell gas or encounter a damaged line, stop and contact a professional. Keep the work area clear so you can safely prepare the cabinet and countertop for the next installation step.
Frequently Asked Questions
Can I Reuse My Old Kitchen Sink After Removing It?
Yes, you can usually reuse your old kitchen sink after removing it, provided it isn’t cracked, badly stained, or warped. Inspect the basin, mounting rim, drain opening, clips, and plumbing connections for damage.
Clean and disinfect every surface before reinstalling it. Confirm the replacement countertop fits, and buy new seals or clips if needed.
Turn off the water shutoff before disconnecting plumbing, and plan sink disposal responsibly if reuse isn’t practical.
How Long Does Professional Kitchen Sink Removal Typically Take?
Professional kitchen sink removal typically takes one to three hours, not an entire day of demolition drama. You’ll usually see a plumber disconnect the water lines, remove the drain, loosen clips or adhesive, and lift out the basin.
Removal tools, including wrenches, scrapers, and utility knives, help speed the job. If you’ve added countertop repairs, stubborn plumbing, cabinets, or sink disposal, expect extra time and possible additional charges.
Should I Replace the Countertop When Removing a Kitchen Sink?
You don’t automatically need countertop replacement when removing a kitchen sink. Keep your existing counter if it’s structurally sound, fits the new sink, and has no water damage, cracks, or problematic cutouts.
Replace it when the opening must change considerably, the material has deteriorated, or you want a different sink style. If minor wear appears, consider surface restoration instead.
A professional can inspect the counter and recommend the most practical, cost-effective option for you.
What Should I Do if the Sink Is Stuck Despite Removing All Clips?
If your sink remains stuck after removing every clip, cut through the old caulk or sink adhesives around its rim with a utility knife. Work a thin putty knife beneath the edge, moving slowly to avoid damaging the countertop.
Don’t force it or pry against fragile surfaces. Confirm pipe disassembly is complete, then have someone lift while you gently loosen stubborn areas. If adhesive resists, warm it carefully with a hair dryer.
Are Permits Required for Kitchen Sink Removal or Replacement?
Permit requirements vary by your city, county, and project scope. You’ll often need no permit for a simple sink replacement that keeps existing plumbing connections, but relocating pipes, changing drain lines, or modifying cabinets may trigger legal considerations and inspections.
Contact your local building department before you start. If you hire a licensed plumber, ask whether they’ll obtain required permits.
Keep receipts, approvals, and inspection records for future insurance or resale needs.
Conclusion
With the water off, plumbing capped, and cabinet cleared, you’ve completed your kitchen sink’s safe send-off. Lift the old basin away, leaving a clean countertop ready for what comes next.
Scrape away stubborn sealant, sweep up scraps, and inspect every connection before installing a replacement. Your careful cuts and controlled removal help prevent leaks, scratches, and surprises.
Now you can welcome a fresh fixture with confidence, knowing you’ve prepared a solid, spotless space after removing your kitchen sink.