10 Easy Steps to Clean Your Kitchen Faucet Head
Mineral buildup can leave your kitchen faucet head spraying unevenly, looking dull, or becoming difficult to clean. You’re not alone—many people struggle with stubborn deposits, but these simple steps can help restore a cleaner, stronger spray.
Gather vinegar, a bowl, a soft toothbrush, a microfiber cloth, and a towel. Turn off the faucet, close supply valves if accessible, and plug the drain.
Unscrew the faucet head, remove the aerator, and inspect for buildup. Separate removable parts, then soak them in vinegar for 30–60 minutes.
Scrub deposits gently, rinse everything, and reassemble the head. Reinstall it, check for leaks, and test spray settings.
Regular wiping and vinegar soaks help prevent future mineral buildup. More helpful tips follow.
Key Takeaways
- Turn off the water supply, plug the drain, and protect the sink area with a towel.
- Unscrew the faucet head, keeping washers, gaskets, clips, and other small parts organized.
- Soak removable components in vinegar solution for 30–60 minutes to loosen mineral deposits.
- Scrub spray holes, threads, and grooves gently with a soft toothbrush, then rinse thoroughly.
- Reassemble the faucet head, hand-tighten it, test water flow, and check carefully for leaks.
Gather Your Cleaning Supplies

Start by gathering a few simple supplies: white vinegar, a small bowl or plastic bag, a soft toothbrush, a microfiber cloth, and an old towel. These items help you loosen mineral buildup and wipe away grime without scratching the faucet head.
Choose a bowl if you can remove the head easily, or select a plastic bag if you’ll need to soak it in place later. Keep the toothbrush reserved for cleaning, not personal use, so you don’t transfer bacteria.
Using cleaning gloves protects your hands from vinegar, residue, and loosened debris, especially if you have sensitive skin. You may also want a timer to track the soaking period and a clean container for rinsing water.
Before you begin, place every supply within reach on the counter. Check that your microfiber cloth is clean and lint-free, and use an old towel to protect the surface from drips during cleaning with vinegar.
Turn Off the Faucet and Plug the Drain
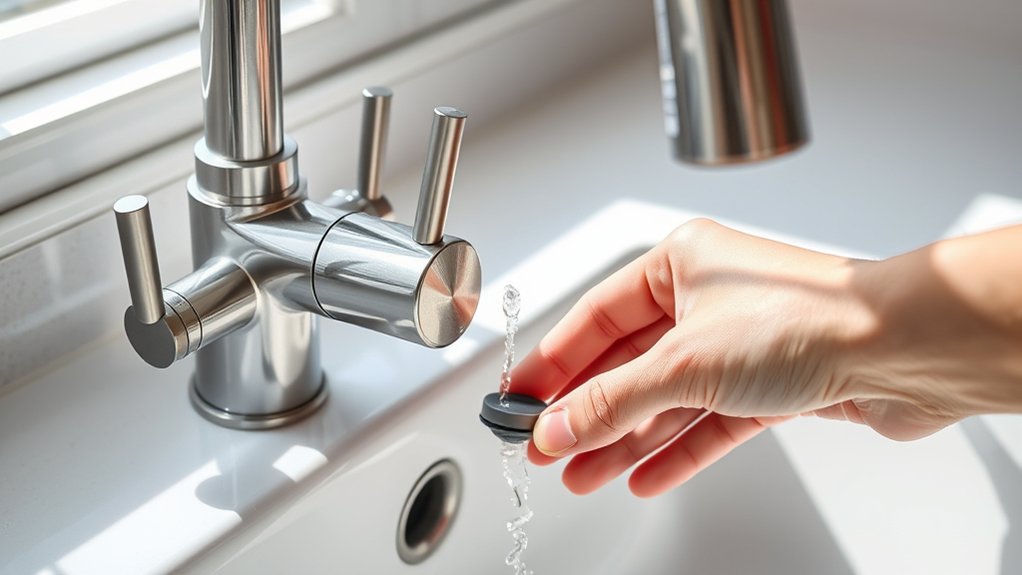
With your supplies nearby, turn off the faucet and plug the drain before removing the faucet head. Shut off both handles, then wait until water flow stops completely. If your faucet has separate supply valves beneath the sink, close them gently for extra protection.
This precaution prevents unexpected sprays, protects your countertop, and keeps small parts from slipping into the drain.
Before continuing, check these points:
- Turn both faucet handles to the closed position.
- Close the hot and cold supply valves if accessible.
- Place a towel around the sink base to catch drips.
- Cover the drain with a stopper or clean cloth.
- Keep a small container nearby for water that remains.
Don’t force a valve that feels stuck. Forcing it could cause a leak and create a larger faucet repair.
After shutting off the supply, briefly test the handle to confirm no water emerges. Keep the work area dry and well lit so you can proceed safely without accidentally disturbing other plumbing connections.
Identify and Remove the Faucet Head
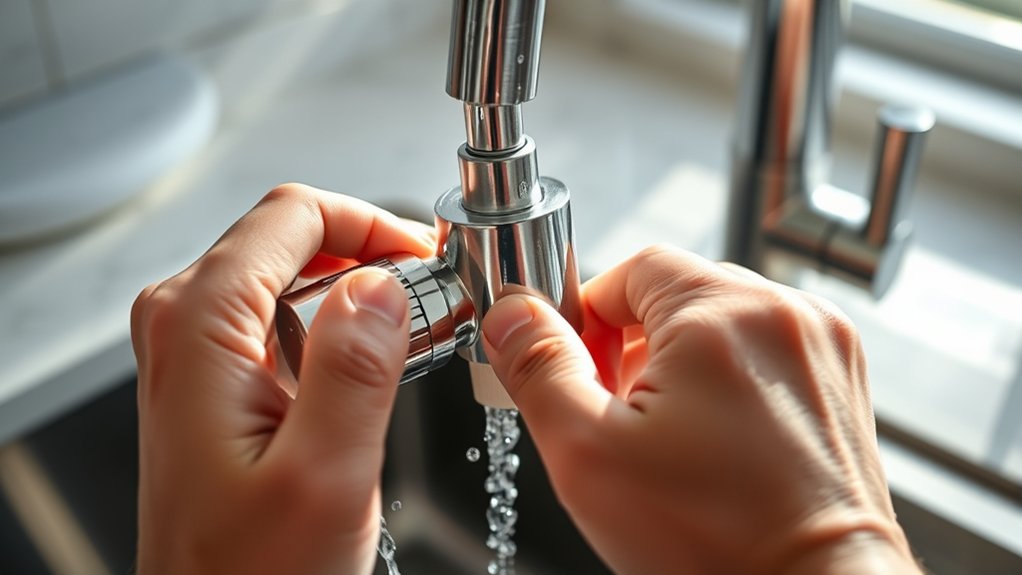
Once the water is off, identify the removable faucet head at the end of the spout. Look for a threaded connection where the head meets the faucet. Some faucet heads screw directly onto the spout, while others attach to a pull-down or pull-out hose. Check the joint carefully so you’ll know which part to turn.
Wrap a soft cloth around the head to protect its finish. Grip the covered head with your hand and turn it counterclockwise. If it won’t move, use adjustable pliers over the cloth, applying gentle pressure to avoid scratches or damage.
For a pull-down model, support the hose as you loosen the head, and don’t let it retract into the spout.
Set the removed head in a small container. Keep any washers, clips, or adapters together so you can reinstall them correctly.
If the head is damaged, note its brand and connection size before comparing replacement options.
Check the Aerator for Mineral Buildup
Inspect the aerator screen for trapped debris or discoloration. Look for white, chalky mineral deposits that could restrict water flow. If you spot any buildup, clean the screen before reattaching the faucet head.
Inspect Aerator Screen
Remove the aerator screen and hold it up to the light to check for white, chalky mineral buildup or clogged holes. Look closely at each opening, and note whether the screen appears clear, uneven, or blocked.
This quick inspection supports regular aerator maintenance and helps preserve faucet efficiency.
- Hold the screen against a bright window or lamp.
- Rotate it to inspect every opening.
- Check for bent, torn, or warped mesh.
- Compare its pattern with a clean replacement screen.
- Set it on a clean towel while you inspect it.
If light passes evenly through the screen, it may only need a gentle rinse. If several openings look blocked, plan to clean the screen carefully before reinstalling it.
Keep any rubber washer nearby, since it must return to the correct position for a secure, drip-free connection.
Identify Mineral Deposits
Look for white, chalky, or crusty deposits around the aerator’s mesh and openings, as these are signs of mineral buildup from hard water. Check the screen closely, then inspect the threads and surrounding faucet head for similar residue.
Light deposits may rinse away easily, but thick, gritty layers can restrict flow, create uneven spray patterns, and increase pressure inside the fixture. Rub the buildup gently with an old toothbrush to judge how firmly it’s attached.
Don’t scrape with a sharp tool, which could damage the mesh or finish. If deposits return quickly, consider Water filtration to reduce minerals entering your plumbing.
You’ll also support corrosion prevention by keeping the aerator clean and dry. Note any discoloration or pitting, since these signs may indicate damage requiring replacement rather than cleaning.
Separate the Head’s Removable Parts
Start by unscrewing the faucet head from the hose, then separate any removable parts, such as the aerator, spray plate, rubber washer, or filter screen. Hold each piece over a clean towel so small components don’t fall into the drain.
> Unscrew the faucet head, then carefully separate removable parts over a clean towel to prevent small components from falling into the drain.
If the head resists, use a soft cloth for grip instead of pliers, which can scratch the finish.
As part of faucet head maintenance, study how each piece fits before removing it. Take a quick photo or arrange components in removal order to simplify reassembly.
Careful removable parts identification helps you spot damaged seals or clogged screens without confusing their positions.
- Set screws and washers in a small dish.
- Keep rubber parts away from sharp tools.
- Note the spray plate’s outward-facing side.
- Inspect threads for wear or cross-threading.
- Handle mesh screens gently to prevent bending.
Don’t force stuck pieces. Pause and check for hidden retaining rings. Keep every component together until you’re ready for the next cleaning step.
Soak the Faucet Head in Vinegar
Once the faucet head is disassembled, place its removable parts in a bowl of equal parts white vinegar and warm water. Make sure the solution covers each piece completely, allowing the acid to loosen mineral deposits inside and around the openings.
For heavier buildup, choose cleaning vinegar, which contains more acetic acid than standard white vinegar. Let the components soak for 30 minutes to an hour, depending on how much residue you see.
Don’t leave delicate finishes submerged for several hours, as prolonged exposure could dull their appearance. If your faucet manual recommends a different cleaning method, follow those instructions instead.
While the parts soak, keep the bowl away from children and pets, and never mix vinegar with bleach or other cleaners. After the soaking time ends, lift the pieces from the solution and rinse them thoroughly with clean water.
This step removes loosened residue and any lingering vinegar before you continue with reassembly.
Scrub Away Stubborn Deposits
A soft toothbrush or nylon brush can lift stubborn deposits from the faucet head’s openings and grooves. After soaking, hold the head securely and gently scrub each area to loosen softened mineral scale.
Use these cleaning techniques:
- Brush around every spray nozzle.
- Work along the threads and seams.
- Target white, chalky stubborn deposits.
- Use a wooden toothpick for blocked holes.
- Scrub in small circles without forcing bristles.
Apply steady, light pressure rather than scraping aggressively. Metal tools can scratch the finish or widen delicate openings, so avoid knives, pins, and abrasive pads.
If buildup remains, dip the brush in fresh vinegar and make another careful pass. Pay special attention to the screen, aerator, and edges where residue collects.
You can also use a cotton swab for narrow channels and corners. Inspect your progress under bright light, repeating the gentle brushing until the deposits break free.
Keep your movements controlled, and protect the faucet’s coating while you work. Focus on loosening residue completely before moving to the next cleaning step.
Rinse and Reassemble the Faucet Head
Rinse the faucet head thoroughly to remove any loose debris. Before reassembling it, make sure each component is properly aligned. Then, tighten the faucet head securely without overtightening it.
Rinse Away Loose Debris
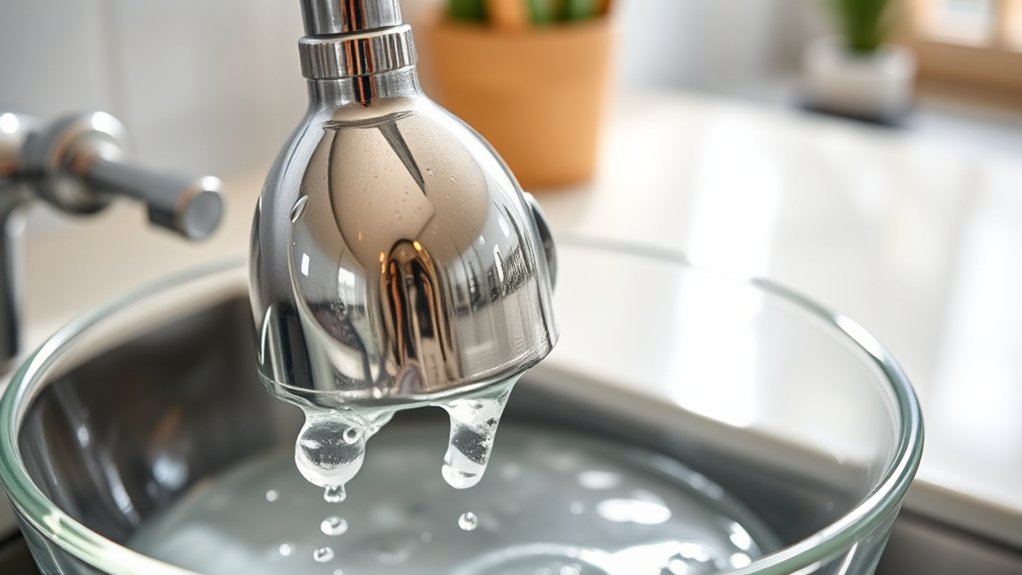
Hold the faucet head under warm running water to flush out loose mineral flakes, dirt, and debris. Use moderate Water temperature: warm water loosens residue without risking burns or damaging delicate finishes. Rotate the head gently so water reaches every opening, then let the flow carry particles away rather than pushing them deeper.
- Rinse each opening from multiple angles.
- Tap the head lightly against your palm.
- Use a soft toothbrush for stubborn surface flakes.
- Avoid pins that could enlarge spray holes.
- Limit flow to support Water conservation.
Keep rinsing until the water runs clear and no particles remain. Check the screen and outer edges for trapped grit, but don’t force anything through the openings.
Place the clean head on a fresh towel and allow excess water to drain before continuing with the remaining cleaning steps.
Check Component Alignment
Before reassembling the faucet head, rinse each component thoroughly and inspect the pieces for trapped grit or mineral buildup. Hold the parts under running water until the openings look clear.
Use a soft toothbrush to loosen residue around the screen, rubber gasket, and spray plate, then rinse again. Check component alignment by comparing each piece with its original position.
Make sure the gasket sits flat, the screen faces the correct direction, and the spray plate’s holes line up with the housing. Look for cracks, warping, or hardened seals that could cause leaks.
Confirm that threads remain clean and undamaged before continuing. Keep the components together in sequence so you won’t confuse them during reassembly.
Proper inspection helps guarantee a secure faucet connection and steady water flow once you finish.
Reassemble the Faucet Head
With the components clean, aligned, and dry enough to handle, put the faucet head back together in the reverse order you took it apart. Rinse each piece under warm water first, then seat the screen, gasket, and aerator exactly as your faucet design requires. Don’t force any part; cross-threading can cause leaks.
Use clean assembly tools only when hand-tightening isn’t enough.
- Place the gasket flat and evenly.
- Install the aerator with its openings facing outward.
- Tighten threaded parts snugly, not excessively.
- Reattach the spray head to the hose.
- Turn on water slowly and check for leaks.
If water sprays unevenly, shut it off and inspect the screen’s position. Correct alignment usually restores a smooth stream.
Wipe away drips, then confirm the handle and spray functions work normally. Your faucet head is ready.
Reinstall and Test the Faucet Head
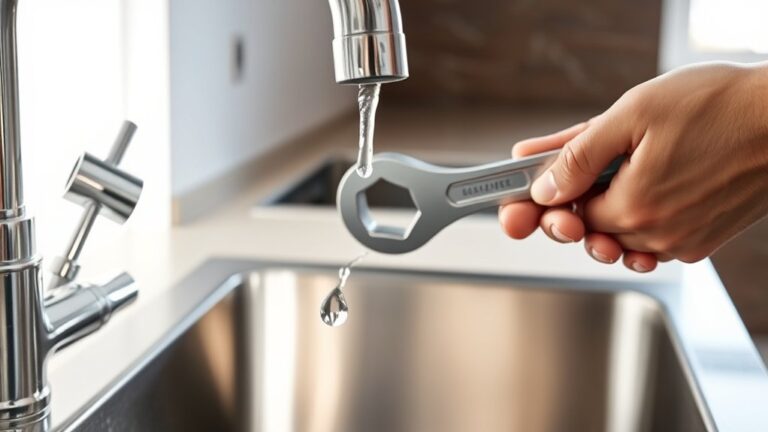
Once the faucet head and screen are clean, screw the head back onto the hose or spout by hand, then tighten it gently with a wrench if needed. Don’t overtighten, since excessive force can damage the threads or washer. Make sure the connection sits straight and feels secure.
Turn on the faucet slowly and watch the joint for leaks. If you see dripping, shut off the water, remove the head, and check that the washer sits flat and hasn’t shifted. Reinstall it, then test again.
Switch between the spray and stream settings to confirm each mode works smoothly. Check the water flow for weak pressure, splashing, or uneven streams.
If necessary, clean the screen again or perform a careful water pressure adjustment at the faucet’s control. When the head still won’t seal or function correctly, consider a faucet head replacement.
Wipe the connection dry and confirm everything operates normally before finishing.
Prevent Future Mineral Buildup
Prevent future mineral buildup by wiping the faucet head dry after use, especially around the spray holes. This removes leftover droplets before they evaporate and leave deposits.
Once a week, soak a cloth in white vinegar, wrap it around the head, and rinse thoroughly after several minutes. Don’t soak finishes or seals longer than recommended by the manufacturer.
Use these habits to protect performance:
- Wipe the head after washing dishes.
- Rinse away soap and food residue promptly.
- Brush spray holes gently with a soft toothbrush.
- Check for leaks and tighten loose connections.
- Replace worn washers or aerators promptly.
Keep the faucet head pointed downward when possible, so water drains instead of collecting inside.
If your home has hard water, install an under-sink filter or whole-house softener to reduce minerals at the source.
Regular faucet maintenance keeps the spray even, extends the fixture’s life, and supports water conservation by preventing restricted flow and wasted water.
Avoid abrasive cleaners, which can damage the finish and create rough surfaces where buildup gathers.
Frequently Asked Questions
How Often Should You Clean Your Kitchen Faucet Head?
You should clean your kitchen faucet head every one to three months to maintain strong water flow and prevent mineral buildup. Clean it sooner if you notice reduced pressure, uneven spray, discoloration, or visible residue. If you have hard water, monthly cleaning works best; soft-water homes may need cleaning every three months.
Remove the aerator, soak it in white vinegar, scrub gently, rinse thoroughly, and reattach it securely for reliable performance.
Can You Clean a Faucet Head Without Removing It?
Yes, you can clean a faucet head without removing it. Wrap a cloth soaked in white vinegar around the aerator, then secure it with a rubber band. Leave it for 30–60 minutes to dissolve Mineral buildup.
Scrub gently with an old toothbrush, rinse by running hot water, and wipe everything dry. For regular Faucet maintenance, repeat this process monthly, especially if you notice reduced water flow or uneven spray patterns.
What Should You Do if Vinegar Damages the Faucet Finish?
If vinegar damages your faucet finish, rinse the surface immediately with clean water and dry it thoroughly with a soft cloth. Don’t scrub, polish, or apply more acidic cleaners, because they can worsen the damage.
For stubborn residue, use mild dish soap and water, then test any product on a hidden spot first. Choose vinegar alternatives, such as diluted dish soap or a manufacturer-approved cleaner.
Prioritize faucet finish protection by avoiding prolonged soaking.
When Should You Replace a Faucet Head Instead of Cleaning It?
Replace your faucet head when cleaning no longer restores water flow, spray quality, or proper operation. Choose faucet replacement if you notice persistent leaks, cracked housing, stripped threads, severe mineral buildup, or internal corrosion that blocks the aerator. Don’t attempt corrosion repair when rust has weakened the metal or damaged seals. If the head still works after gentle cleaning, replace only worn washers or screens instead of the entire fixture.
Why Does Low Water Pressure Persist After Cleaning the Faucet Head?
Low water pressure can persist because mineral buildup remains inside the faucet head, aerator, cartridge, or supply lines. You may also have a clogged filter, kinked hose, partially closed shutoff valve, or corroded plumbing.
Check whether weak water flow affects only this faucet or every fixture. If only one faucet struggles, inspect its aerator and cartridge again.
If pressure stays low throughout your home, contact a plumber to evaluate the main valve, pipes, or pressure regulator.
Conclusion
A clean kitchen faucet head does more than improve water flow—it shows how small habits can prevent larger problems. By removing mineral buildup, rinsing each part, and checking for leaks, you protect your fixture and water quality with minimal effort.
Keep wiping the aerator and soaking it when deposits return. This simple routine saves time, reduces waste, and helps your kitchen work better.
In the end, prevention really is easier than repair. Cleaning your kitchen faucet head regularly keeps your water flowing smoothly, one rinse at a time.