5 Easy Steps to Clean Grease Off Kitchen Cabinets
Greasy kitchen cabinets can make your whole kitchen feel dirty, even when you’ve just cleaned. You’re not alone—many people struggle to remove sticky buildup without damaging their cabinet finish. These simple steps can help you clean grease off kitchen cabinets safely and effectively.
Clean greasy kitchen cabinets in five easy steps. First, mix warm water with mild dish soap, or use a cabinet-safe cleaner. Test it on a hidden spot and let it dry.
Next, wipe the cabinets with a damp microfiber cloth, working top to bottom. For stubborn grease, gently scrub with a soft brush or nonabrasive sponge.
Finally, rinse with a barely damp cloth and dry immediately to prevent streaks and damage. You’ll find extra tips below for lasting results.
Key Takeaways
- Mix warm water with mild dish soap or a cabinet-safe degreaser, avoiding harsh or abrasive cleaners.
- Test the solution on a hidden cabinet area to ensure it does not discolor, bubble, or damage the finish.
- Apply cleaner to a soft microfiber cloth, then wipe greasy surfaces from top to bottom.
- Gently scrub stubborn grease with a soft nylon brush or nonabrasive sponge.
- Wipe away residue with a barely damp cloth, then dry cabinets immediately with a clean towel.
Choose Safe Cleaners for Greasy Cabinets
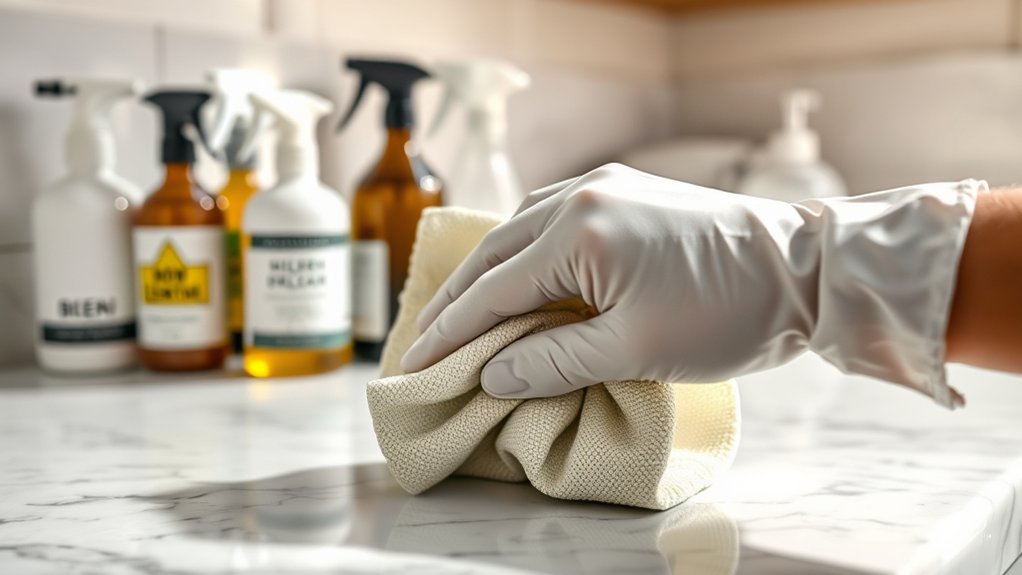
Choose a gentle, grease-cutting cleaner that won’t damage your cabinet’s finish. Start with warm water and a few drops of mild dish soap, which can dissolve everyday cooking residue without harsh fumes.
Mix the solution in a bowl, and use only enough soap to avoid leaving a sticky film.
For Eco friendly solutions, try diluted white vinegar on suitable cabinet materials, or create a paste with baking soda and water for stubborn grease.
Use these options sparingly, because acidic or abrasive ingredients may affect certain finishes. Skip bleach, ammonia, scouring powders, and strong solvents; they can discolor, dull, or weaken the surface.
Commercial cleaning products can work well when you choose one labeled for kitchen cabinets or your specific material.
Read the label carefully, follow its dilution instructions, and avoid combining cleaners. Keep your cloths soft and nonabrasive, and select a product that matches the cabinet’s finish, whether painted, laminate, wood, or metal.
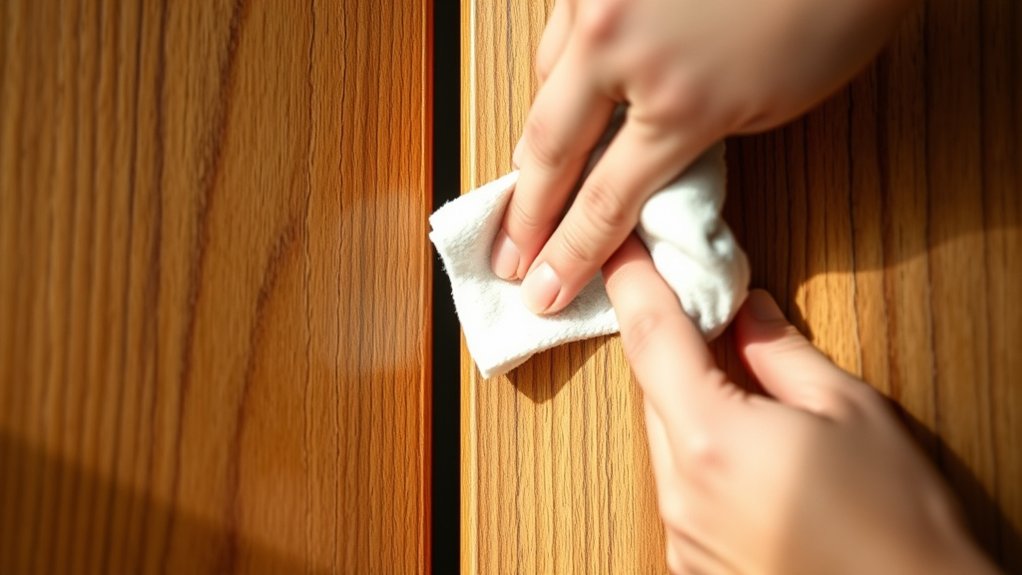
Before cleaning the entire cabinet, test the diluted cleaner on a hidden spot, such as an inside corner or the back of a door. This simple check helps you avoid discoloration, swelling, or damage to the finish.
- Apply a small amount with a cotton swab or soft cloth.
- Leave it for the recommended time, but don’t let the area stay wet.
- Check for fading, streaks, bubbling, or a sticky texture.
- Let the spot dry completely before judging the result.
- Stop using the product if you notice any damage.
Testing solutions on hidden spots gives you confidence before you proceed. Compare the tested area with an untouched section in natural light, since artificial lighting can hide subtle changes.
If the finish looks unchanged, you can use the cleaner as directed. If you notice a reaction, choose a milder option or follow the cabinet manufacturer’s care instructions.
Always test each new product separately, even if another cleaner worked safely before. This precaution protects painted, stained, laminate, and wood cabinets.
Wipe Grease Off Kitchen Cabinets
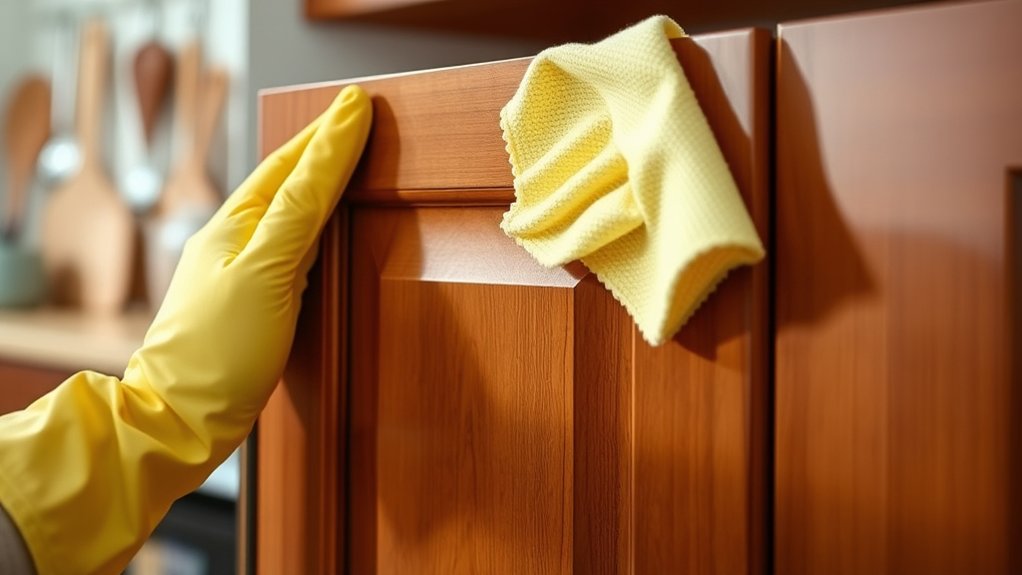
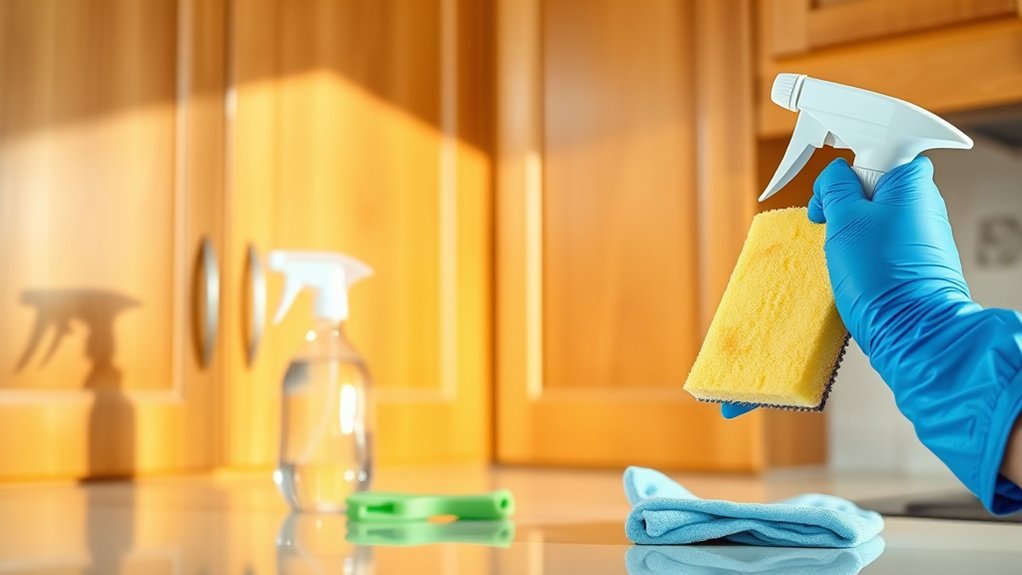
Once the cleaner passes the spot test, wipe grease off kitchen cabinets with a soft, damp microfiber cloth. Work in small sections, moving from the top of each door downward. Use gentle, overlapping strokes to lift surface residue instead of spreading it around.
Rinse the cloth frequently in clean water, wring it until damp, and replace the water when it looks cloudy. Pay attention to edges, corners, and areas near the handles, where cooking vapor often settles.
Keep moisture controlled around seams and joints, since excess water can weaken wood or damage cabinet paint. For hardware cleaning, wipe knobs, pulls, and hinges with the same lightly damp cloth, then dry them promptly with a clean towel.
Don’t spray cleaner directly onto a cabinet or its hardware; apply it to the cloth instead. After wiping, inspect each surface under good light and buff away remaining moisture to leave a clean, streak-free finish.
Scrub Away Stubborn Cabinet Grease
For grease that remains after routine wiping, use a soft nylon brush or nonabrasive sponge with a small amount of diluted cleaner. Work gently in small circles, giving stubborn spots time to loosen rather than pressing harder.
Protect your cabinet paint by testing the solution on a hidden area first. Focus on handles, corners, and edges, where grease buildup often hides.
- Dip your sponge lightly; excess moisture can damage seams.
- Scrub with the wood grain when possible.
- Use a soft toothbrush for grooves and decorative details.
- Replace dirty solution so you don’t spread grime.
- Stop if the finish feels tacky, cloudy, or unusually soft.
For thick, hardened residue, place a warm, damp cloth over the spot briefly. Then scrub again with cleaner.
Never use steel wool, abrasive powders, or harsh solvents, which can scratch finishes and strip color. Keep your strokes controlled, and apply only enough pressure to lift the film.
A few patient passes usually work better than aggressive scrubbing. Pay special attention to areas surrounding the range, where cooking vapors settle quickly.
Rinse and Dry to Prevent New Grease
After scrubbing, rinse the cabinet surface with a clean, barely damp cloth to remove cleaner and loosened grease. Work in small sections, rinsing the cloth often so you don’t spread residue.
Then dry every area with a soft towel, especially around seams, handles, and cabinet edges. Moisture left behind can damage finishes and attract dust.
| Quick action | Why it matters |
|---|---|
| Rinse gently | Removes cleaner film |
| Wipe seams | Protects vulnerable edges |
| Dry immediately | Prevents moisture damage |
| Clean handles | Stops sticky residue |
| Vent the room | Reduces greasy air |
To prevent future buildup, wipe splatters as soon as you notice them. Run your range hood while cooking, and leave it on for several minutes afterward.
Other useful Kitchen ventilation tips include opening a window when practical and cleaning the hood filter regularly. Keep cabinet doors closed during frying, and use lids to limit airborne oil.
These habits keep your cabinets fresh, protect their finish, and make your next cleaning easier.
Frequently Asked Questions
Can Grease Damage Cabinet Hardware or Hinges Over Time?
Yes, grease can damage cabinet hardware and hinges over time. It traps dust, holds moisture, and creates sticky buildup that wears finishes, weakens movement, and encourages hinge corrosion.
During regular cabinet maintenance, wipe hardware and hinges with a mild degreaser and a soft cloth, then dry them completely. Don’t soak hinges or use abrasive cleaners, which can remove protective coatings.
Lubricate moving parts lightly after cleaning, and replace severely corroded components promptly.
How Often Should Kitchen Cabinets Be Deep-Cleaned to Prevent Grease Buildup?
Deep-clean your kitchen cabinets every three to six months to prevent grease buildup, then adjust the schedule based on cooking frequency.
If you fry foods often, wipe cabinet fronts weekly and deep-clean monthly. During routine Kitchen cleaning, use a mild degreaser, warm water, and a soft cloth to protect finishes and hardware.
For effective Grease prevention, run your range hood, cover splattering pans, and immediately clean fresh spills before they harden.
Can Painted, Laminate, or Wood Cabinets Require Different Grease-Cleaning Approaches?
Yes, your cabinet material determines which cleaning techniques you should use, like choosing shoes for different terrain.
For painted cabinets, apply mild dish soap with a soft, damp cloth, then dry promptly to protect the finish. Wipe laminate with diluted vinegar or gentle detergent, avoiding abrasive pads.
Clean wood using a barely damp cloth and wood-safe soap, following the grain. Test any solution in a hidden spot first, and never oversaturate seams.
When Should Greasy Cabinets Be Professionally Refinished or Replaced?
You should consider professional refinishing when grease has penetrated the finish, cleaning leaves stains, or peeling, cracking, and discoloration persist. Cabinet restoration can revive solid wood and quality laminate while supporting Material preservation.
Replace cabinets when water damage, warped panels, broken boxes, extensive mold, or structural weakness makes repairs impractical. A professional can assess the material, estimate costs, and help you compare refinishing with replacement before damage spreads or compromises safety.
How Can You Prevent Cooking Grease From Settling on Cabinets?
You can stop grease before it settles by treating prevention as your kitchen’s first line of defense. Use strong kitchen ventilation: run the range hood during cooking and for 10–15 minutes afterward, and open a window when practical.
Choose cooking techniques that limit splattering, such as covering pans, lowering heat, and using back burners. Wipe nearby surfaces promptly, keep cabinet doors closed, and clean hood filters regularly.
Conclusion
With these five steps, you can cut through greasy cabinet buildup without harsh chemicals or expensive supplies. You might worry that cleaning will damage your cabinets, but testing a gentle cleaner first helps protect the finish.
Take a few minutes to wipe, scrub, rinse, and dry each surface, and you’ll see the difference immediately. Don’t let stubborn grease make your kitchen feel unpleasant.
A cleaner, brighter space is within reach. Start with one cabinet today and keep the momentum going with these steps to clean grease off kitchen cabinets.