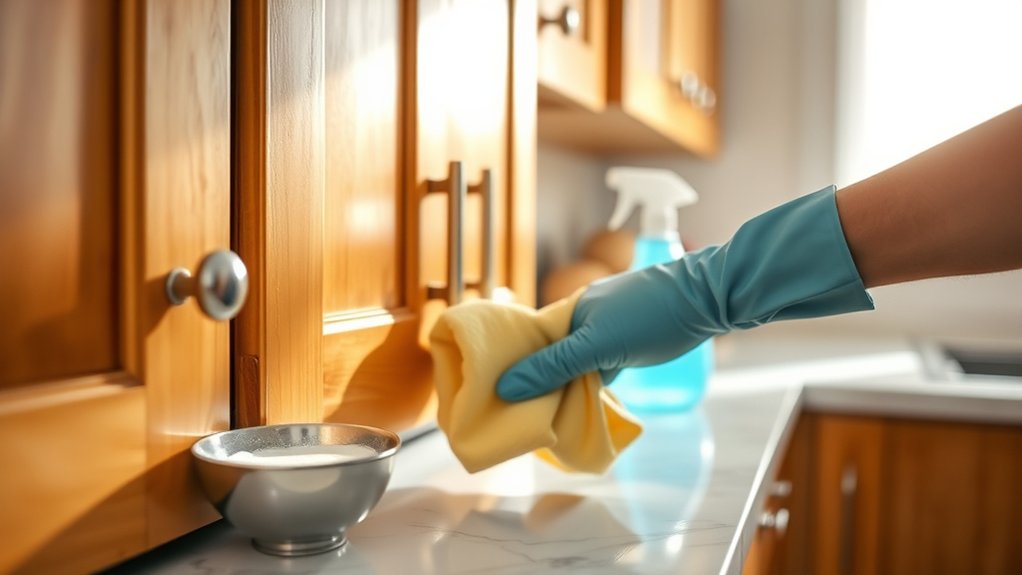
How to Degrease Kitchen Cabinets in 7 Easy Steps
Greasy kitchen cabinets can make your entire kitchen feel unclean, even when you’ve just finished tidying up. You’re not alone—many people struggle to remove sticky buildup without damaging the finish. The right products and a gentle approach can make cabinet cleaning much easier.
To degrease kitchen cabinets in seven easy steps, gather mild dish soap, warm water, microfiber cloths, and a cabinet-safe degreaser. Protect nearby surfaces, remove items, and dust cabinets thoroughly.
Test the degreaser on a hidden spot, then apply it sparingly to small sections. Gently loosen stubborn grease with a soft sponge or toothbrush, never scrub abrasively.
Wipe with a clean, damp cloth, dry immediately, and prevent buildup with ventilation, lids, and regular wiping. More helpful cabinet-care tips follow.
Key Takeaways
- Empty cabinets, remove dust and crumbs, and protect nearby countertops, floors, and appliances.
- Test a diluted, cabinet-safe degreaser on a hidden area before cleaning visible surfaces.
- Apply degreaser to a microfiber cloth, then wipe cabinets in small sections without soaking seams or joints.
- Rinse with a clean, damp cloth, removing all cleaner and grease residue.
- Dry immediately with a soft towel, then improve airflow by briefly opening doors and drawers.
Gather Supplies and Protect Cabinets
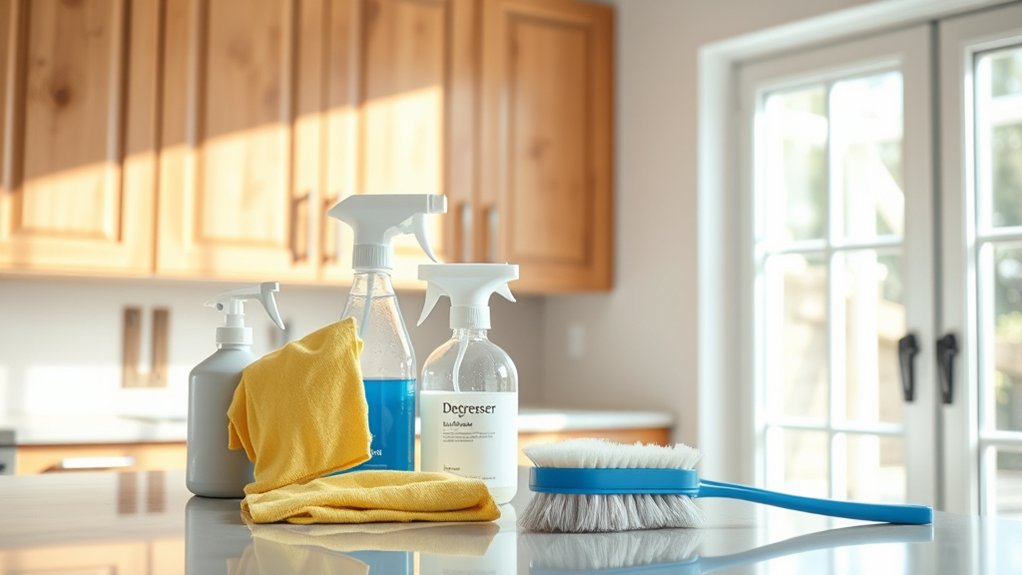
Before you begin, gather dish soap, warm water, microfiber cloths, a soft sponge, an old toothbrush, and a dry towel. You’ll also need rubber gloves and a small bucket for controlled cleaning.
Check your cabinet materials first. Wood, laminate, painted, and thermofoil surfaces may require different levels of moisture and pressure. Keep water away from seams, unfinished edges, and hardware to prevent swelling or corrosion.
Protect nearby countertops, floors, and appliances with towels or a drop cloth. Remove items from the cabinets so you can reach every area without knocking anything over.
If possible, label hardware as you remove it, then place screws in a container.
Consider your cleaning frequency before choosing your approach. Light, regular cleaning may need only diluted soap, while heavy grease requires several gentle passes.
Work in a ventilated space, keep your tools organized, and avoid abrasive pads or harsh chemicals that could dull finishes or damage protective coatings.
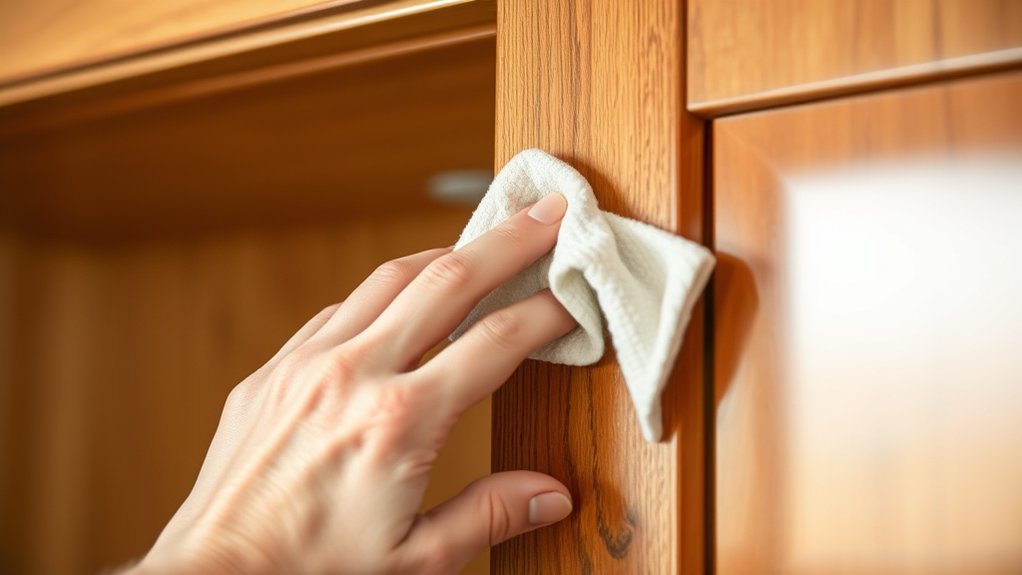
Choose an inconspicuous area, such as the cabinet’s inside edge, to test your diluted degreaser. Apply a small amount with a soft cloth or cotton swab, following the product’s label directions. Don’t soak the surface, and avoid letting the solution reach seams or hardware.
Test diluted degreaser on a hidden cabinet area first, applying sparingly and avoiding seams, hardware, and oversaturation.
Wait several minutes, then wipe the area with a clean, slightly damp cloth. Check for changes in color, sheen, texture, swelling, or peeling. Some finishes may react slowly, so let the spot dry completely before judging the result.
If you notice damage, stop using that product and choose a gentler cleaner designed for your cabinet material. This hidden spot testing step supports chemical safety and protects your finish from unnecessary damage.
Wear gloves, keep the room ventilated, and never mix degreasers with bleach, ammonia, or other cleaners. Test each cabinet material separately if your kitchen includes painted wood, laminate, or veneer.
Once the finish looks unchanged, proceed confidently with the approved solution.
Dust Cabinets Before Degreasing
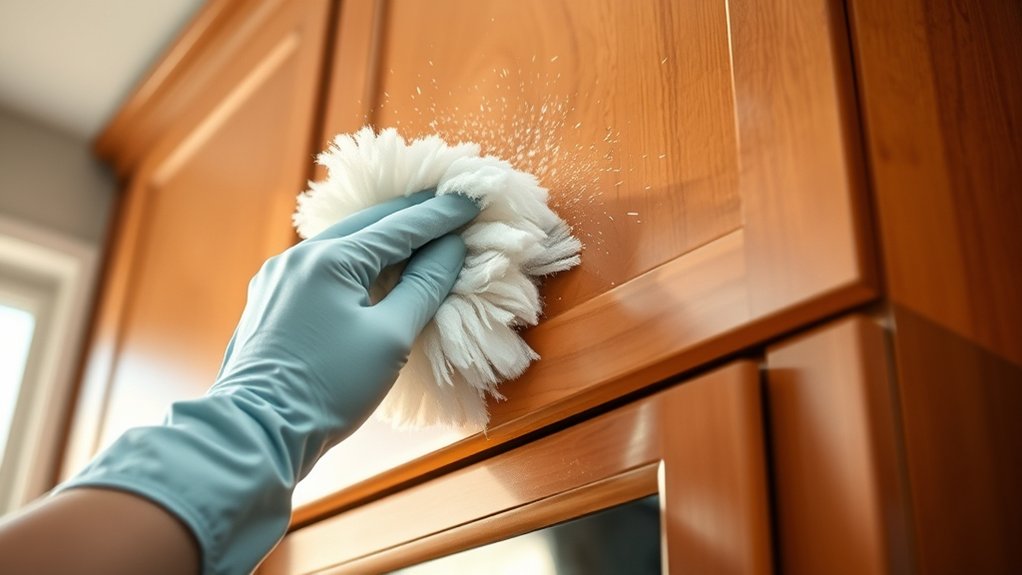
Start by removing loose dust and crumbs from the cabinet surfaces with a microfiber cloth, soft duster, or vacuum brush attachment. This cabinet dusting step keeps dry debris from spreading across the doors and frames during cleaning.
Work from the top down, and pay attention to corners, grooves, handles, and the spaces around hinges.
For effective surface preparation, follow these simple steps:
- Open each door and drawer slightly to reach exposed edges and seams.
- Use a clean, dry microfiber cloth on finished surfaces to avoid scratching.
- Vacuum crumbs from cabinet bottoms, drawer interiors, and nearby crevices.
- Replace a dusty cloth or empty the vacuum when debris begins to redistribute.
Don’t press hard while dusting, especially on painted, stained, or delicate finishes. If you notice stuck-on residue, leave it in place for the next cleaning stage rather than scraping aggressively.
Once every surface looks free of loose particles, your cabinets are ready for careful degreasing. This preparation helps you clean more evenly and protects the finish from abrasive grit.
Apply a Cabinet-Safe Degreaser
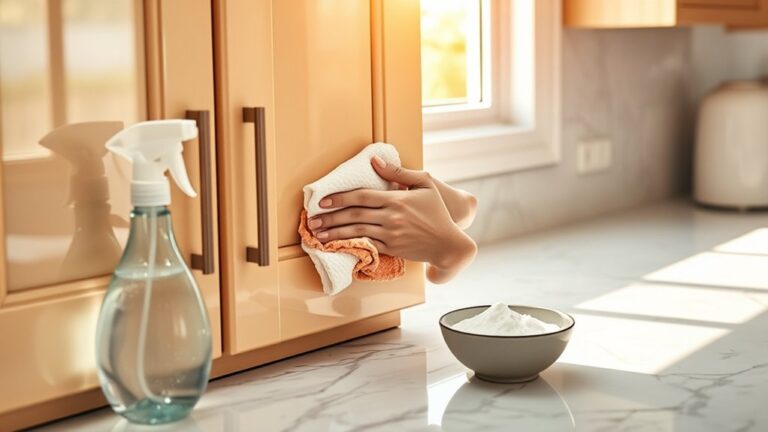
Once loose dust is gone, apply a cabinet-safe degreaser to a microfiber cloth rather than spraying the surface directly. Choose a formula labeled safe for your cabinet’s finish, especially if you have painted, stained, laminate, or wood doors.
Apply cabinet-safe degreaser to a microfiber cloth, choosing a formula suited to your cabinet’s finish rather than spraying directly.
Test it first on a hidden spot, then wait for the area to dry and check for dullness, discoloration, or lifting. If the finish looks unchanged, wipe one small section at a time with the damp cloth.
Follow the product’s directions for dilution and contact time, and don’t saturate seams, edges, or joints. Keep your cloth clean by folding it to expose a fresh side as grime transfers.
For hardware maintenance, remove knobs or pulls only when necessary, and apply cleaner to the cloth instead of soaking the pieces or surrounding cabinet.
After cleaning, use a separate damp cloth to remove residue, then dry every surface thoroughly. Your careful approach protects cabinet paint and prevents moisture-related damage.
Loosen Stubborn Grease Without Scratching
Test the gentle cleaning solution on a hidden spot first to make sure it won’t damage the surface. Then, use a soft microfiber cloth or nonabrasive sponge to loosen the grease without scratching the finish. Avoid scrubbing too hard—let the solution soften the grease before wiping it away.
Test Gentle Cleaning Solutions
For stubborn grease, try a small amount of mild dish soap mixed with warm water before using stronger cleaners. Test your solution on a hidden cabinet spot to confirm it won’t dull, discolor, or damage the finish.
Wait several minutes, then inspect the area under good light.
- Start with natural remedies, such as diluted white vinegar, only if your cabinet manufacturer permits them.
- Read labels carefully before choosing commercial products, and avoid bleach, ammonia, or abrasive ingredients.
- Apply a small amount of cleaner to a clean cloth, rather than soaking the cabinet surface.
- Wipe away residue with a slightly damp cloth, then dry the area completely.
If the finish looks unchanged, proceed gradually across the remaining grease. Stop immediately if you notice clouding, peeling, swelling, or color transfer.
Use Soft Scrubbing Tools
When grease remains after gentle cleaning, use a soft microfiber cloth, nonabrasive sponge, or soft-bristled toothbrush to loosen it without scratching the finish. Dampen your tool with warm water and apply a small amount of mild dish soap.
Work in small sections, using light, circular motions instead of pressing hard. For detailed trim, use careful brush techniques: follow the grooves, keep bristles angled slightly, and avoid digging into corners.
Rinse the cloth or sponge often so you don’t spread loosened grease across the cabinet. Wipe away soap with a clean, damp cloth, then dry the surface immediately.
If buildup persists, repeat the process rather than switching to an abrasive pad. Adjust your cleaning frequency based on cooking habits, wiping high-touch areas weekly to prevent stubborn residue.
Rinse and Dry the Cabinet Surfaces
Rinse the cabinet surfaces with clean water to remove any remaining cleaner and grease. Avoid letting water sit on the wood or finish, since it can cause damage. Then, dry each surface immediately with a clean, soft cloth.
Rinse With Clean Water
After removing the degreaser, wipe each cabinet surface with a clean, damp microfiber cloth to lift away residue. Use fresh water rather than dirty rinse water, and wring the cloth until it’s damp, not dripping. This prevents excess moisture from reaching seams, edges, and hardware.
- Rinse the cloth often in a bucket of clean water.
- Wipe in the cabinet’s grain or along its finish to remove remaining cleaner.
- Use a separate damp cloth for handles, hinges, and detailed grooves.
- Check each area under good lighting for streaks, foam, or sticky spots.
These simple cleaning techniques help protect the finish while leaving the surface free of degreaser. For water safety, keep electrical appliances away from splashes, use stable containers, and never pour water directly onto cabinets.
Replace cloudy water promptly so you don’t spread grime.
Dry Thoroughly Immediately
Once you’ve removed the degreaser, dry each cabinet surface immediately with a clean, soft microfiber cloth. Work in small sections, using gentle, straight strokes to lift moisture instead of spreading it around.
Pay special attention to edges, corners, handles, and seams, where water can collect and cause swelling, staining, or finish damage. Replace the cloth when it becomes damp so you’re not transferring moisture back onto the cabinets.
For effective cleaning tips, keep a second dry cloth nearby for a final pass. These simple drying techniques help prevent streaks and water spots while leaving the surface ready for inspection.
Don’t leave doors or drawers wet. Open them briefly to improve airflow, especially around hinges and enclosed edges.
If moisture remains, blot it gently rather than rubbing aggressively. Proper drying also protects wood, laminate, and painted finishes.
Prevent Grease Buildup on Kitchen Cabinets
How can you prevent grease from settling on your kitchen cabinets? Build simple habits into your cooking routine. Effective grease prevention reduces sticky residue, protects finishes, and makes cabinet maintenance easier.
Use these practical steps:
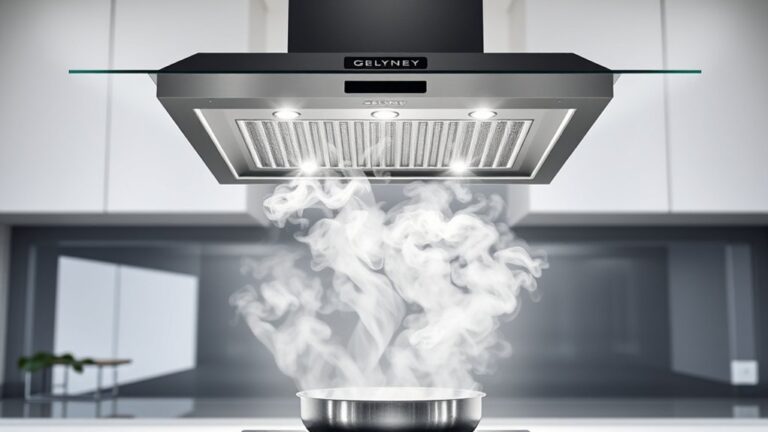
- Run your range hood: Turn it on before cooking and leave it running for several minutes afterward. It captures airborne oil and moisture before they reach cabinet doors.
- Cover splattering pans: Use lids, splatter screens, or lower heat when frying. These barriers keep grease from drifting onto nearby surfaces.
- Wipe spills promptly: After cooking, inspect cabinet doors, handles, and edges. Wipe fresh spots with a soft, damp microfiber cloth and mild dish soap.
- Clean weekly: Even with careful cooking, a light weekly wipe prevents residue from hardening. Pay special attention to areas above the stove and around cabinet pulls.
Keep cloths, cleaner, and a small step stool nearby so cleaning takes seconds. Avoid abrasive pads and excessive water, which can scratch or damage cabinet finishes.
Consistent care keeps your kitchen cleaner and reduces deep-degreasing chores.
Frequently Asked Questions
Can I Degrease Painted Cabinets Without Damaging Their Finish?
Yes, you can degrease painted cabinets without damaging their finish if you use gentle methods. Start by testing a hidden spot.
Mix warm water with a few drops of mild dish soap, then wipe with a soft microfiber cloth. Avoid abrasive pads, harsh solvents, and excessive moisture.
Rinse lightly and dry immediately. Choose degreasing techniques that suit your cabinet finishes, and don’t scrub aggressively, especially over chipped or aging paint.
How Often Should Kitchen Cabinets Be Thoroughly Degreased?
You should thoroughly degrease kitchen cabinets every one to three months, depending on cooking habits, ventilation, and visible buildup. For light use, quarterly cleaning usually works; frequent frying may require monthly attention.
Your cleaning frequency should increase around the stove, handles, and lower doors, where grease accumulates fastest. Follow practical maintenance tips: wipe spills promptly, use your regular gentle cleaner weekly, and inspect cabinet surfaces regularly to prevent stubborn residue and finish damage.
Are Homemade Degreasers Safe for Wood Kitchen Cabinets?
Yes, homemade degreasers can be safe for wood kitchen cabinets when you choose gentle ingredients and use them correctly. For better wood safety, mix warm water with a small amount of mild dish soap.
Avoid vinegar, baking soda, ammonia, and harsh solvents, which can damage finishes. Homemade cleaners shouldn’t soak the wood, so apply your solution to a soft cloth, wipe lightly, and dry immediately.
Always test an inconspicuous spot first.
Should I Remove Cabinet Hardware Before Cleaning Greasy Surfaces?
Yes, you should remove cabinet hardware before cleaning greasy surfaces whenever possible. Hardware removal gives you better access around knobs, pulls, and screws, where grime collects.
It also protects metal finishes from prolonged exposure to degreasers and prevents drips from affecting cabinet paint. Place each piece and its screws in a labeled container, then clean them separately.
If removal isn’t practical, shield the hardware with a cloth and apply cleaner carefully.
What Should I Do if Grease Stains Remain After Cleaning?
If grease stains remain, repeat the cleaning process with a fresh degreasing solution and a soft microfiber cloth. Let the solution sit for several minutes, but don’t allow it to dry.
For stubborn grease, gently scrub with a nonabrasive sponge, following the cabinet’s grain. Rinse and dry the surface thoroughly.
Effective stain removal may require several passes. Avoid harsh chemicals or abrasive pads, which can damage finishes.
Conclusion
With these seven steps, you can degrease kitchen cabinets safely and keep your kitchen looking fresh. Protect the finish, test products first, and avoid abrasive scrubbing.
Surprisingly, kitchen cabinets may collect several times more grease near the stove than in other areas, so regular wiping makes a noticeable difference.
Once you rinse and dry the surfaces, prevent buildup by cleaning splatters promptly and using your vent hood while cooking. A few minutes of care saves you from deep-cleaning later.