How to Refinish a Wooden Kitchen Table in 3 Simple Steps
A worn, scratched kitchen table can make your entire dining space feel tired, and refinishing it may seem overwhelming. You’re not alone—many people struggle to restore their table without damaging the wood. The good news is that learning how to refinish a wooden kitchen table can be simple with the right steps and products.
Refinish your wooden kitchen table in three simple steps. First, clean, repair, and sand the surface until it’s smooth and dust-free.
Next, apply your chosen stain or paint in thin, even coats, following the wood grain, and let each coat dry.
Finally, protect the finish with a food-safe sealer, lightly sanding between coats when recommended, then allow full curing before use.
Follow these steps carefully, and you’ll uncover helpful details for achieving a durable, beautiful result.
Key Takeaways
- Clean the table, repair damage, and sand away the old finish until the wood is smooth and dust-free.
- Test your chosen stain or paint, then apply thin, even coats following the wood grain.
- Wipe away excess stain and allow each coat to dry completely before applying another.
- Protect the finished surface with thin coats of food-safe polyurethane or hard-wax oil.
- Let the table fully cure in a ventilated area before gently washing and returning it to regular use.
Clean, Repair, and Sand the Wooden Table

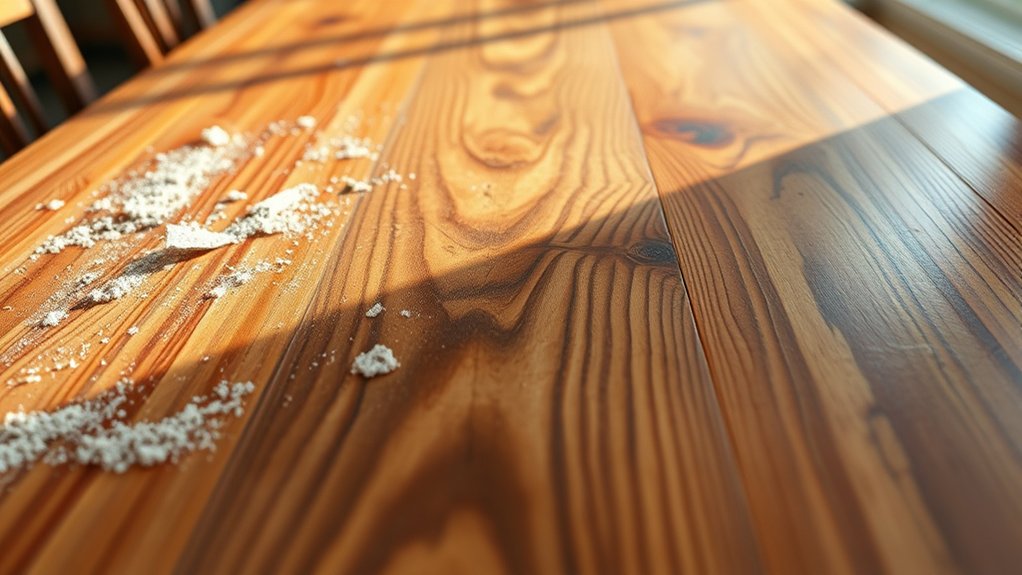
Start by clearing the table and cleaning its surface with a mild degreaser to remove food residue, wax, and grime. Wipe with a damp cloth, then let the wood dry completely.
Inspect the tabletop, edges, and legs for dents, loose joints, cracks, or missing hardware. Tighten screws and repair small damage with wood filler, pressing it firmly into each flaw.
After the filler cures, scrape away excess material and sand the repairs level.
Remove the existing finish by sanding with medium-grit paper, using a sanding block or orbital sander on broad surfaces. Follow the wood grain rather than cutting across it.
Switch to fine-grit paper for a smooth, even surface, and hand-sand corners, trim, and legs. Don’t linger in one spot, or you may create dips.
Vacuum thoroughly, then wipe away remaining dust with a clean, slightly damp cloth. Check the surface under bright light for scratches, residue, or uneven paint texture before proceeding.
Choose and Apply Stain or Paint
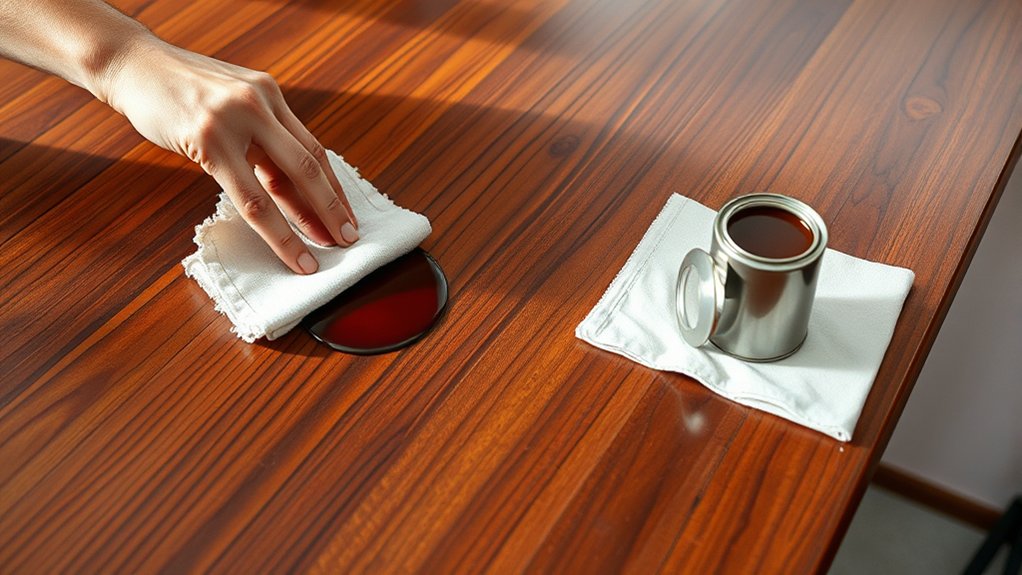
Choose a stain to highlight the wood grain or paint for a more uniform, colorful finish. Consider your kitchen’s style, lighting, and existing colors before deciding.
Color options range from light oak and warm walnut to bold blues, greens, and classic white. Test your choice on an inconspicuous area or scrap wood to confirm how it looks on your table’s species and sanding level.
Stir the product thoroughly, then apply a thin, even coat with a clean brush, foam applicator, or lint-free cloth. Follow the grain as you work, and avoid allowing puddles or lap marks to form.
For stain, let the color penetrate for the manufacturer’s recommended time, then wipe away excess with a clean cloth. Apply additional coats for deeper color, allowing each coat to dry as directed.
For paint, lightly sand between coats if the instructions recommend it. Experiment with finish techniques, such as distressing or color washing, for added character.
Apply Sealer and Let the Table Cure
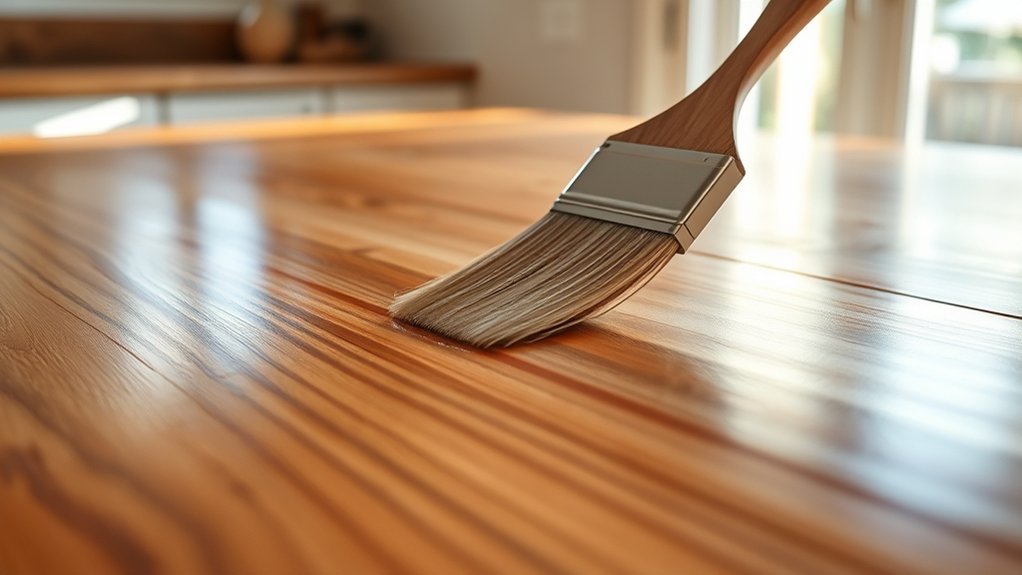
Once the stain or paint has dried completely, apply a food-safe, clear sealer to protect the tabletop from moisture, spills, and daily wear. Choose among sealer types such as water-based polyurethane, oil-based polyurethane, or hard-wax oil, depending on your preferred finish and maintenance needs.
Protect your tabletop with a food-safe clear sealer, choosing polyurethane or hard-wax oil to suit your preferred finish and maintenance needs.
Stir the product gently rather than shaking it, which can create bubbles. Use a clean, high-quality brush or foam applicator to spread a thin, even coat, following the wood grain.
Let that coat dry as directed, then lightly sand with fine-grit sandpaper if the label recommends it. Remove every speck of dust before applying one or two additional coats.
Don’t rush the curing time. Drying means the surface feels hard, while curing means the finish has fully strengthened. Keep the table in a clean, ventilated area during this period.
Avoid placing dishes, appliances, or decorative items on it until the manufacturer’s curing time has passed. Afterward, wash the surface gently before regular use.
Frequently Asked Questions
How Often Should a Wooden Kitchen Table Be Refinished?
You should refinish a wooden kitchen table every three to five years, depending on daily use, spills, sunlight, and the finish’s condition. If water no longer beads, scratches expose bare wood, or the surface feels rough, don’t wait. Refinish it sooner.
Lightly clean and protect the table regularly to extend its lifespan. Choose refinishing techniques suited to your finish, wood type, and household needs, as you would with other wooden furniture.
Can I Refinish a Table Outdoors Safely?
Yes, you can refinish a table outdoors safely if you treat the space like a temporary workshop under a protective sky. Choose a covered, well-ventilated area, and keep the table away from wind, rain, direct sunlight, children, and pets.
Your outdoor protection should include a tarp beneath the table and a cover nearby. Check weather considerations first: moderate temperatures, low humidity, and calm conditions help finishes cure evenly. Wear gloves and eye protection.
What Tools Are Essential for Refinishing a Wooden Kitchen Table?
You’ll need a few essential tools: a screwdriver to remove hardware, a scraper to lift old finish, and sandpaper or an orbital sander for effective sanding techniques. Keep coarse, medium, and fine grits available.
Use tack cloths to remove dust, brushes or lint-free rags for wood stain, and a quality brush or foam applicator for finish. Wear safety glasses, gloves, and a respirator, especially when working outdoors or handling solvents safely.
How Much Does Professional Table Refinishing Typically Cost?
Professional table refinishing typically costs $300–$1,000, depending on table size, wood condition, finish, and local labor rates. Intricate repairs or premium finishes can push the price higher.
For a useful cost comparison, request several written estimates and confirm whether pickup, stripping, repairs, staining, and sealing are included.
DIY versus professional work may save you money, but professionals usually deliver smoother results, faster completion, and fewer risks of damaging valuable wood.
Can I Refinish a Table With Intricate Carvings or Metal Accents?
Yes, you can refinish a table with Intricate carvings or Metal accents, but you’ll need extra care. Clean carved areas gently with a soft brush, and avoid flooding crevices with stripper or finish.
Mask Metal accents before sanding, unless you want to polish them separately. Test products on hidden spots first.
Use small brushes, cotton swabs, and thin coats to preserve detail. If damage or delicate materials concern you, hire a professional.
Conclusion
With a little care, you can transform your tired wooden kitchen table into a beautiful centerpiece. Clean, repair, and sand the surface until it’s smooth.
Then choose a stain or paint that suits your style, and apply it evenly. Finally, seal the finish and let the table cure completely before using it.
Follow these simple steps, and you’ll enjoy a fresh, durable table that’s ready for family meals, lively conversations, and lasting memories for years. This guide to refinishing a wooden kitchen table will help you enjoy the results.