How to Build an Outdoor Kitchen in 3 Simple Steps
Planning an outdoor kitchen can feel overwhelming, especially when you’re unsure where to begin or how to balance style, safety, and cost. You’re not alone—many homeowners struggle to create a functional space that suits their needs.
This guide breaks down how to build an outdoor kitchen in three simple steps.
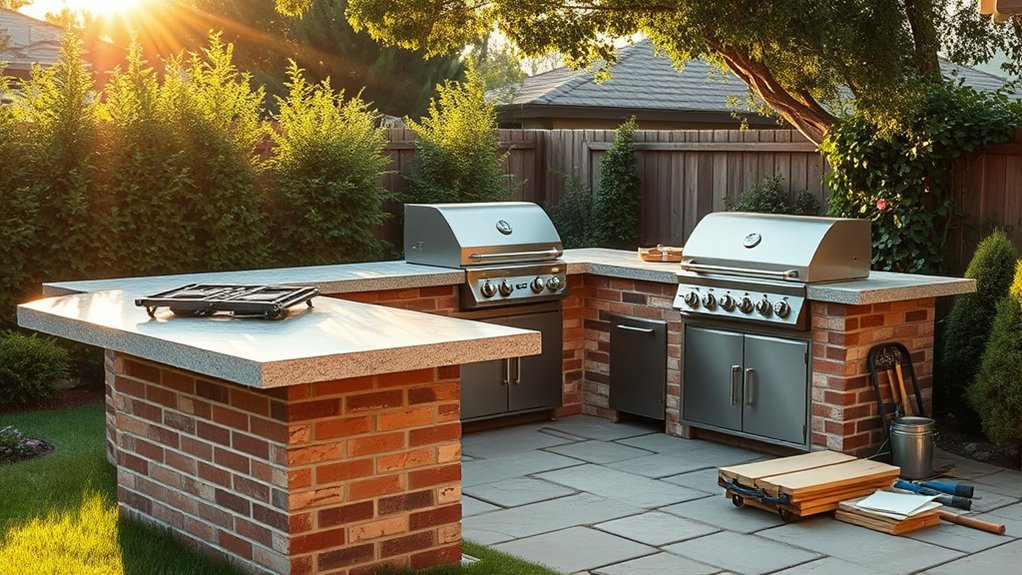
Build an outdoor kitchen in three steps. First, set your budget, measure the space, and choose a convenient layout near your home, such as an L-shape or straight run.
Next, select weather-resistant appliances and have licensed professionals connect gas, water, and electrical utilities according to local codes.
Finally, install durable counters, storage, layered lighting, nonslip flooring, and safety equipment. Confirm permits, test every connection, and maintain appliances regularly.
The details below can help you plan confidently.
Key Takeaways
- Plan your budget, measure the space, choose a practical layout, and organize cooking, prep, serving, and dining zones.
- Select weather-resistant appliances and plan gas, water, drainage, and electrical connections according to local codes.
- Build durable counters, weatherproof storage, proper lighting, covered waste storage, and accessible utility panels.
- Add safety features, including nonslip flooring, fire extinguishers, heat barriers, secure chemical storage, and locked tool compartments.
- Obtain permits, verify dimensions, test every appliance and connection, and schedule regular maintenance before entertaining.
Plan Your Outdoor Kitchen Budget, Location, and Layout
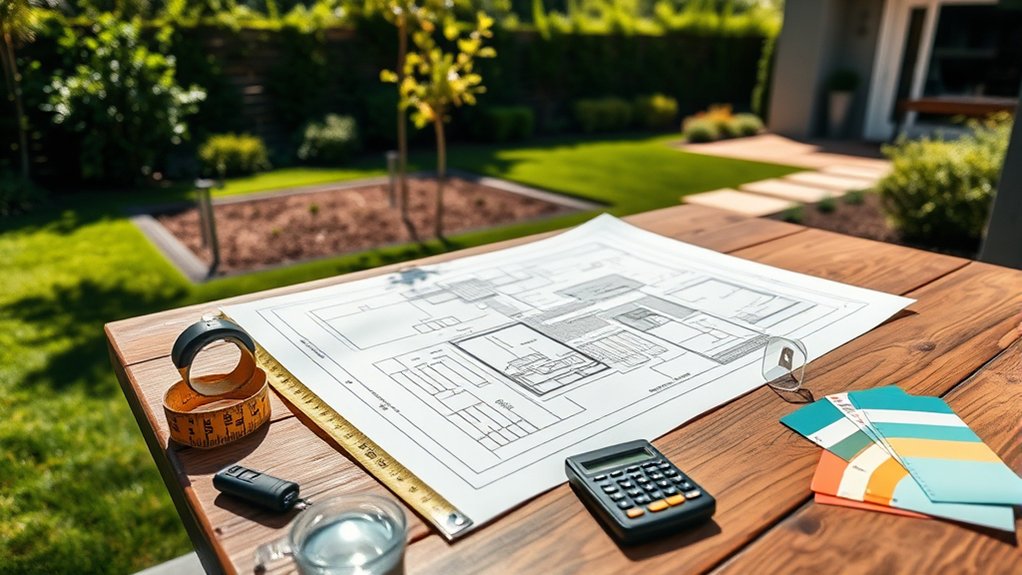
Before choosing appliances or materials, set a realistic budget and decide where your outdoor kitchen will work best. Review your available funds, then divide them among construction, finishes, seating, lighting, permits, and a contingency reserve.
Set a realistic budget first, allocating funds for construction, finishes, seating, lighting, permits, and unexpected costs.
Measure the area carefully, noting property lines, doors, windows, walkways, shade, wind, and views. Place the kitchen close enough to your home for convenient access, but leave clear paths for movement and entertaining.
Sketch several layout options before committing. A straight run suits narrow spaces, while L-shaped or U-shaped designs create more counter space and defined work zones.
Keep cooking, preparation, serving, and dining areas organized without crowding guests. Account for storage, trash, and comfortable clearance around every feature.
Coordinate your plan with the surrounding landscape design so the kitchen feels integrated rather than added on. During material selection, prioritize durability, weather resistance, maintenance needs, and visual harmony with your home.
Confirm dimensions and obtain required approvals before construction begins.
Choose Appliances and Plan Utility Connections
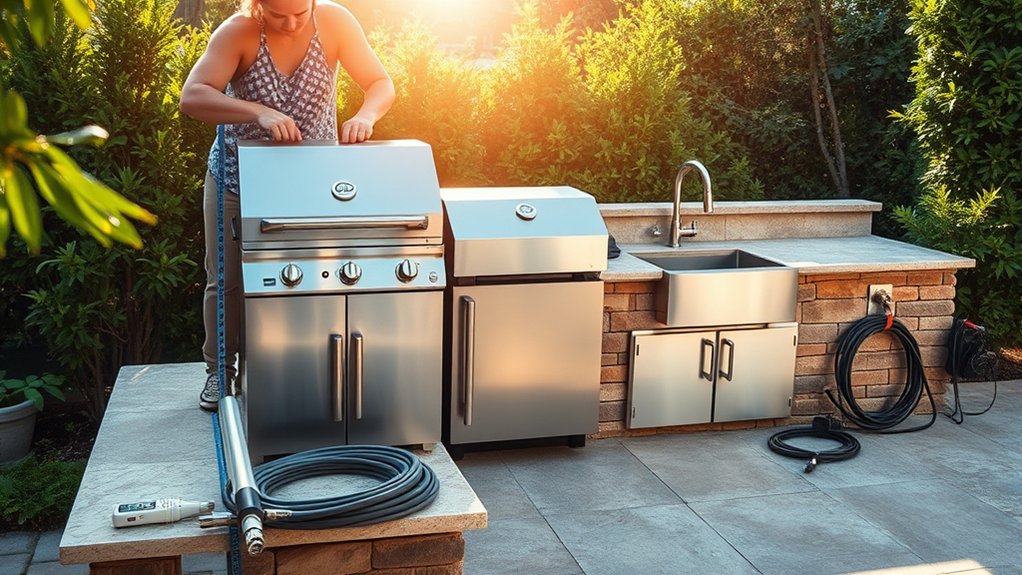
Choose appliances that match how you cook and entertain, such as a grill, side burner, refrigerator, ice maker, or sink. Measure each unit and confirm it suits your layout, climate, and available fuel.
Select weather-resistant models designed for outdoor use, and check energy ratings before you buy.
Plan utility routes before construction begins. A licensed professional should size gas lines, install shutoff valves, and verify connections for grills and burners.
For electric appliances, use weatherproof, ground-fault circuit interrupter outlets and dedicated circuits where required. A plumber can route supply and drain lines for a sink or ice maker, while proper slopes help prevent standing water.
Keep connections accessible for inspection and repairs, and follow local codes. Prioritize Utility connection safety by testing every line and protecting it from heat, moisture, and accidental damage.
Schedule regular Appliance maintenance: clean burners, inspect hoses, replace filters, and winterize water-fed equipment. Keep manufacturer manuals and service records so you can resolve problems quickly.
Install Counters, Storage, Lighting, and Safety Features
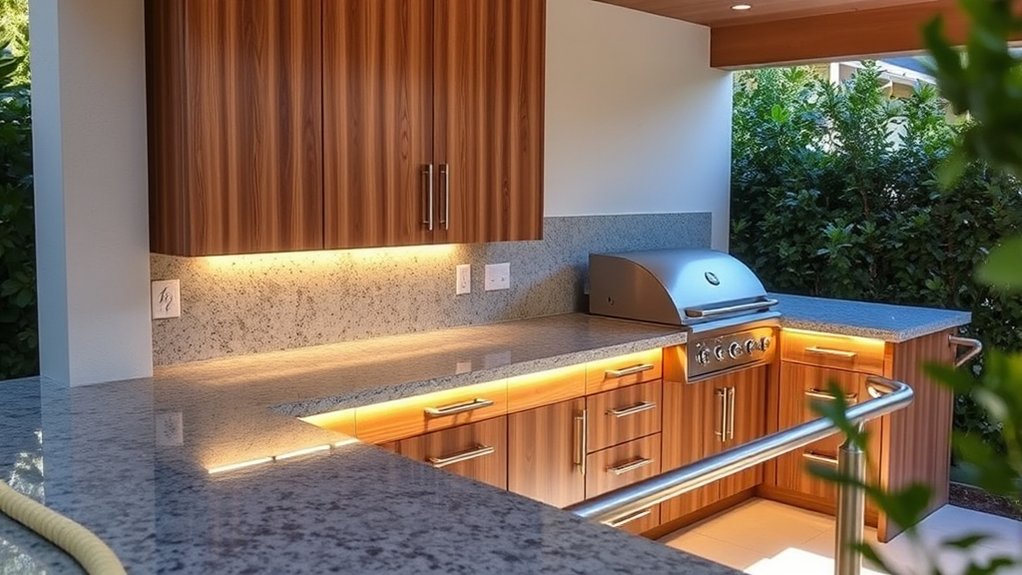
Once the appliances and utility routes are set, install durable, weather-resistant counters with enough workspace for meal preparation and serving. Choose weatherproof materials such as sealed stone, stainless steel, or porcelain tile to withstand sun, rain, and spills.
Seal porous surfaces regularly, and slope countertops slightly so water drains away.
Add cabinets, drawers, and shelves that keep tools, dishes, and fuel organized. Select rust-resistant hardware and doors that close securely. Include a covered bin for trash and recycling.
Plan layered lighting so you can cook safely after sunset while creating inviting outdoor decor:
- Mount bright, focused fixtures above grills and prep areas.
- Add soft under-counter or pendant lighting around seating.
- Use low-voltage path lights to mark steps and walkways.
Protect your space with a nearby fire extinguisher, heat-resistant barriers, and nonslip flooring. Keep gas lines and electrical connections accessible for inspection, but shield them from weather.
Finally, store sharp tools and chemicals in locked compartments, and test every light and appliance before hosting guests.
Frequently Asked Questions
Do I Need Planning Permission to Build an Outdoor Kitchen?
You may need planning permission for an outdoor kitchen, depending on your location, size, structure, and utilities. Check your local permitting requirements before starting, especially if you’re adding a roof, permanent plumbing, electrical connections, gas lines, or a foundation.
Zoning regulations may also limit setbacks, height, drainage, and proximity to property lines. Contact your local planning department, describe your proposed kitchen, and ask which approvals, inspections, and permits you’ll need.
What Weatherproof Materials Work Best for Outdoor Kitchen Construction?
Choose weatherproof materials that handle moisture, sunlight, temperature changes, and grease. For weather-resistant countertops, select porcelain, granite, quartzite, or sealed concrete; avoid porous marble and untreated wood.
Build durable cabinetry from marine-grade polymer, stainless steel, or powder-coated aluminum, and use corrosion-resistant hinges and fasteners. Add a stainless-steel sink, weatherproof sealants, and nonporous flooring.
You’ll extend your kitchen’s life by covering appliances and maintaining seals regularly.
How Can I Protect My Outdoor Kitchen During Winter?
Protect your outdoor kitchen before winter turns it into an icebox: one homeowner’s uncovered grill rusted after a single snowy season, proving that small precautions matter.
Shut off and drain water lines, then remove hoses, filters, and portable appliances. Add winter insulation around exposed pipes, and use breathable, fitted covers for grills, cabinets, and refrigerators.
Choose covering solutions that repel moisture without trapping condensation. Clean surfaces, seal wood, and inspect everything regularly during freezing weather.
How Often Should I Clean and Maintain My Outdoor Kitchen?
Clean your outdoor kitchen after every use: wipe counters, remove food debris, and wash cooking grates while they’re still warm. Follow a weekly cleaning schedule for surfaces, sinks, and frequently touched handles.
Deep-clean burners, grease traps, and storage areas monthly. Inspect gas lines, hoses, seals, and fasteners quarterly.
Seasonal maintenance includes checking for rust, sealing porous surfaces, and covering appliances. You’ll prevent stains, pests, odors, and costly repairs.
Can I Build an Outdoor Kitchen Myself or Hire a Professional?
You can build an outdoor kitchen yourself if you’re comfortable with planning, measuring, masonry, plumbing, electrical work, and local permits. DIY projects can save labor costs and give you more control, but mistakes may create safety hazards or expensive repairs.
Consider hiring a professional for gas lines, electrical connections, structural work, or complex installations. Compare cost considerations, including materials, tools, permits, labor, and future maintenance, before choosing the best approach for your skills.
Conclusion
Building an outdoor kitchen doesn’t have to be complicated. Start by setting your budget, choosing a practical location, and sketching a layout that fits your space.
Next, select appliances and arrange safe utility connections. Finally, add durable counters, smart storage, lighting, and essential safety features.
Take your time, measure twice, and plan for changing weather. Remember, “measure twice, cut once.”
With thoughtful choices and careful installation, you’ll create an inviting outdoor kitchen you’ll enjoy for years. This approach makes building an outdoor kitchen simple, practical, and rewarding.